Onkyo TA 2120 Service Manual

This is the 14 pages manual for Onkyo TA 2120 Service Manual.
Read or download the pdf for free. If you want to contribute, please mail your pdfs to info@audioservicemanuals.com.

Page: 1 / 14
left right
Onkyo TA 2120 Service Manual

Extracted text from Onkyo TA 2120 Service Manual (Ocr-read)


Page 1

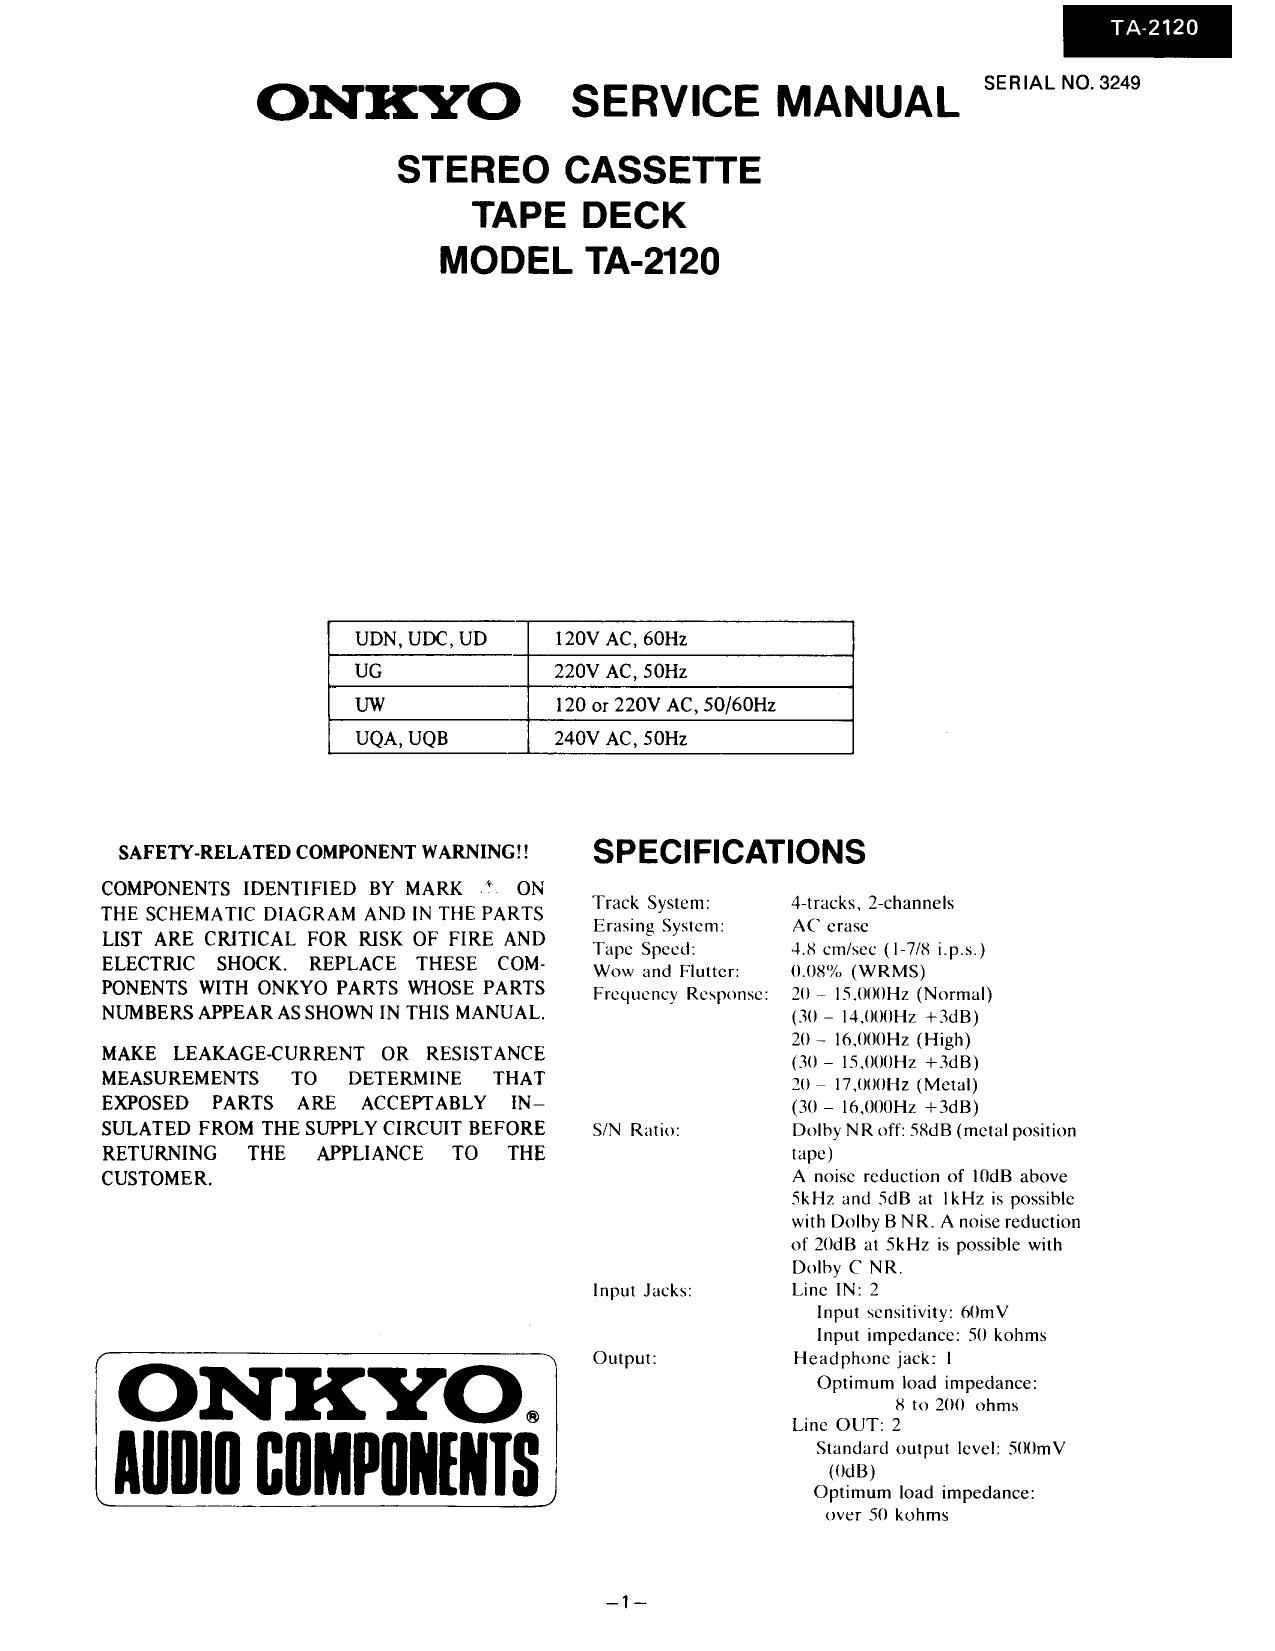
ONKYO SERVICE MANUAL SERIAL No.3249
STEREO CASSETTE

TAPE DECK
MODEL TA-2120
UDN, UDC, UD 120v AC, 60Hz
UG 220v AC, 5on
uw no or 220v Ac, 50/60Hz
UQA, UQB 240v AC, 5on

SAFETY-RELATED COMPONENT WARNINGII

COMPONENTS IDENTIFIED BY MARK I ON
THE SCHEMATIC DIAGRAM AND IN THE PARTS
LIST ARE CRITICAL FOR RISK OF FIRE AND
ELECTRIC SHOCK. REPLACE THESE COM»
PONENTS WITH ONKYO PARTS WHOSE PARTS
NUMBERS APPEAR AS SHOWN IN THIS MANUAL.

MAKE LEAKAGECURRENT 0R RESISTANCE
MEASUREMENTS TO DETERMINE THAT
EXPOSED PARTS ARE ACCEPTABLY IN-
SULATED FROM THE SUPPLY CIRCUIT BEFORE
RETURNING THE APPLIANCE TO THE
CUSTOMER,

FONKYO
Illlllllll cflMPflllfllIs

SPECIFICATIONS

Track System:
Erasing System:
Tupc Spccd:

Wow and Flutter:
Frequency Response:

S/N Ratio:

Input Jacks:

Output:

4-tr2icks. l-channcls
AC erase
4.8 cm/scc (1-7/8 i.p.s.)
0.08% (WRMS)
20 7 ISAIIXIHZ (Normal)
(30 7 HJIIIIIHZ +3dB)
20 7 l6.(KI(IHz (High)
(30 7 ISIIOUHZ +3dB)
21) 7 l7.(II)(IHZ (Metal)
(30 - 16,000Hz +3dB)
Dolby NR off: 58dB (metal position
tape)
A noise reduction of [MB above
SkHz and SdB at lkHz is possible
with Dolby B NR, A noise reduction
of 20dB at SkHz is possible with
Dolby C NR.
Linc IN: 2

Input sensitivity: 6(ImV

Input impedance: 5i) kohms
Headphone jack: |

Optimum load impedance:

8 to 200 ohms

Linc OUT: 2

Standard output level: SIIIImV

(MB)
Optimum load impedance:
over 50 kohms

Page 2

T 2120

Motors: DC servo motor X 1; DC motor
Heads: REC/PB: Special Hard Permalloy
X l:

Erase head: Ferrite X 1
Power Consumption: 8 watts

Dimensions: 435(W) X 116(H) X 264(1))mm
(17-1/8 x 4-9/16>< 10-3/8)
Weight: 3.7 kg. ( 8.2 lbs.)

Specifications and external appearance are subject to change
without notice because of product improvements.

SERVICE PROCEDURES

1. Replacement of power supply cord

There are two power supply cord outlets on the strainrelief.
Insert them in prescribed direction to ensure safety. AS-UC»
3 (UD<120V> model) should be inserted lengthwise and

other types of cords should be inserted horizontallyr

Power Supply Cord

Power Supply Cord

3
lengIh WIse HOrIzontal
dIrection direction

2. Instruction resistance measurement
Connect the inSUIating-resistance tester between the plug of

power supply cord and chassis

Specifications; 500V more than 10M§l

IC BLOCK DIAGRAM

CX20187 (DOLBY N.R)

g4
ale 2 Ease/Fe
ONIDFF l: EIREF
LINE IN E E LINE IN
Vcc E 3__9]v"
PB IN E 8 PE IN
MPX our LE Emu our
REC IN I: E REC IN
5ND E 5 one
LlNE ourE :4 LINE our
55x E 33 55K
VF IN E EVF IN
HPF H [E 31 HPF H
TCHz [E Erma
rcm [E 29 rem
M H E Em H
mm E Emu
rcu [E 26 rcu
wr L |I_-Isl T_s'}wr I.
HPF L LE 2A HPF L
ANT 5 E 2: ANV s
REC our [Z Ease our

-2-

|R2E02 (LEVEL METER DRIDE)

BA6251 (REC AMP. E0. SW)

INI

INz

INA.

INS

INs

IN7
6N

ourI

our 2

our:

IN °-1 >0-00ur

END o---

OUV 4
ours
ours
DUV7
N.C.
n:
40
no 3
rm m
m
x x
O o
o-f s-o
I z
r r
U VI
1 z
0 U
m m
4 q
r r
o c
m m
u u
p r
r r
w m

lll

our