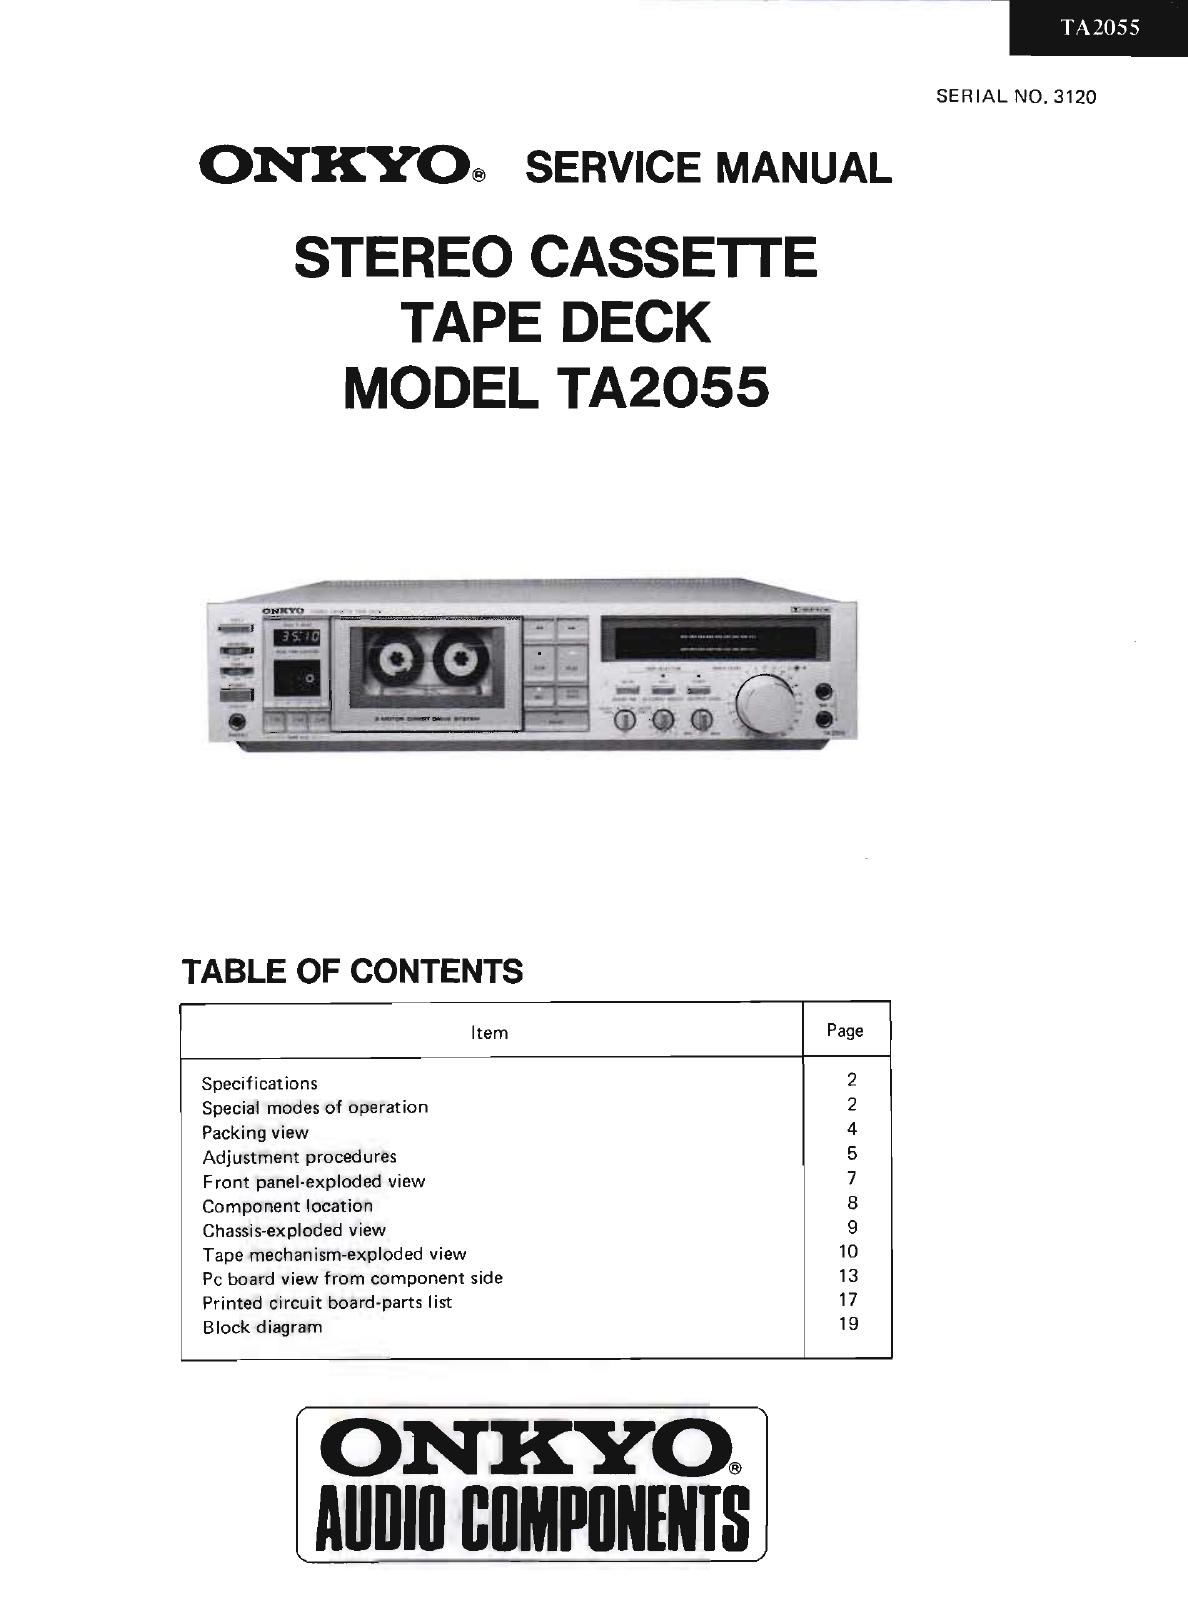
Onkyo TA 2055 Service Manual

This is the 18 pages manual for Onkyo TA 2055 Service Manual.
Read or download the pdf for free. If you want to contribute, please mail your pdfs to info@audioservicemanuals.com.

Page: 1 / 18
left right
Onkyo TA 2055 Service Manual

Extracted text from Onkyo TA 2055 Service Manual (Ocr-read)


Page 1

ONKYO® SERVICE MANUAL

STEREO CASSETTE
TAPE DECK
MODEL TA2055

,uumnqu-u-M

TABLE OF CONTENTS

Item Page
Specifications 2
Special modes of operation 2
Packing view 4
Adjustment procedures 5
Front panel-exploded view 7
Component location 8
Chassis-exploded view 9
Tape mechanism-exploded view 10
Pc board view from component side 13
Printed circuit board-parts list 17
Block diagram 19

ONKYO®
Alllllll flflMPIINENIS

SERIAL NO. 3120

Page 2

SPECIFICATIONS

Track System: 4rirack, Zechannel stereo

Recording System: AC bias

Erasing System: AC erase

Tape Speed: 4.8cm/sec.

Wow and Flutter: 0.035% (WRMS)
Frequency Response: 20716,000Hz

(20-15,000Hz :BdB)

(normal position tape)

20718,000Hz

(20e17.000Hz zde)

(high position tape)

20-19,000Hz

(20-18.000Hz :SdB)

(metal position tape)

Dolby NR out: 60dB

(metal position mpe)

A noise reduction of 10:?

above SkHz and SdB at lkI-Iz

is possible with Dolby B.

A noise reduction of 20dB

at SkHz is possible With

Dolby C.

Microphone Jacks: 2
Minimum input level:

0.3mV/600S2
input impedance: 5km
Optimum mic impedance:
ZOOQ-SOKG

Signal-to-Noise Ratio;

Input Jacks:

Line In: 2
Minimum input level: SOmV
input impedance: SOkQ
DIN Jack: 1 (Only G/W model)
Minimum input level:
0 lmV/ 1er
Input impedance: 2.7km
Lure Out: 2
Output level: I I OOmV
(at OdB)
Optimum load impedance:
over 50km

Outputs;

Headphone Jack: 1
851-2009
DIN Jack: 1 (only G/W models)
Standard output level:
I IOOmV
(at OdB)
Optimum load impedance:
more than 50km

Motors: DD motor: 1 DC motor: 2
Heads: Hard permalloy head: 1
Ferrite head: 1
Semiconductors; (Cy/W models)
TR: 63 Diodes: 22
IC: 13 LED: l3
(D model)
TR: 58 Diodes: 19
IC: 13 LED: 13

ACIZOV, 60Hz (D model)
AC220V,50II1(G model)
AC120/220V, SO/GOHZ

Power supply:

M model)
Power Consumption; 28W
Dimensions: 418(Wlx100(H)x370(D)
16-1/2"x3-15/l6"x14v9/16"
Weight, 6.7kg: (14.81133)
Accessories: Pin-type connecting cords

Mechanism specification

PLAY Torque: 35 ~ 60 grcm

FF/REW Torque: 55 ~ 140 grcm

\Vow & Flutter: Less than 0.035%
Auto-Step Time: 5 t 1 sec

TimebStart Time: 5 2 1 sec,

Rewind Time: Less then 90 sec. (Use C-60)
EJECI Time: 0.3 ~ 2 sec.

Specifications and external appearance are subject to change
without notice because of product improvements:

SPECIAL MODES OF OPERATION

Real Time Tape Counter

The real time tape counter can be used in two ways:

1. Consumed Time indication (CONS)

When power is turned on, the Real Time Counter will
read 0:00 and the green CONS indicator immediately below
the counter will come on. Once tape transport has begun in
the record or play mode, the counter will begin counting
the elapsed time. The two digits on the left side are the
minutes and the two digits on the right are the seconds. To
return the counter to 0:00) gently press the Reset panel.

2. Remaining Time Indication (REMA)

The real time counter can also be used to show the amount
of time remaining on a cassette as it is being recorded or
played back. To use this function, gently press the Tape
Size button corresponding to the cassette about to be
used. When one of the Tape Size buttons has been pressed,
the green REMA indicator will come on and the counter

will display the cassette length selected (for example [(2:60]
if C-6O has been selected) for about five seconds. During
this time, the microcomputer is calculating the amount of
remaining time. Once the calculations have been completed,
the remaining time WlII be displayd. Note that this function
is possible only during the record or play mode.

I If you mistakenly press the incorrect Tape Size button,
the remaining time indication will be shorter than
the actual remaining tiem if a cassette length shorter
than the correct lenght is pressed (for example when
C-46 is pressed when a C-60 cassette is used) and longer
than the actual remaining time if a cassette length longer
than the correct length is pressed (for example whe C-9O
is pressed when a C-60 cassette is used).

0 Follow the directions below when using cassettes of a
length other than C46, C-60 and 090 to obtain the
correct remaining time indication:

Page 6

5. Playback level adjustment
Connect the AC voltmeter to the TPI and TP2 terminals.
Insert the MTT-ISO test tape into the cassette holder.
Play the MTT-ISO back, Adjust the R123 (L ch.) and
R124 (R ch.) semi-fixed resistors so that the indication
ofvoltmeter becomes SSOmV.

Voltmeter

47 kn 1:!

p In

-0l-- Unlt \ 1 H

TP»1, TP-2

6. VU meter adjustment
Insert the MIT-150 test tape into the cassette holder.
Play the MTT-ISO back, Adjust the R321 (L ch.) and
R322 (R ch.) semi-fixed resistors so that the LED of
OdB of VU meter light on.

7. Recording bias adjustment
Insert the normal blank tape into the cassette holder.
Press the recording and pause buttons together and put
the easssette deck into the recording mode.
Apply the 400Hz signal to line-in terminal. Adjust the
input level volume so that the OdB indicator light up.

75er

l
m: fiLaI ate:

a ,2.@

are met

tree has

Then set the attenuator for - 10dB input level. Release
the pause button and record on the tape. Next change
the frequency of the lOkHz and record again.

Adjust the R429 (L ch.) and R430 (R ch.) so that the
400Hz and IOkHz playback level become same.

AF OSC

Q Attenuator LINE IN
0- ,
9M: Um:

Voltmeter

47KB
u
J% 1.?

Output terminal

8. Recording level adjustment
Insert the normal blank tape into the cassette holder.
Apply the I,000Hz signal to line-in terminal. Put the
cassette deck into the recording mode. Adjust the input
level volume so that the voltmeter reads 775mV.
Record on the tape. Adjust the R40] (L ch.) and R402
(R eh.) so that the playback level becomes 775mV

$0.5dB.
m
Q04~ O 0

UNIT

0002

AF OSC

VTVM

Attenuator

LINE IN Output terminal