Onkyo MD 105 Service Manual

This is the 46 pages manual for Onkyo MD 105 Service Manual.
Read or download the pdf for free. If you want to contribute, please mail your pdfs to info@audioservicemanuals.com.

Page: 1 / 46
left right
Onkyo MD 105 Service Manual

Extracted text from Onkyo MD 105 Service Manual (Ocr-read)


Page 1

"9

L

Rel. No.2442

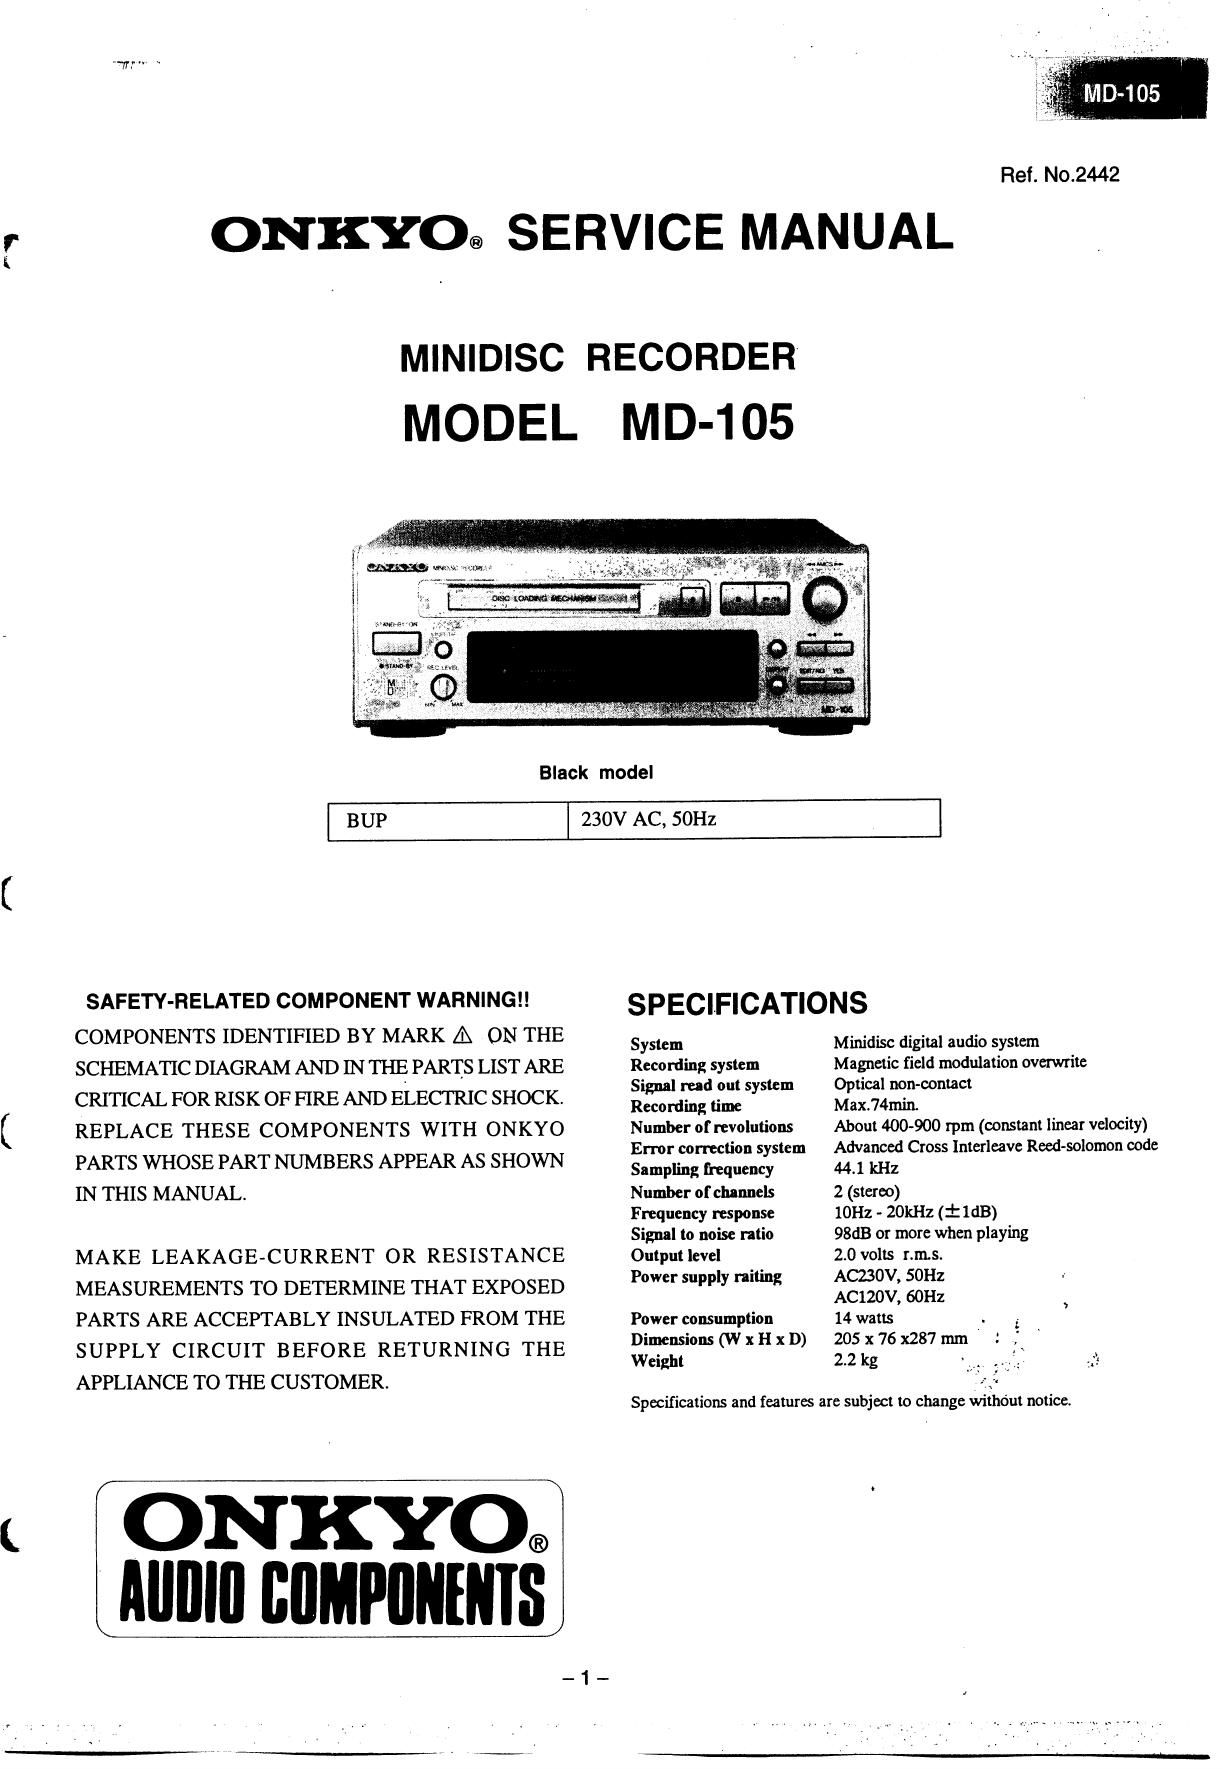
ONKYoa SERVICE MANUAL

MHMDSC

RECORDER

MODEL MD-105

Black model

BUP

230V AC. 50Hz

SAFETY-RELATED COMPONENT WARNINGII
COMPONENTS IDENTIFIED BY MARK A ON THE
SCHEMATIC DIAGRAM AND DI THE PARTS LIST ARE
CRITICAL FOR RISK OF FIRE AND ELECTRIC SHOCK.
REPLACE THESE COMPONENTS WITH ONKYO
PARTS WHOSE PART NUMBERS APPEAR AS SHOWN
IN THIS MANUAL.

MAKE LEAKAGE MEASUREMENTS TO DETERMINE THAT EXPOSED
PARTS ARE ACCEPIABLY INSULATED FROM THE
SUPPLY CIRCUIT BEFORE RETURNING THE
APPLIANCE TO THE CUSTOMER.

ON KYO®
AIIIIIII lilIMPflIIIIIIS

SPECIFICATIONS

System Minidisc digital audio system
Recording system Magnetic field modulation overwrite
Signal rud out system Optical non-contact

Recording time Maxl74min.

Number of revolutions
Error con-ection system
Sampling frequency
Number of channels
Frequency response
Signal to noise ratio
Output level

Power supply railing

Power consumption
Dimensions (W x H x D)
Weight

About 400-900 rpm (constant linear velocity)
Advanced Cross Interleave Reed-solomon code
44.1 kHz

2 (stereo)

10Hz » ZOkl-Iz (i ldB)
98dB or more when playing
20 volts [.ms.

AC230V, SOHz

AC120V, 60Hz

14 watts .

205 x 76 x287 mm

2.2 kg -_ 2.

Specifications and features are subject to change withdut noticel

Page 2

CAUTION ON REPLACEMENT OF OPTIONAL PICKUP

The laser diode in the optical pickup block is sensitive to
static electricity, surge current and etc. The components
are liable to be damaged or its reliability remarkably
deteriorated.

PRECAUTIONS

During repair.carcfully take the following precautions.
(The following precautions are included in the service
parts.)

" l.GroundIor the work-desk.
Place a conductive sheet such as a sheet of copper
(with impedance lower than lOMohm) on the work-
deslr and place the set on the conductive sheet so that
the chassis can be grounded.

2.Grounding for the test equipments and tools.

Test equipments and toolings should be grounded in
order that their ground level is the same the ground of
the power source.

3. Grounding for the human body.
Be sure to put on a wrist-strap that is properly
grounded.
Be particularly careful when wearing synthetic fiber
clothes. or air is dry.

4. Select a soldering iron that permits no leakage and

.have the tip of the iron well-grounded.

5. Do not check the laser diode terminals with the probe

of a circuit tester or oscilloscope.

PROTECTION OF EYES FROM LASER BEAM DURING SERVICING

This set employs a laser. Therefore, he sure to carefully
follow the instructions below when servicing.

WARNING .II

SERVICE WARNING: DO NOT APPROACH THE
LASER EXIT WITH THE EYES TOO CLOSELY.
IN CASE IT IS NECESSARY TO CONFIRM LASER
BEAM EMISSION, BE SURE TO OBSERVE FROM
A DISTANCE OF MORE THAN 30cm FROM THE
SURFACE OF THE OBJECTIVE LENS ON THE
OII'ICAL PICK-UP BLOCK.

Laser Diode Properties

Material: GaAlAs
Wavelenghth: 7 80nm
Emission Duration: continuous
Laser output: max. SmW"

* This output is the value measure at a distance about 1.8mm
from the objective lens surface on the Optical pick-up
Block.

h..l

Vail

Page 31

(A1)x1

.7 5
MD MECHANISM SECTION " m

0 Remove the optical head pick up

(refer to Fig.1)
1. Screw (A1) take off.

Fig.1
0 Cartridge holder take off _ Sledlever
(refer to Fig.2) Roller arm Cartridge holder
\ . .
Clump lever \ 13V
Cam p1 ate (32) xx
Fig.2
0 (E1111
61.71:!mm
(E1 )xv
E1.7)8.Smm
O Mecha switch PC Board ' '

take off. (refer to Fig.3)