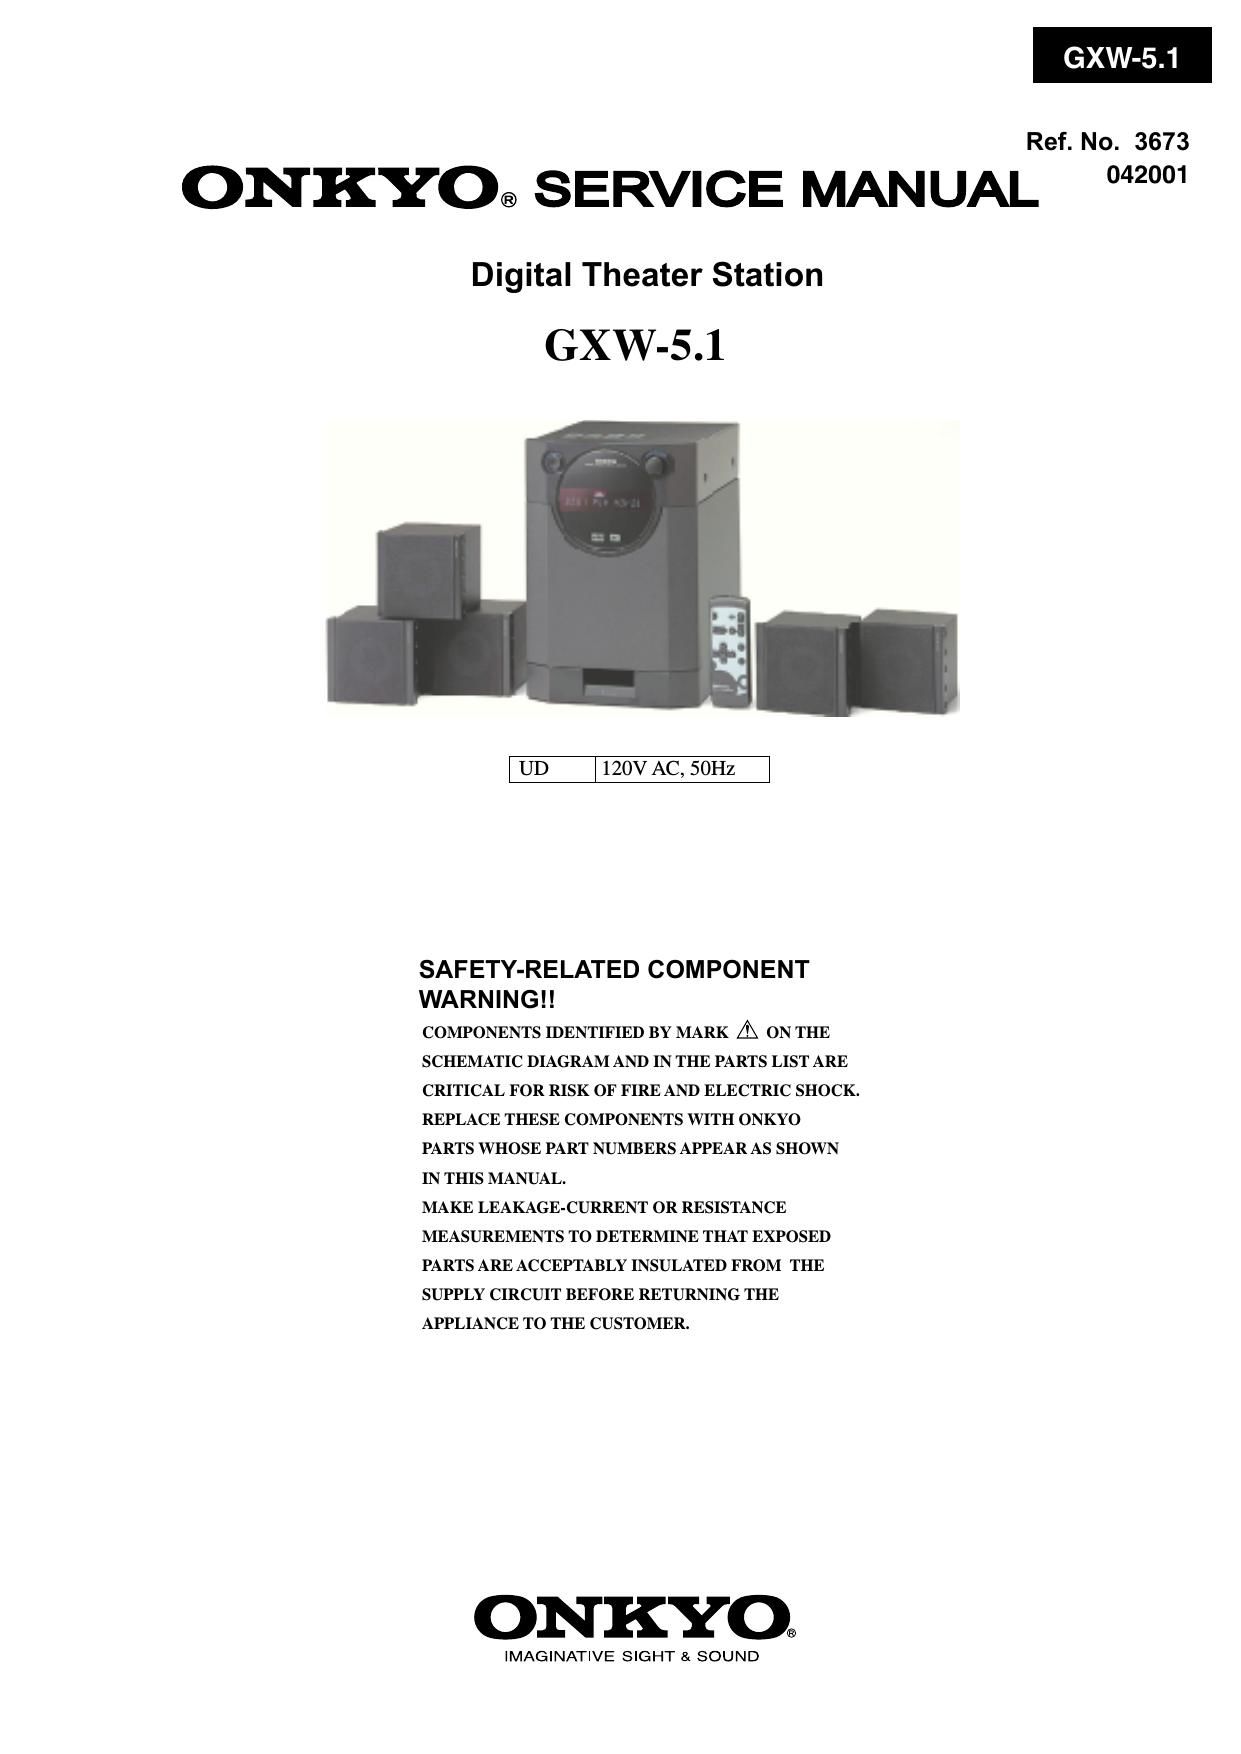
Onkyo GXW 5 Service Manual

This is the 20 pages manual for Onkyo GXW 5 Service Manual.
Read or download the pdf for free. If you want to contribute, please mail your pdfs to info@audioservicemanuals.com.

Page: 1 / 20
left right
Onkyo GXW 5 Service Manual

Extracted text from Onkyo GXW 5 Service Manual (Ocr-read)


Page 1

Ref. No. 3673

ONKYO® SERVICE MANUAL 2°01

Digital Theater Station
GXW-5.1

120V AC, SOHZ

SAFETY-RELATED COMPON ENT
WARNI N G! !

COMPONENTS IDENTIFIED BY MARK A ON THE
SCHEMATIC DIAGRAM AND IN THE PARTS LIST ARE
CRITICAL FOR RISK OF FIRE AND ELECTRIC SHOCK.
REPLACE THESE COMPONENTS WITH ONKYO
PARTS WHOSE PART NUMBERS APPEAR AS SHOWN
IN THIS MANUAL.

MAKE LEAKAGE-CURRENT 0R RESISTANCE
MEASUREMENTS TO DETERMINE THAT EXPOSED
PARTS ARE ACCEPTABLY INSULATED FROM THE
SUPPLY CIRCUIT BEFORE RETURNING THE
APPLIANCE TO THE CUSTOMER.

ONKYO®

|MAGINAT|VE SIGHT 8. SOUND

Page 2

SERVICE SAFETY PRECAUTIONS

1. Replacing the fuse 2. Safety check out
_EEi_ This symbol located near the fuse (Only U_ S_ A, model)
indicates that the fuse used is fast After correcting the original service problem, perform the
operating type. For continued protection against fire hazard, following safety check before releasing the set to the customer.
replace With same type {USC- For fuse rating refer [0 the Connect the insulating»resistance tester between the plug of
marking adjacent to the SymbOI- power supply cord and screw on the back panel.

Specifications: 3.3M ohm +/- 10% at 500 V.
-EB- Ce symbol indique le fusible utlise est a rapide.
Pour une protection permanente, n'untiliser que fusibles de
meme type. Ce damier est la qu 1e present symbol est appse.

Circuit No. Part No. Description
F901 252159 2A-UL/T-237

NOTE: : 120V model only

3. To initialize the unit
1. Press the standby button.
2. Press and hold down the STANDBY/ON, them press the
LATE NIGHT butoon at remoter controller.
3. After "CLEAR" is dislpayed, and initialized the unit.

4. Test mode

1. Press the standby button.

2. Press and hold down the STANDBY/ON, them press the
CHANNEL butoon.

3. Press the LEVEL/DISTANCE button and get the test mode
displayed "TEST-l-OO".

EX) "TEST-I-00~01" is used the fan control operation.