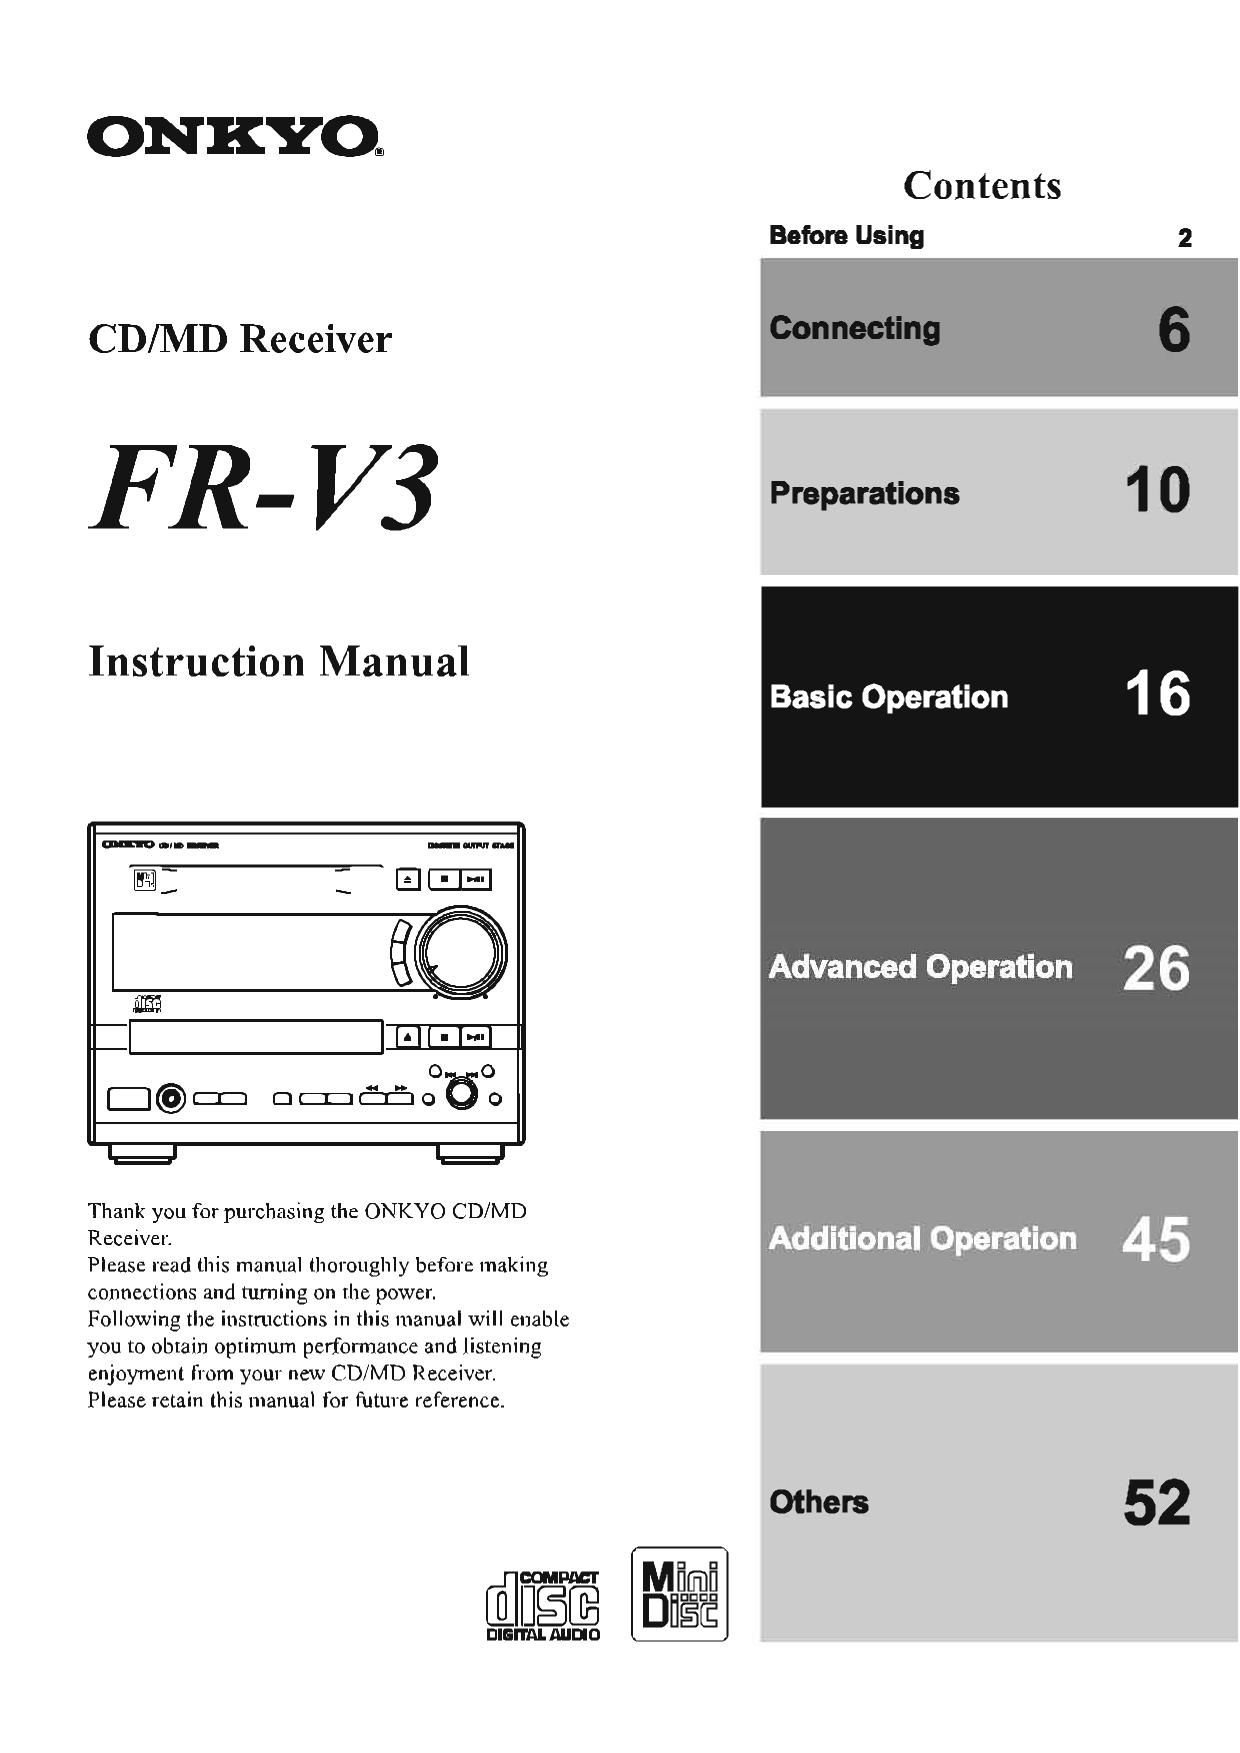
Onkyo FRV 3 Owners Manual

This is the 60 pages manual for Onkyo FRV 3 Owners Manual.
Read or download the pdf for free. If you want to contribute, please mail your pdfs to info@audioservicemanuals.com.

Page: 1 / 60
left right
Onkyo FRV 3 Owners Manual

Extracted text from Onkyo FRV 3 Owners Manual (Ocr-read)


Page 1

ONKYO.

CD/MD Receiver

FR- V3

Instruction Manual

o o
D©Cr2 amtfifioao

Thank you for purchasing the ONKVO CD/MD
Receiver.

Please read this manual thoroughly before making
connections and turning on the power.

Following the instructions in this manual will enable
you to obtain optimum performance and listening
enjoyment from your new CD/MD Receiver.

Please retain this manual for future reference.

dlfiEE

Mfi
DEE

.E

[E

Contents
Before Using

Preparations

Basic Operation

Advanced Operation

10

Addltlonal Opsratlon 45

Others

52

Page 2

RAIN OR MOISTURE.

CAUTION:

To REDUCE THE RISK OF ELECI'RIC SHOCK. Do
NOT REMOVE COVER (OR BACK). NO USER-
SERVICEABLE PARTS INSIDE. REFER SERVICING
To QUALIFIED SERVICE PERSONNEL.

RISK OF ELECTRIC SHOCK
DO NOT OPE

AVIS

RISQUE DE CHOC ELECTRIQUE
NE PAS OUVRIR

WARNING:
To REDUCE THE RISK OF FIRE OR ELECTRIC
SHOCK. Do NOT EXPOSE THIS APPLIANCE TO

The lightning flash with arrowhead symbol,
within an equilateral triangle, is intended to alert
the user to the presence of uninsulated
dangerous voltage within the products
enclosure that may be of sufficient magnitude to
constitute a risk of electric shock to persons.

The exclamation point within an equilateral
triangle is intended to alert the user to the
presence of important operating and
maintenance (servicing) instructions in the
literature accompanying the appliance.

Important Safeguards

1. Read Instructions -All the safety and operating instructions should
be read before the appliance is operated.

2. Retain Instructions -The safety and operating instructions should
be retained for future reference.

3. Heed Wamlngs - All warnings on the appliance and in the
operating instructions should be adhered to.

4. Follow Instructions - All Operating and use instructions should
be followed.

5. Water and Moisture - The appliance should not be used near
water- for example. neara bathtub. washbowl. kitchen sink. laundry
tub, in a wet basement, or near a swimming pool, and the like.

6. Cart: and stands - The appliance should be used only with a
cart or stand that is recommended by the
manufacturer.

6A. An appliance and cart combination should
be moved with care. Quick stops.
excessive force, and uneven surfaces may
cause the appliance and cart combination
to overturn.

PORTABLE cm WARNING

7. Wall or Celllng Mounting - The appliance should be mounted to
a wall or ceiling only as recommended by the manufacturer.

8. Ventilation -The appliance should be situated so that its location
or position does not interfere with its properventilation. For example,
the appliance should not be situated on a bed. sofa, rug, or similar
surface that may block the ventilation openings; or if placed in a
built-in installation. such as a bookcase orcabinet that may impede
the flow of air through the ventilation openings. there should be
free space of at least 20 an (8 in.) and an opening behind the
appliance.

9. Heat - The appliance should be situated away from heat sources
such as radiators, heat registers, stoves, or other appliances
(including amplifiers) that produce heat.

10. Power Sources -The appliance should be connected to a power
supply only of the type described in the operating instructions or
as marked on the appliance.

16.

17.

18.

19.

. Polarization - If the appliance is provided with a polarized plug

having one blade wider than the other. please read the following
information:

The polarization of the plug is a safety feature. The polarized plug
will only fit the outlet one way. If the plug does not fit fully into the
outiet, try reversing it. If there is still trouble, the user should seek
the services of a qualified electrician. Under no circumstances
should the user attempt to defeat the polarization of the plug.

. PowerbCord Protection - Power-supply cords should be routed

so that they are not likely to be walked on or pinched by items
placed Upon or against them, especially near plugs, convenience
receptacles, and the point where they exit from the appliance.

. Cleaning -The appliance should be cleaned only as recommended

by the manufacturer.

. Power Lines - An outdoor antenna should be located away from

power lines.

. Nonuse Periods - The power cord of the appliance should be

unplugged from the outlet when left unused for a long period Of
time.

Object and Liquid Entry - Care should be taken so that objects
do not fall and liquids are not spilled into the enclosure through
openings.

Damage Requiring Service - The appliance should be serviced
by qualified service personnel when:

A. The power-supply cord or the plug has been damaged; or

B. Objects have fallen, or liquid has been spilled into the
appliance; or

C. The appliance has been exposed to rain; or

D. The appliance does not appear to operate normally or
exhibits a marked change in performance; or

E. The appliance has been dropped, orthe enclosure damaged.

Servicing - The user should not attempt to service the appliance
beyond that described in the operating instructions. All other
servicing should be referred to qualified service personnel.

Outdoor Antenna Grounding - If an outside antenna is connected
to the receiver. be sure the antenna system is grounded so as to
provide some protedion against voltage surges and built up static
charges. Article 310 of the National Electrical Code, ANSI/NFPA
70, provides information with regard to proper grounding of the
mast and supporting structure. grounding of the lead-in wire to an
antenna-discharge unit, size of grounding conductors, location of
antenna-discharge unit. connection to grounding electroda. and
requirements for the grounding electrode. See Figure 1.

Page 17

Q Changing the display information - operating only with the unit

Press DISPLAY repeatedly to change the display as follows:

During playback or peuee

While the CD is stopped

Tout number Total playing The elepeed time of the playing treck
of the trestle tlme ED 1 T 51 3 TRACK ELAPSED'
. "DISC" E- is lit while the elapsed time of
is lit while the disc the playing track is displayed.
Informatlon Is
Ir displayed. The remaining time of the playan track
CD neme' ED 1 T 43 3 TRACK REMAIN"
DISC 1111.E" lEl-J- ls llt while the remaining time
is lit while the disc of the playtng track Is
name is displayed. * displayed.
The remaining time ofthe die:
If you have not named the CD, No Name" appears C D 1 T 5' gif fiscal]: the remaining time
in the display. (See Naming a CD, MD and its of the disc is displayed.

tracks. and preset channels' on page 30.)
lt'you have a long diec name

You can scroll long namee across the display by
pressing SCROLL on the remote controller. (See

below.)

0 Operating with the remote controller

m
Al
1.
n
O
'5
{D
1
A)
S".
O
3

- souecs SELEcroR - PMS to stop playback.
POWER CD MD FM AM
:28; to awltch the source B CD D D D
I SLEEP TAPE LINEvt LINE-2 DIGITAL
:1 a :l a a Pmstopause-
« firs-- - To restart playback. press the same
CID MD D B button (II), or CD >.
MODE REFEAY
Press to scroll along name (:1 E:| [:1 (:1 Press to play
5' e
ms In the display. (3 3% fir d] c: Playback starts tithe CD Is In the unit.
,« The unit In standby mode turns on
CI D a automatically.
Cl [3 CI
Press the number buttons , 9 53155 5:- Press to select the track to
following the examples Cl E Ell D C! play.
bOIGW to play back the --l--- 10) 'cmwwuwne "1W5 ' Pleas H4 to locate lhe beginning of
desired track. F-I fl _' [-1 f? the playing or pausing track. Press
' H4 repeatedly to select the former
The track W tracks in reverse order.
to play Press - To select the next llack In order,
press >>l repeatedly.
8
10 10I0
-= iii. Press to locate a particular
34 -I ' III _ point of the track
103 .E. II Press and hold » tor fast-forwarding,
and « for last-reversing during
iii El playback or pause urrtll you find the
-Upreaentf or the tens digit. point you want.

17

Page 36

Moving. dividing, combining, and erasing MD tracks (continued)

0 Dividing a selected track
- Divide

- This is done while the MD is playing or paused.

- When the selected track is named (see page 30).
only the preceding one of the divided lracks will
receive the name.

- To cancel the operation. press MD l.

%E-

5
3.1.8
.8

4d»

Insert the MD. then select MD as
the source.

Use a recordable MD with the record-
protect window dosed.

Press MD >/ I I.
Playback will start.

MULTI JOE

Turn MU LTI .106 to select the
track to divide.

Ybu may press » to fast-forward, or
« to fast-reverse to Ioeate the point
in lhe selected track.

{'10 Eli 3159

Press MD b!" at the point you
wish to divide.
The MD will be paused.

EflT l CLEAR

36

Press EDITICLEARINO
repeatedly until Divide?"
appears in the display.

2» Divide?

REPEAT

%ye

Press REPEAT/YES.

Rehearsel' and Pesition OK? appear
alternatively and the approximate four-
second section around the dividing
point will be played repeatedly.

Approximate four seconds
rehearsal play

A-

The dividing point

1
MULTI J06

PUSH TO
ENTER

If necessary. turn MULTI JOG for
fine adjustment of the dividing
point.

You may adjust the dividing point
between the value -45 and +45
(approximately -3 and +3 seconds)
within the selected track.

Dn.-:4~:a-.HJ_11
(UJIUIUIIIAL

Apprndmate four seconds
rehearsal play

A lmate
Th. dlvldlng gm sogonds

point
8 Press REPEATIYES or MULTI
REPEAT JOG to divide.
VE Complete' appears.
The selected track was divided and all
/ r the tracks have been renumbered from
. the top.
MULTI .596
I11 M
C 0 m P 1 e t e
El
'33? Dividing in. selected track

1-3E
l
1II3E
ii i
E

i
Renunrberlng the tracks

1-fl4

Page 54

54

System limitations

The MD recording system in the unit is radically
different from those used in cassette and DAT decks
and is characterized by the limitations described
below. Note, however, that these limitations are due to
the inherent nature of the MD recording system itself
and not to mechanical causes.

Disc Full" lights up even before the disc has
reached the maximum recording time (60, 74, or
80 minutes)

When 255 tracks have been recorded on the disc,
Disc Full" lights up regardless of the total recorded
time. More than 255 tracks cannot be recorded on
the disc. To record new tracks, erase unnecessary
tracks or use another MD.

Disc Full lights up before the maximum
number of tracks is reached

Fluctuations in emphasis within tracks are
sometimes interpreted as track intervals,
incrementing the track count and causing the Disc
Full indication to light up.

The remaining recordable time does not
increase even after erasing numerous short
tracks

Tracks of under 12 seconds in length are not
counted and so erasing them may not lead to an
increase in the remaining recordable time.

Some tracks cannot be combined with others
Track combination may become impossible when
tracks are edited.

The total recorded time and the remaining time
on the disc may not total the maximum
recording time (60, 74, or 80 minutes)
Recording is done in minimum units of 2 seconds
each, no matter how short the material is. The
contents recorded may thus be shorter than the
maximum recording capacity. Disc space may also
be further reduced by scratches.

Track created through editing may exhibit
sound dropout during searching operations.

Track numbers are not recorded correctly
Incorrect assignment or recording of track numbers
may result (1) when CD tracks are divided into
several smaller tracks during digital recording, or (2)
when certain CDs are recorded with the Level Sync
On for automatic track marking.

MD Reading appears for a long time

If the inserted recordable disc is bland new, MD
Reading" appears on the display longer than those
that have been used.