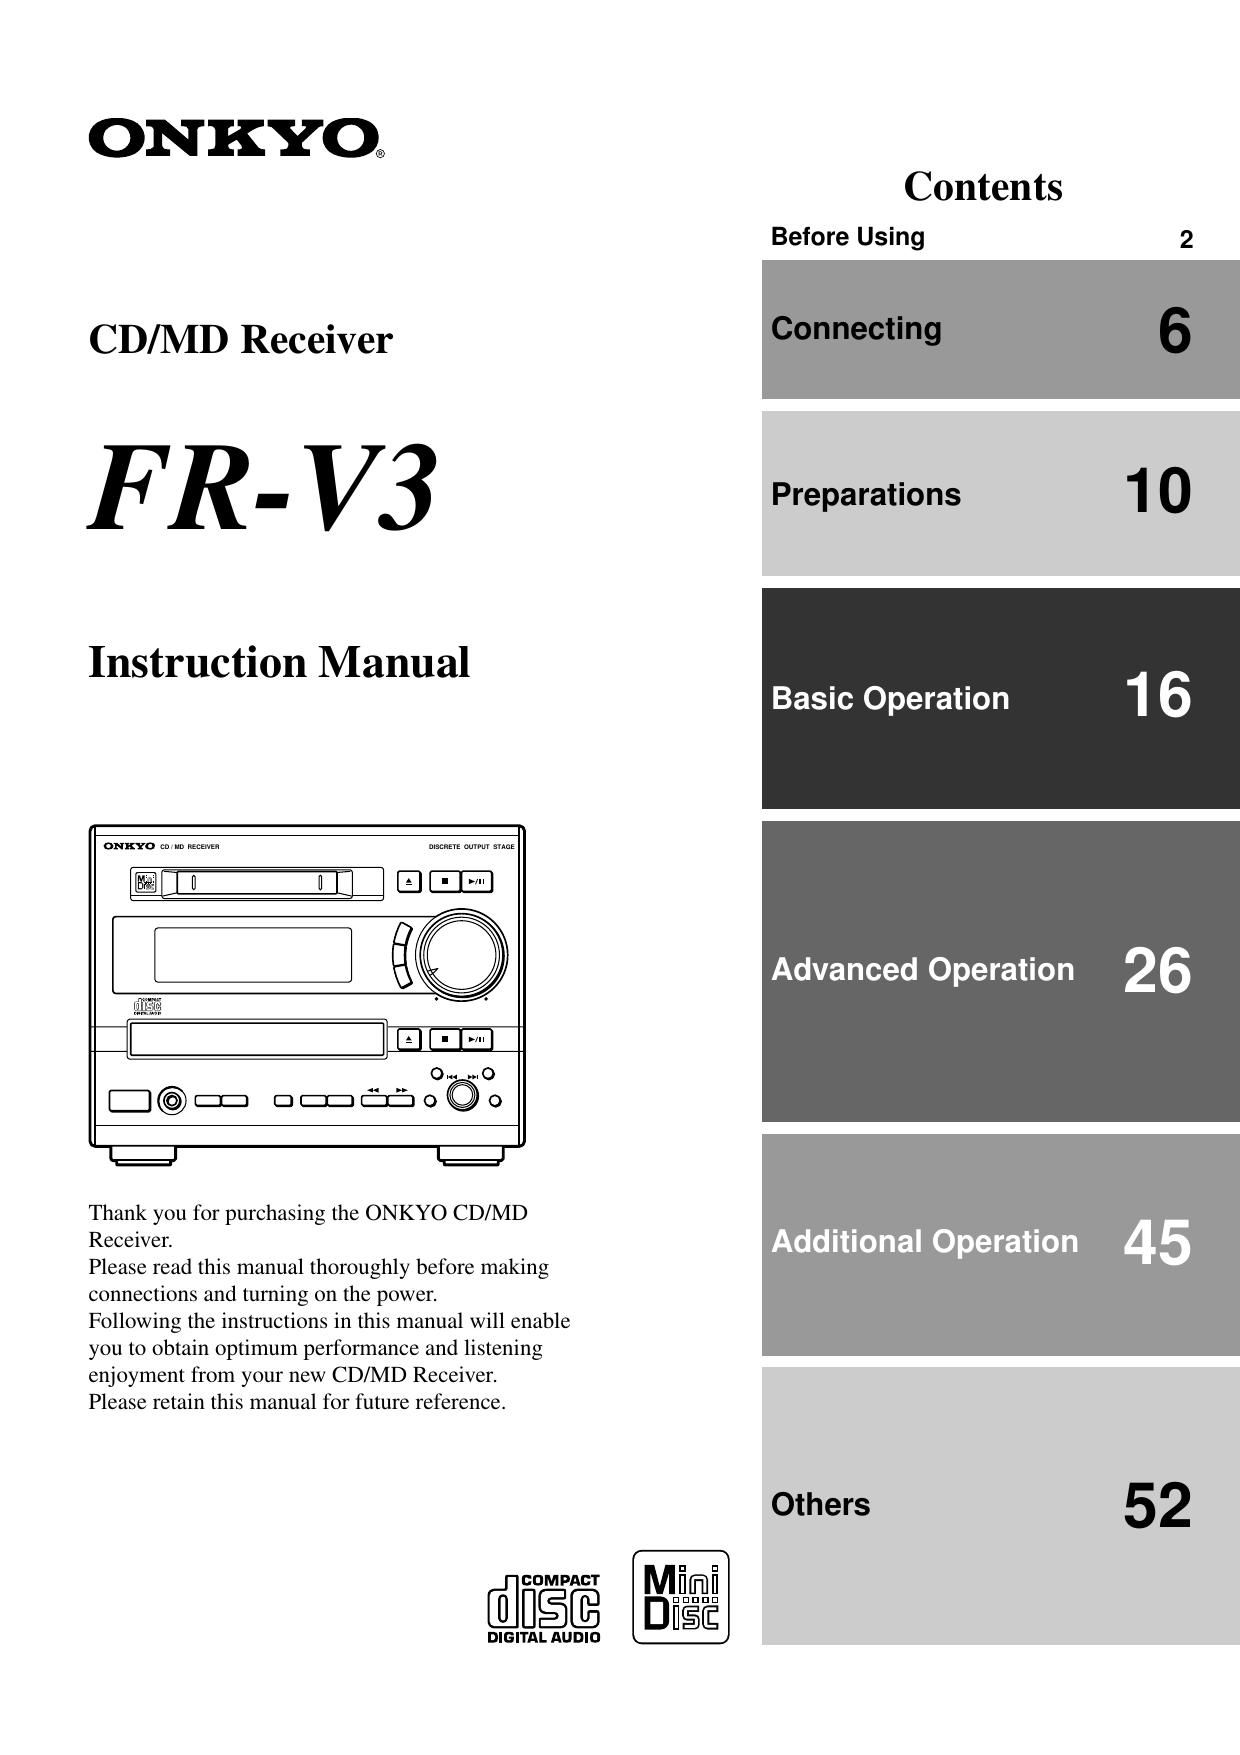
Onkyo FRV 3 Owners Manual 2

This is the 60 pages manual for Onkyo FRV 3 Owners Manual 2.
Read or download the pdf for free. If you want to contribute, please mail your pdfs to info@audioservicemanuals.com.

Page: 1 / 60
left right
Onkyo FRV 3 Owners Manual 2

Extracted text from Onkyo FRV 3 Owners Manual 2 (Ocr-read)


Page 1

21.Read Instructions - All the safety and operating instructions should be read before the appliance is operated. 2.Retain Instructions - The safety and operating instructions should be retained for future reference. 3.Heed Warnings - All warnings on the appliance and in the operating instructions should be adhered to. 4.Follow Instructions - All operating and use instructions should be followed. 5.Water and Moisture - The appliance should not be used near water - for example, near a bathtub, washbowl, kitchen sink, laundry tub, in a wet basement, or near a swimming pool, and the like. 6.Carts and Stands - The appliance should be used only with a car t or stand that is recommended by the manufacturer. 6A. An appliance and cart combination should be moved with care. Quick stops, excessive force, and uneven surfaces may cause the appliance and cart combination to overturn. 7.Wall or Ceiling Mounting - The appliance should be mounted to a wall or ceiling only as recommended by the manufacturer. 8.Ventilation - The appliance should be situated so that its location or position does not interfere with its proper ventilation. For example, the appliance should not be situated on a bed, sofa, rug, or similar surface that may block the ventilation openings; or if placed in a built-in installation, such as a bookcase or cabinet that may impede the flow of air through the ventilation openings, there should be free space of at least 20 cm (8 in.) and an opening behind the appliance. 9.Heat - The appliance should be situated away from heat sources such as radiators, heat registers, stoves, or other appliances (including amplifiers) that produce heat. 10.Power Sources - The appliance should be connected to a power supply only of the type described in the operating instructions or as marked on the appliance.11.Polarization - If the appliance is provided with a polarized plug having one blade wider than the other, please read the following information: The polarization of the plug is a safety feature. The polarized plug will only fit the outlet one way. If the plug does not fit fully into the outlet, try reversing it. If there is still trouble, the user should seek the services of a qualified electrician. Under no circumstances should the user attempt to defeat the polarization of the plug. 12.Power-Cord Protection - Power-supply cords should be routed so that they are not likely to be walked on or pinched by items placed upon or against them, especially near plugs, convenience receptacles, and the point where they exit from the appliance. 13.Cleaning - The appliance should be cleaned only as recommended by the manufacturer. 14.Power Lines - An outdoor antenna should be located away from power lines. 15.Nonuse Periods - The power cord of the appliance should be unplugged from the outlet when left unused for a long period of time. 16.Object and Liquid Entry - Care should be taken so that objects do not fall and liquids are not spilled into the enclosure through openings. 17.Damage Requiring Service - The appliance should be serviced by qualified service personnel when: A. The power-supply cord or the plug has been damaged; or B. Objects have fallen, or liquid has been spilled into the appliance; or C. The appliance has been exposed to rain; or D. The appliance does not appear to operate normally or exhibits a marked change in performance; or E. The appliance has been dropped, or the enclosure damaged. 18.Servicing - The user should not attempt to service the appliance beyond that described in the operating instructions. All other servicing should be referred to qualified service personnel. 19.Outdoor Antenna Grounding - If an outside antenna is connected to the receiver, be sure the antenna system is grounded so as to provide some protection against voltage surges and built up static charges. Article 810 of the National Electrical Code, ANSI/NFPA 70, provides information with regard to proper grounding of the mast and supporting structure, grounding of the lead-in wire to an antenna-discharge unit, size of grounding conductors, location of antenna-discharge unit, connection to grounding electrodes, and requirements for the grounding electrode. See Figure 1.Important SafeguardsS3125APORTABLE CART WARNINGThe lightning flash with arrowhead symbol, within an equilateral triangle, is intended to alert the user to the presence of uninsulated Òdangerous voltageÓ within the productÕs enclosure that may be of sufficient magnitude to constitute a risk of electric shock to persons. The exclamation point within an equilateral triangle is intended to alert the user to the presence of important operating and maintenance (servicing) instructions in the literature accompanying the appliance.WARNING:TO REDUCE THE RISK OF FIRE OR ELECTRIC SHOCK, DO NOT EXPOSE THIS APPLIANCE TO RAIN OR MOISTURE.CAUTION:TO REDUCE THE RISK OF ELECTRIC SHOCK, DO NOT REMOVE COVER (OR BACK). NO USER- SERVICEABLE PARTS INSIDE. REFER SERVICING TO QUALIFIED SERVICE PERSONNEL.WARNINGRISK OF ELECTRIC SHOCK DO NOT OPENRISQUE DE CHOC ELECTRIQUE NE PAS OUVRIRAVIS

Page 2

3 1.Warranty Claim You can find the serial number on the rear panel of this unit. In case of warranty claim, please report this number. 2. Recording Copyright Recording of copyrighted material for other than personal use is illegal without permission of the copyright holder. 3. AC Fuse The fuse is located inside the chassis and is not user-serviceable. If power does not come on, contact your Onkyo authorized service station. 4. Power WARNING BEFORE PLUGGING IN THE UNIT FOR THE FIRST TIME, READ THE FOLLOWING SECTION CAREFULLY. The voltage of the available power supply differs according to country or region. Be sure that the power supply voltage of the area where this unit will be used meets the required voltage (e.g., AC 230 V, 50 Hz or AC 120 V, 60 Hz) written on the rear panel. Worldwide models are equipped with a voltage selector to conform to local power supplies. Be sure to set this switch to match the voltage of the power supply in your area before plugging in the unit. 5. Do not touch this unit with wet hands Do not handle this unit or power cord when your hands are wet or damp. If water or any other liquid enters the case, take this unit to an authorized service center for inspection. 6. Location of this unit Place this unit in a well-ventilated location. Take special care to provide plenty of ventilation on all sides of this unit especially when it is placed in an audio rack. If ventilation is blocked, this unit may overheat and malfunction. Do not expose this unit to direct sunlight or heating units as this unit's internal temperature may rise and shorten the life of the pickup. Avoid damp and dusty places and places directly affected by vibrations from the speakers. In particular, avoid placing the unit on or above one of the speakers. Be sure this unit is placed in a horizontal position. Never place it on its side or on a slanted surface as it may malfunction. Do not place near tuners or TV sets. If placed next to a TV or tuner, it may cause reception interference resulting in some noise in the TV or tuner output. 7. Care From time to time you should wipe the front and rear panels and the cabinet with a soft cloth. For heavier dirt, dampen a soft cloth in a weak solution of mild detergent and water, wring it out dry, and wipe off the dirt. Following this, dry immediately with a clean cloth. Do not use rough material, thinners, alcohol or other chemical solvents or cloths since these could damage the finish or remove the panel lettering. 8. Points to remember If this unit is brought from a cold environment to a warm one or is in a cold room that is quickly heated, condensation may form on the pickup, preventing proper operation. In this case, remove the disc and leave the power ON for about one hour to remove the condensation. When transporting this unit, be careful not to bump it. US and foreign patents licensed from Dolby Laboratories Licensing Corporation. This unit contains a semiconductor laser system and is classified as a ÒCLASS 1 LASER PRODUCT.Ó So, to use this model properly, read this Instruction Manual carefully. In case of any trouble, please contact the store where you purchased the unit. To prevent being exposed to the laser beam, do not try to open the enclosure. DANGER: INVISIBLE LASER RADIATION WHEN OPEN AND INTERLOCK FAILED OR DEFEATED. AVOID DIRECT EXPOSURE TO BEAM. CAUTION: THIS PRODUCT UTILIZES A LASER. USE OF CONTROLS OR ADJUSTMENTS OR PERFORMANCE OF PROCEDURES OTHER THAN THOSE SPECIFIED HEREIN MAY RESULT IN HAZARDOUS RADIATION EXPOSURE. CLASS 1 LASER PRODUCT Precautions This label on the left-hand side of the unit states that: 1. This unit is a CLASS 1 LASER PRODUCT and employs a laser inside the cabinet. 2. To prevent the laser from being exposed, do not remove the cover. Refer servicing to qualified personnel. GROUND CLAMP ELECTRIC SERVICE EQUIPMENT POWER SERVICE GROUNDING ELECTRODE SYSTEM (NEC ART 250, PART H)GROUND CLAMPS GROUNDING CONDUCTORS (NEC SECTION 810-21)ANTENNA DISCHARGE UNIT (NEC SECTION 810-20) ANTENNA LEAD IN WIRE NEC - NATIONAL ELECTRICAL CODE S2898A FIGURE 1: EXAMPLE OF ANTENNA GROUNDING AS PER NATIONAL ELECTRICAL CODE Das private Onkyo Archiv © von Dirk Gardi Der Online-Treff zum Thema Onkyo! www.gardi.de Das private Onkyo Archiv © von Dirk Gardi Der Online-Treff zum Thema Onkyo! www.gardi.de Das private Onkyo Archiv © von Dirk Gardi Der Online-Treff zum Thema Onkyo! www.gardi.de

Page 43

44 Switching the set timer On/Off You can switch each set timer to Off, or On after switching it Off. 1 Check each timer to see whether it is On or Off. The indicator of the timer set to On is lit in the display. 2 Press TIMER PROGRAM repeatedly until the desired timer appears in the display. 3 Press TIMER ON/OFF. If the timer was On, it will become Off, and if the timer was Off, it will become On. Note If you set the timer to On, be sure to prepare the source, and turn off the unit as described in step 8 and 9 on page 42. Using the timers (continued) ONCE = Once Timer W.DAY = Weekday Timer W.END = Weekend Timer REC = Rec Timer SLEEP SOURCE C D TIMER M D M D CH C D C D ONCE W.DAY W.END REC L RS.BASS-40-20-10 0 OVER-6-2 MUTING DIGITAL CHAIN REPEATDISC TRACK ELAPSED REMAIN TITLE RDS MONO AUTO STEREO TUNED 1 TR MEMORY RANDOM LEVEL - SYNC - M D DUB TOC SLEEP SOURCE C D TIMER M D M D CH C D C D ONCE W.DAY W.END REC L RS.BASS-40-20-10 0 OVER-6-2 MUTING DIGITAL CHAIN REPEATDISC TRACK ELAPSED REMAIN TITLE RDS MONO AUTO STEREO TUNED 1 TR MEMORY RANDOM LEVEL - SYNC - M D DUB TOC SLEEP SOURCE C D TIMER M D M D CH C D C D ONCE W.DAY W.END REC L RS.BASS-40-20-10 0 OVER-6-2 MUTING DIGITAL CHAIN REPEATDISC TRACK ELAPSED REMAIN TITLE RDS MONO AUTO STEREO TUNED 1 TR MEMORY RANDOM LEVEL - SYNC - M D DUB TOC If the start or end time of a timer overlaps another timer If the same start time is set in more than one timer The priority of the timers is follows: Once, Weekday, Weekend, and Rec timer in order. If the start time of a timer has arrived while another timer is operating The timer that operated first has priority over the overlapped timer. The latter timer will be canceled, including the end time. When you are setting the timer, make sure to keep at least a one min ute inter val between the end time of the former timer and the start time of the latter timer. What happens to a Rec or Once timer if it does not operate because the power was On or overlapped another timer? The timers will automatically be switched to Off. 3 2 PROGRAM ON TIMER RAM ON / OFF TIMER Das private Onkyo Archiv © von Dirk Gardi Der Online-Treff zum Thema Onkyo! www.gardi.de Das private Onkyo Archiv © von Dirk Gardi Der Online-Treff zum Thema Onkyo! www.gardi.de Das private Onkyo Archiv © von Dirk Gardi Der Online-Treff zum Thema Onkyo! www.gardi.de

Page 55

56 Troubleshooting Use this troubleshooting guide as an aid to remedy any problems. Symptom The unit does not turn on. No sound is reproduced from neither the left or right speaker. Noise is heard. The disc skips sounds. Track numbers cannot be stored when setting MEMORY playback. The disc is loaded in the disc tray, but playback will not begin. Search time (when moving to a specific track) is extremely long. Disc cannot be loaded. The unit does not record. The disc name or track name cannot be entered.Cause The AC power cord (mains lead) is not fully inserted into the wall outlet (the mains). ¥ The wire of the speaker cord is touching the other jacks, connectors, or metal parts. ¥ The volume level is turned down to the minimum. ¥ The sound is muted with the muting function. ¥ The headphones are connected to the PHONES jack. ¥ The audio cables are not inserted firmly. Strong magnetism from a television or a similar device is interfering with operations. ¥ Vibrations are being transmitted to the unit. ¥ The disc is severely scratched. ¥ The disc is extremely dir ty. Ð CD ¥ There is no disc inserted in the unit. ¥ A track number not on the disc is being input. ¥ The disc is inser ted with the wrong side facing upward. Ð CD ¥ The disc is extremely dir ty. Ð CD ¥ The disc is dirty or damaged. (ÒDisc ErrorÓ appears in the display.) Ð MD ¥ The disc inserted is not recorded. Ð MD ¥ Moisture has formed inside the unit. ¥ The disc is dirty. ¥ The disc is scratched. ¥ The wrong side of the disc being inserted is facing to the unit. ¥ The disc is record-protected. (ÒProtectedÓ appears in the display.) ¥ The unit is not connected properly to the sound source. ¥ The analog recording level is too low. ¥ A playback-only disc is inserted. (ÒCannot RecÓ appears in the display.) ¥ There is not enough time left on the disc. ¥ The optical digital audio cable is not connected properly. (ÒD. In UnlockÓ appears in the display.) ¥ There has been a power failure or the AC power cord (mains lead) has been disconnected. ¥ ÒRetry ErrorÓ appears in the display. ¥ The disc is record-protected. (ÒProtectedÓ appears.) ¥ A playback-only disc is inserted. (ÒCannot RecÓ appears.) Remedy Insert the AC power cord (mains lead) plug to the wall outlet (the mains) securely. ¥ Check the speaker connections. ¥ Adjust the volume level. ¥ Press MUTING on the remote control to restore the sound. ¥ Turn down the volume level first, then disconnect the headphones. ¥ Check the connections and inser t the audio connection cable plugs firmly. Turn off any television or similar devices or move them away from the unit. ¥ Place the unit in a vibration free location. ¥ Replace the disc with a new one. ¥ Clean the disc. ¥ Insert a disc into the unit. ¥ Input only the track numbers on the disc. ¥ Insert the disc with the label side facing upward. ¥ Clean the disc. ¥ Replace the disc with a new one. ¥ The disc may be reused after erasing all the data. ¥ Replace the disc with a recorded one. ¥ Take the disc out and leave the unit for several hours until the moisture evaporates. ¥ Clean the disc. ¥ Replace the disc with a new one. ¥ Insert the disc in the direction of the arrow printed on the disc. ¥ Close the record-protect window on the disc. ¥ Check the connections and inser t the audio connection cable plugs firmly. ¥ Adjust the recording level properly. ¥ Replace the disc with a recordable one. ¥ Replace the disc with another recordable disc with enough recording time, or delete unnecessary tracks of the disc. ¥ Connect the optical digital audio cable properly. ¥ The recorded contents in the unit memory will be erased and will not be recorded onto the MD. ¥ Eject the MD, then insert it again and retry recording. ¥ Close the record-protect window on the disc. ¥ Replace the disc with a recordable one. If the unit does not operate properly even after attempting the prescribed remedies, unplug and then plug in the power cord aga in. Pages 11 6 14 14 14 9 9 Ð 55 55 16, 18, 26 26 16, 55 55 52, 55 33 183 55 55 18 22, 52, 55 8 25 22, 52 33, 34 8, 14, 38 23 23 30, 55 30, 55 Amplifier CD/MD CD MD Problems may also be caused by any of the other components connected to this unit. Please check the table below, cross- referencing with the instruction manuals of the other components. If the problem still persists after trying these remedies and referring to the other componentsÕ instruction manuals, consult your nearest ONKYO authorized service center, giving your name, address, phone number, product name, and the details of the problems. Das private Onkyo Archiv © von Dirk Gardi Der Online-Treff zum Thema Onkyo! www.gardi.de Das private Onkyo Archiv © von Dirk Gardi Der Online-Treff zum Thema Onkyo! www.gardi.de Das private Onkyo Archiv © von Dirk Gardi Der Online-Treff zum Thema Onkyo! www.gardi.de