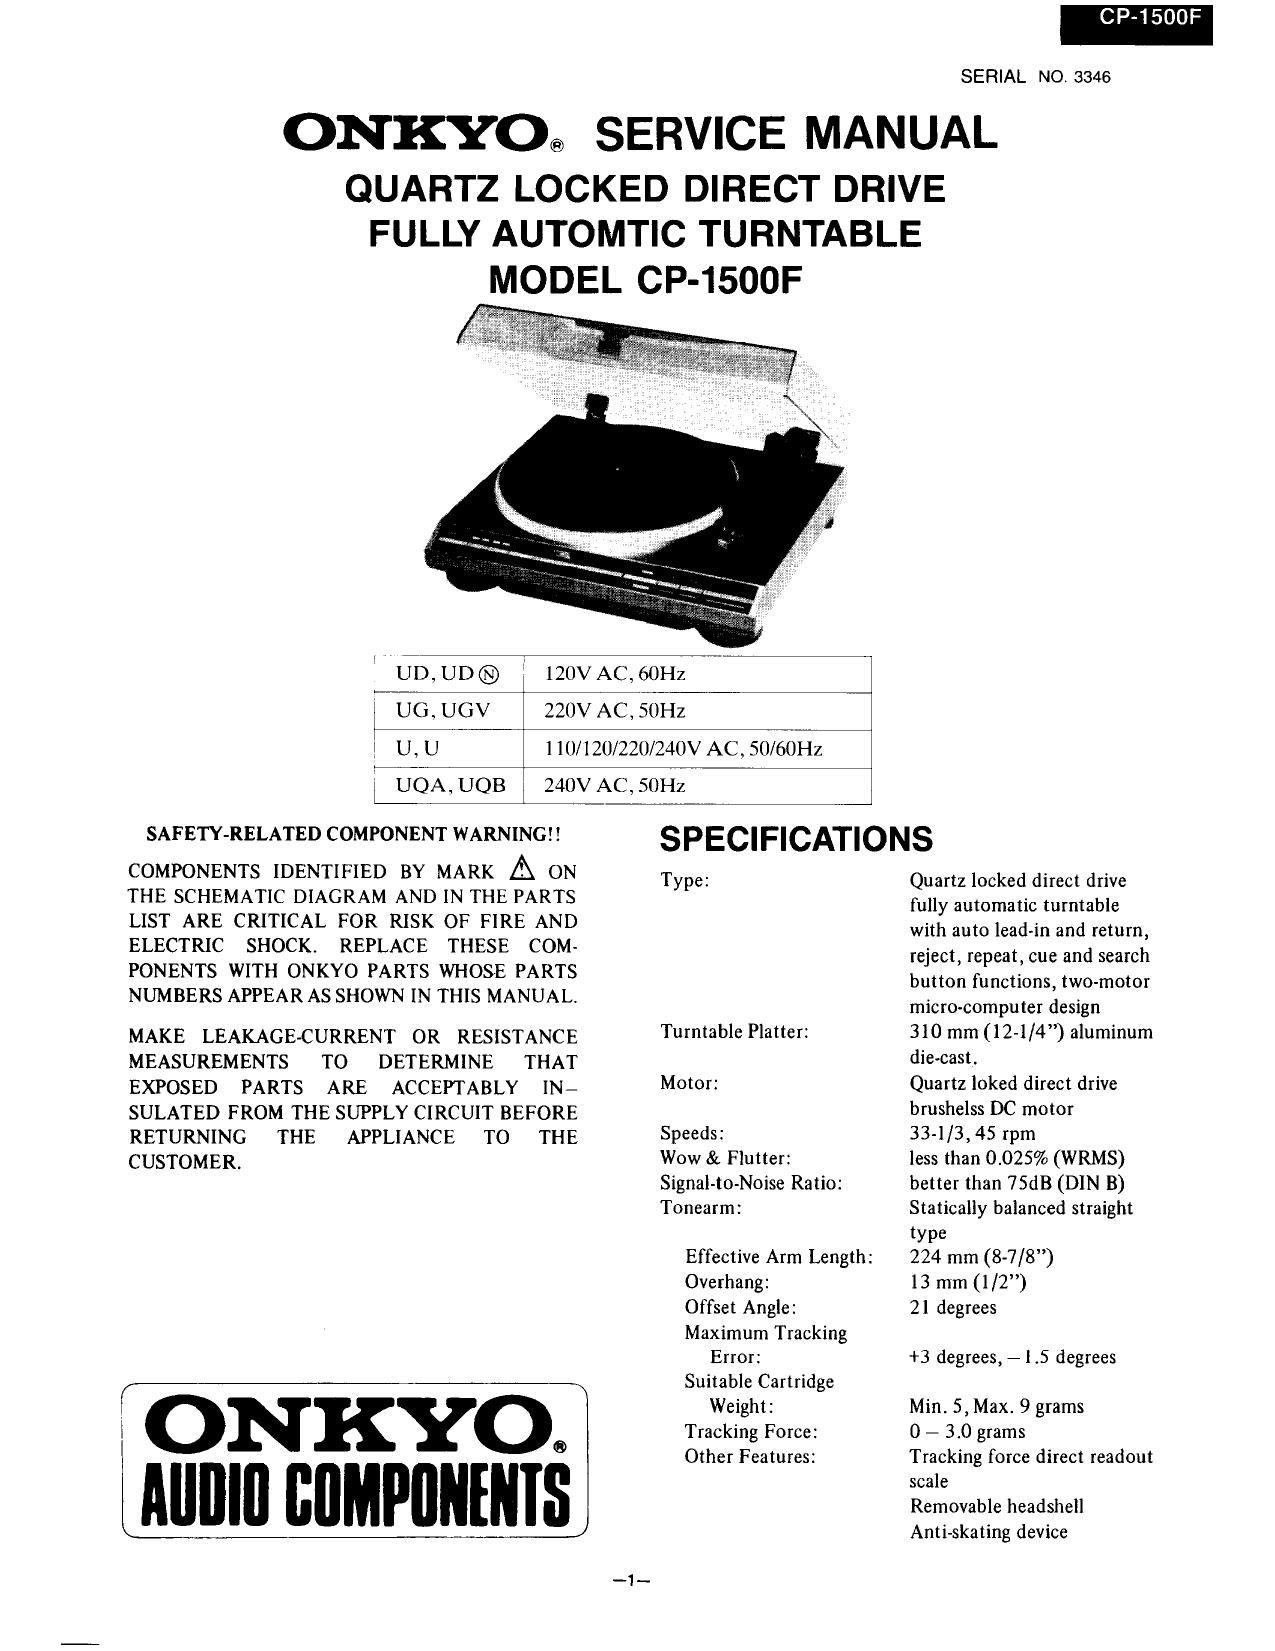
Onkyo CP 1500 F Service Manual

This is the 8 pages manual for Onkyo CP 1500 F Service Manual.
Read or download the pdf for free. If you want to contribute, please mail your pdfs to info@audioservicemanuals.com.

Page: 1 / 8
left right
Onkyo CP 1500 F Service Manual

Extracted text from Onkyo CP 1500 F Service Manual (Ocr-read)


Page 1

UDVUD®

120V AC, 60Hz

l UG. UGV

220V AC, SUHZ

lU,U

110/120/220/240V AC, 50/60Hz

l UQA,UQB 240V AC,5()HZ

SAFETY-RELATED COMPONENT WARNING

COMPONENTS IDENTIFIED BY MARK A ()N
THE SCHEMATIC DIAGRAM AND IN THE PARTS
LIST ARE CRITICAL FOR RISK OF FIRE AND
ELECTRIC SHOCK. REPLACE THESE COM-
PONENTS WITH ONKYO PARTS WHOSE PARTS
NUMBERS APPEARAS SHOWN IN THIS MANUAL

MAKE LEAKAGE-CURRENT OR RESISTANCE
MEASUREMENTS TO DETERMINE THAT
EXPOSED PARTS ARE ACCEPTABLY IN-
SULATED FROM THE SUPPLY CIRCUIT BEFORE
RETURNING THE APPLIANCE TO THE
CUSTOMER.

: ONKYOQ
l Alllllll cnmrnurms

CP-1500F

SERIAL NO 3346

()1NTKYO® SERVICE MANUAL
QUARTZ LOCKED DIRECT DRIVE
FULLY AUTOMTIC TURNTABLE

MODEL CP-1500F

SPECIFICATIONS

Type:

Turntable Platter:
Motor:

Speeds:

Wow & Flutter:
Signalvto~Noise Ratio:
Tone-arm:

Effective Arm Length:

Overhang:

Offset Angle:

Maximum Tracking
Error:

Suitable Cartridge
Weight:

Tracking Force:

Other Features:

Quartz locked direct drive
fully automatic turntable
with auto leadin and return,
reject, repeat, cue and search
button functions, two-motor
micro-computer design

310 mm (12-1/4) aluminum
die-cast.

Quartz loked direct drive
brushelss DC motor

33-1/3, 45 rpm

less than 00259;; (WRMS)
better than 75dB (DIN B)
Statically balanced straight
type

224 mm (8-7/8)

13 mm (1/2)

21 degrees

+3 degrees, - 1.5 degrees

Min. 5, Max. 9 grams

0 - 3.0 grams

Tracking force direct readout
scale

Removable headshell
Anti-skating device

Page 2

CP-1500F

Dimensions (W x D x H) 418 x 376 x 132 mm
(16-1/2 x 14-13/16 x
54/5)

6.0 kg (13.2 lbs.)
Headsheell, counterweight,
overhang gauge, adapter,

instruction manual

Weight:
Accessories:

4. Lead-in count adjustment (Tracking force: 2 grams

Anti-skating force: 2 grams Speed: 45 rpm)

Using test record ONK-IOOO, adjust so the lead-in
count is 10-20 counts for both 300m and 17cm records.
Adjust using the PU pulley shutter and NCDG-173l
printed circuit board jumper lead.

The count changes in the following manner as the jumper

leads are cut:
Optional Recommended Headshell: SH-21E

Specifications are subject to change for further product 1""99'1931 A 3 mu! changes

improvements. Jumper lead B 6 count changes
Jumper lead C 12 count chnages
Jumper lead i cut: -- . connect: +

SERVICE PROCEDURES

Insulation resistance measurement
Connect the insulating-resistance tester between the plug of
power supply cord and chassis.
Specifications; D model

G/W models

5. Return count adjustment (Speed: 45 rpm)
Using test record ONK-lOOO, adjust so the 3mm pitch
return count is 24-26 counts. Adjust using the PU
pulley eccentricity pin. Confirm that the tonearm does
500 V 3-310-33 M9 not return until 22 counts at a pitch of 1mm.

500 V more than 10 MD

ADJUSTMENT PROCEDURES

1. Return sensitivity adjustment (fig. 1)

Turn the unit upside-down and, with the DD motor and
arm motor connector removed, connect a DC voltmeter
between TP and GND. Move the arm to the inside of the
platter, put the return sensor in the release position and
shut out extraneous light. Starting with the semi-fixed
resistor R703 set all the way to the left, begin to rotate
the resistor clockwise to the point where the voltage
between TP and GND rises 2mV above low (a few
hundred mV).

R703-1K ohm

Return ADJ.

- LEAD: ADJ.
2. Platter height adjustment (fig. 2) '"

Return the unit to the upright position and rotate the
float base height adjustment screw. Adjust so that the
platter height is 13mm t 2mm above the cabinet.

3. Stylus height adjustment

Set the tonearm in the up position and adjust the

lifter plate screw so the height of the stylus tip is

8mm 1 1mm above the platter mat.

Note 1: The height should be 11mm ime measured
from the surface of the platter. ,

Note 2: Rotate the lifter plate screw counterclockwise !
to lower the stylus height and clockwise to \l
raise the stylus height.

9 a...- ram
umm

my... a

a... .
an"?!

fig. 2