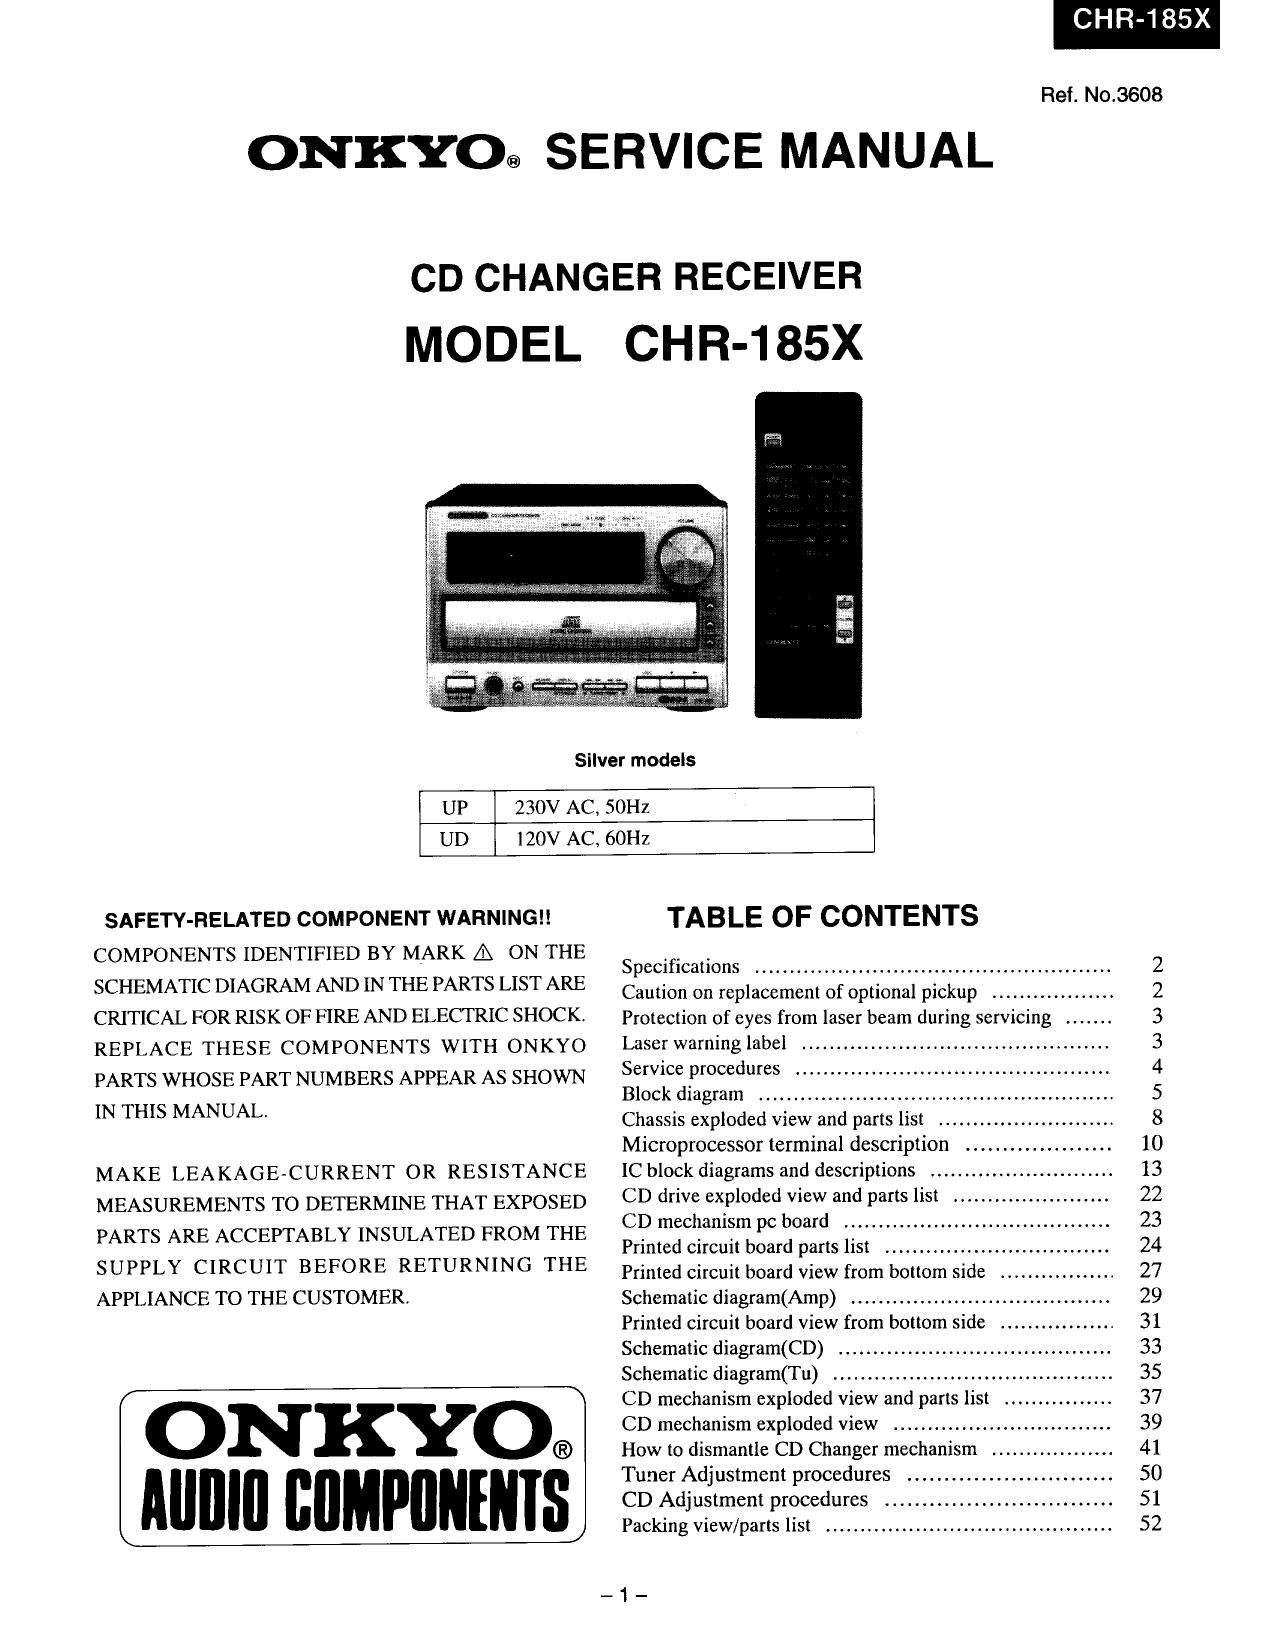
Onkyo CHR 185 X Service Manual

This is the 34 pages manual for Onkyo CHR 185 X Service Manual.
Read or download the pdf for free. If you want to contribute, please mail your pdfs to info@audioservicemanuals.com.

Page: 1 / 34
left right
Onkyo CHR 185 X Service Manual

Extracted text from Onkyo CHR 185 X Service Manual (Ocr-read)


Page 1

Ref. No.3608
ONKYO® SERVICE MANUAL
MODEL CHR-185X
Silver models
UP 230V AC, 50Hz
UD 120V AC. 6OHZ
SAFETY-RELATED COMPONENT WARNING TABLE OF CONTENTS

COMPONENTS IDENTIFIED BY MARK A ON THE . , .
SpeCIfications .................................................... 2
SCHEMATIC DIAGRAM AND IN THE PARTS LIST ARE Caution on replacement of Optional pickup 2
CRITICAL FOR RISK OF FIRE AND ELECTRIC SHOCK Protection of eyes from laser beam during servicing ....... 3
REPLACE THESE COMPONENTS WITH ONKYO Laser warning label ...................... .. 3
PARTS WHOSE PART NUMBERS APPEAR AS SHOWN 56 P'Ocedures ~- 4
Block diagram ............................. 5
IN HS MANUAL Chassis exploded view and parts list ..... 8
Microprocessor terminal description .................... 10
MAKE LEAKAGEACURRENT OR RESISTANCE IC block diagrams and descriptions 13
MEASUREMENTS TO DETERMINE THAT EXPOSED CD drive exiiloded view and Parts list 22
PARTS ARE ACCEPTABLY INSULATED FROM THE C") mecmlém pc mm 3 """""" 23
Printed Circuit board parts list ........ 24
SUPPLY CIRCUIT BEFORE RETURNING THE Primed circuit board view from bottom side 27
APPLIANCE To THE CUSTOMER. Schematic diagram(Amp) ....................... 29
Primed circuit board view from bottom side . 31
Schematic diagram(CD) .................... 33
Schematic diagram(T u) ..... ... 35
CD mechanism exploded view and parts list 37
ONKYO CD mechanism exploded view .............. 39
® How to dismantle CD Changer mechanism 41

Tuner Adjustment procedures ......... .. 50
n P ["13 CD Adjustment procedures ............................... 51
Packing view/parts list .......................................... 52

_1_

Page 2

CHR-185

SPECIFICATIONS

AMP SECTION

Power Output:
US model:

Other models:

Dynamic Power:

Total Harmonie Distortion:

1M Distortion:
Damping Factor:

Sensitivity and Impedance:

Frequency Response:
Tone Control:

Single-to-Noise Ratio:
Muting

FM Tuner section

Tuning Range:
US model:
Other models:
Usable Sensitivity:

50 dB Quieting Sensivity:

Capture Ratio:
Image Rejection Ratio:

IF Rejection Ratio:
Signalito-Noise
Ratio:
Selectivity:
US model:
Other models:
Harmonic Distortion:

Frequency Response:
Stereo Separation:

Stereo Threshold:

CAUTION ON REPLACEMENT OF OPTIONAL PICKUP

20 watts per channel min. RMS into 4
ohms hoth channel driven at 1 kHz no
more than 0.2% total harmonic distortion
2 x 20 watts at 4 ohms 1 kHz DIN

2 x 15 watts at 8 ohms 1 kHz DIN

2 x 25 watts at 4 ohms EIAJ

2 x 24 watts at 4 ohms

2 x18 watts at 8 ohms

0.2 % at rated power

0.2 % at rated power

40 at 8 ohms

TAPE / MD PLAY : 150 mV. 50 kohms
LINE 1N : 150 mV, 50 kohrns

10 to 50,000 Hz : +0 / -3dB

Super BASS : + 9.5 dB at 55 Hz

BASS : t 10 dB at 100 Hz
TREBLE1110 dB at 10,000 Hz

TAPE: 100 dB (I'HF A)

-m dB

87.9 to 107.9 MHz (200 kHz steps)

87.50 to 108.00 MHz (50 kHz steps)

Mono 12.8 dBf. 1.2 uV (75 ohms IHF)
1.0 11V (75 ohms DIN)

Stereo 18.0 dBf, 2.2 LIV (75 ohms IHF)
25.0 W (75 ohms DIN)

Mono 18.8 dBf. 2.4 pV (75 ohms)

Stereo 38.8 dBf,24.0 ttV (75 ohms)

2.0 dB

US model: 41) dB

Other models: 85 dB

90 dB

Mom) 73 dB. IHF

Stereo 67 dB. IHF

55 dB

SOdB DIN (+ l- 300 kHz at 40 kHz devi.)
Mono 1.0 %

Stereo 1.5 %

30m 15,000Hz (+/- 1.5 dB)

35 dB at 1.000 Hz

25 dB at 100 to 10,000 Hz

FM : 17.2 dBf, 2.0 uV (75 ohms)

CD SECTION

Signal Readout System:
Reading Rotation:

Linear Velocity:

Error Correction System:

D I A Converter:

Di gital Filter:
Number of Channels:
Frequency Response:

General

Power Supply:

Power Consumption:
Dimensions:

Weight:

Optical non-contact

About 500 - 200 r.p.m. (constant linear
velocity)

[.2 - 1.4 ml s

Cross lnterleave Read Solomon code

1 bit

352.8 kHz 8 times over sampling

2 (stereo)

5 Hz - 20 kHz

AC 230 V, 50 Hz

AC 120 V. 60 Hz

55 W

185Wx 131 Hx 378Drnm
(75/16" X 53/16" x 14-7/8")
50 kg (11.0 lbs)

Specifications and features are subject to change without notice.

The laser diode in the optical pickup block is so sensitive to
static electricity, surge current and etc, that the components
are liable to be broken down or its reliability remarkably
deteriorated.

PRECAUTIONS

During repair, carefulley take the following precautions.
(The following precautions are included in the service parts.)

1.Gmund for the work-desk.
Place a conductive sheet such a a sheet of copper (witch
inpedance lower than lOMQ) on the work.desk and
place the set on the conductive sheet so that the chassis.
2.Gmunding for the test equipment and tools.
Test equipment and toolings should be grounded in order
that their ground level is the same the ground of the
power source.

3.Gmunding for the human body.
Be sure to put on a wrist-strap for grounding whose other
end is grounded.
Be particulary carful when the workers wear synthetic
fiber clothes. or air is dry. .

4.Select a soldering iron that permits no leakage and have
the tip of the iron well- grounded.

5.Do not check the laser diode terminals with the probe of
a circuit tester or osilloscope.

-2-

Page 33

CHR-185X

CD ADJUSTMENT PROCEDUREES

Clock Frequency Adjustment

1. Connect to P701 of frequency counter.

2. Press and hold the DOWN button, then press the DISC-3 (OPEN/CLOSE) button.
3. Adjust trimmer (C702) so that the frequency counter to 524.288kHZi1HZ.

Confirmation of Jitter

1. Connect the jitter meter to pin 3(VC) and pin 4 (RFO) of test point (P305).
2. Load the test disc (SONY TYPE-4) on the tray and play the track 2.

3. Confirm the jitter value is less then 10.5nsec.

Auto Adjustment

Press and hold the DOWN button, then press the DISC-2 (OPEN/CLOSE) button.
Insert disc-1 (YEDS-l 8) and press >play button.

Connect the oscilloscope to pin 3(VC) and pin 2 (TE) of test point (P305).

Press play button.

Confirm that the center of tracking error signal on the oscilloscope becomes

GND level.

995.

Confirmation of RF level

It is not necessary to perform the adjustment of optical pickup.

This confirmation should be made when replacing the optical pickup.
1).Connect the oscilloscope to test points RFO and VC.

Oscilloscope

DC range
MAIN CIRCUIT PC BOARD
TP(RFO) < O
TO(VC) < O

2).Turn the power switch on.

3).Load the test disc YEDS-18 on the tray and press the play button.

4).Confirm that the waveform on the oscilloscope is optimum eye pattern and
optimum level as shown photo 1.
Optimum eye pattern means that shape "0" can be clearly distinguished at the
center of the waveform.

-51-