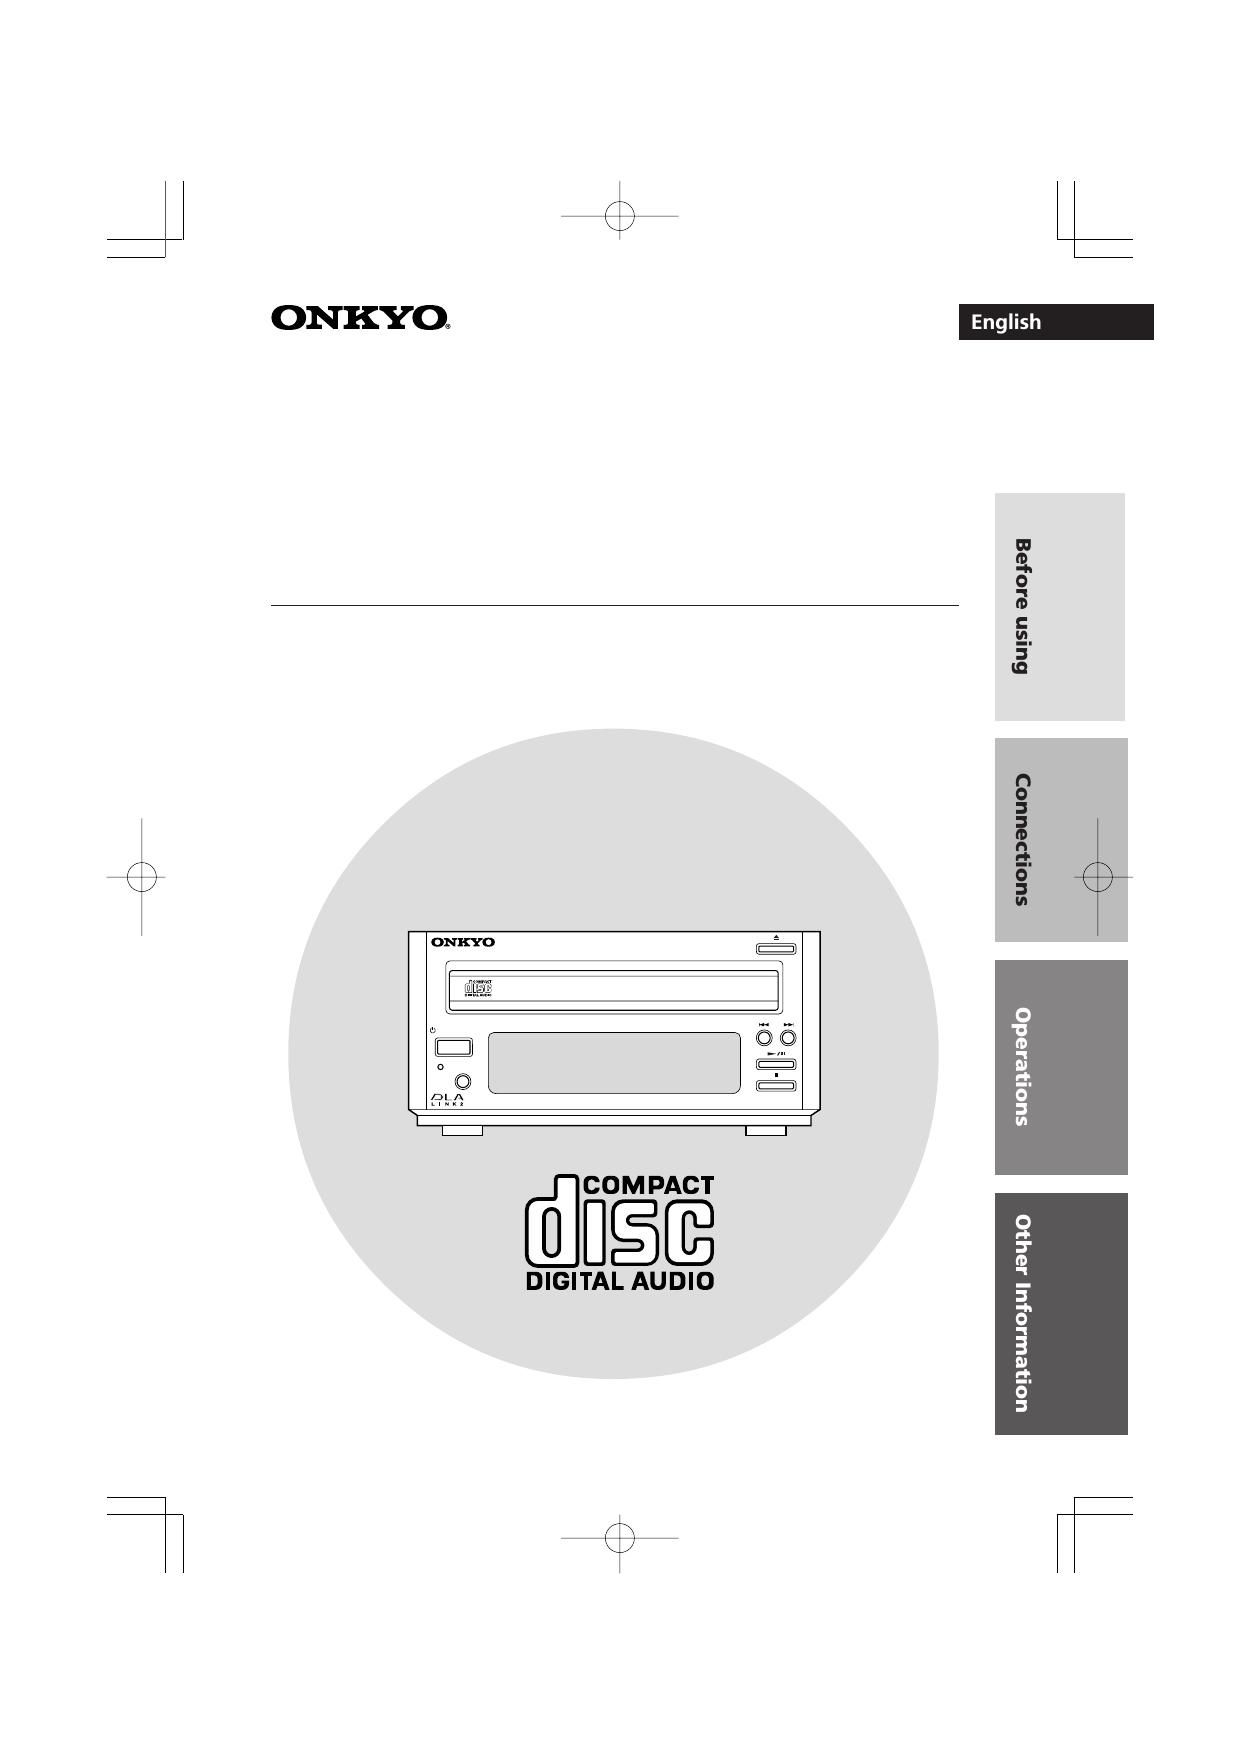
Onkyo C 701 A Owners Manual

This is the 24 pages manual for Onkyo C 701 A Owners Manual.
Read or download the pdf for free. If you want to contribute, please mail your pdfs to info@audioservicemanuals.com.

Page: 1 / 24
left right
Onkyo C 701 A Owners Manual

Extracted text from Onkyo C 701 A Owners Manual (Ocr-read)


Page 1

2Thank you for purchasing ...Before usingMain FeaturesThank you for purchasing Onkyo C-701A CD player. Please read this manual thoroughly before making connections and plugging in the unit. Following the instructions in this manual will enable you to obtain optimum performance and listening enjoyment from your new C-701A. Please retain this manual for future reference. - A compact, discrete component with 155mm (6-1/8") wide - Dual-Channel Optical Digital Outputs - Linear Single-bit D/A ConverterWARNING:TO REDUCE THE RISK OF FIRE OR ELECTRIC SHOCK, DO NOT EXPOSE THIS APPLIANCE TO RAIN OR MOISTURE.CAUTION:TO REDUCE THE RISK OF ELECTRIC SHOCK, DO NOT REMOVE COVER (OR BACK). NO USER-SERVICEABLE PARTS INSIDE. REFER SERVICING TO QUALIFIED SERVICE PERSONNEL.The lightning flash with arrowhead symbol, within an equilateral triangle, is intended to alert the user to the presence of uninsulated dangerous voltage within the products enclosure that may be of sufficient magnitude to constitute a risk of electric shock to persons. The exclamation point within an equilateral triangle is intended to alert the user to the presence of important operating and maintenance (servicing) instructions in the literature accompanying the appliance.WARNINGRISK OF ELECTRIC SHOCK DO NOT OPENRISQUE DE CHOC ELECTRIQUE NE PAS OUVRIRAVISCLASS 1 LASER PRODUCT This unit contains a semiconductor laser system and is classified as a CLASS 1 LASER PRODUCT. So, to use this model properly, read this Instruction Manual carefully. In case of any trouble, please contact the store where you purchased the unit. To prevent being exposed to the laser beam, do not try to open the enclosure.DANGER:INVISIBLE LASER RADIATION WHEN OPEN AND INTERLOCK FAILED OR DEFEATED. AVOID DIRECT EXPOSURE TO BEAM.CAUTION:THIS PRODUCT UTILIZES A LASER. USE OF CONTROLS OR ADJUSTMENTS OR PERFORMANCE OF PROCEDURES OTHER THAN THOSE SPECIFIED HEREIN MAY RESULT IN HAZARDOUS RADIATION EXPOSURE.This unit is a CLASS 1 LASER PRODUCT and employs a laser inside the cabinet. To prevent the laser from being exposed, do not remove the cover. Refer servicing to qualified personnel. 1. 2.This label on the right hand panel states that:

Page 2

3 Before Using Connections Other Information OperationsImportant Safeguards1.Read Instructions -“ All the safety and operating instructions should be read before the appliance is operated. 2.Retain Instructions -“ The safety and operating instructions should be retained for future reference. 3.Heed Warnings -“ All warnings on the appliance and in the operating instructions should be adhered to. 4.Follow Instructions -“ All operating and use instructions should be followed. 5.Water and Moisture -“ The appliance should not be used near water -“ for example, near a bathtub, washbowl, kitchen sink, laundry tub, in a wet basement, or near a swimming pool, and the like. 6.Carts and Stands -“ The appliance should be used only with a cart or stand that is recommended by the manufacturer. 6A. An appliance and cart combination should be moved with care. Quick stops, excessive force, and uneven surfaces may cause the appliance and cart combination to overturn. 7.Wall or Ceiling Mounting -“ The appliance should be mounted to a wall or ceiling only as recommended by the manufacturer. 8.Ventilation -“ The appliance should be situated so that its location or position does not interfere with its proper ventilation. For example, the appliance should not be situated on a bed, sofa, rug, or similar surface that may block the ventilation openings; or if placed in a built-in installation, such as a bookcase or cabinet that may impede the flow of air through the ventilation openings, there should be free space of at least 5 cm (2 in.) and an opening behind the appliance. 9.Heat -“ The appliance should be situated away from heat sources such as radiators, heat registers, stoves, or other appliances (including amplifiers) that produce heat.10.Power Sources -“The appliance should be connected to a power supply only of the type described in the operating instructions or as marked on the appliance. 11.Polarization -“ If the appliance is provided with a polarized plug having one blade wider than the other, please read the following information: The polarization of the plug is a safety feature. The polarized plug will only fit the outlet one way. If the plug does not fit fully into the outlet, try reversing it. If there is still trouble, the user should seek the services of a qualified electrician. Under no circumstances should the user attempt to defeat the polarization of the plug. 12.Power-Cord Protection -“ Power-supply cords should be routed so that they are not likely to be walked on or pinched by items placed upon or against them, especially near plugs, convenience receptacles, and the point where they exit from the appliance. 13.Cleaning -“ The appliance should be cleaned only as recommended by the manufacturer. 14.Nonuse Periods -“ The power cord of the appliance should be unplugged from the outlet when left unused for a long period of time. 15.Object and Liquid Entry -“ Care should be taken so that objects do not fall and liquids are not spilled into the enclosure through openings. 16.Damage Requiring Service -“ The appliance should be serviced by qualified service personnel when: A. The power-supply cord or the plug has been damaged; or B. Objects have fallen, or liquid has been spilled into the appliance; or C. The appliance has been exposed to rain; or D. The appliance does not appear to operate normally or exhibits a marked change in performance; or E. The appliance has been dropped, or the enclosure damaged. 17.Servicing -“ The user should not attempt to service the appliance beyond that described in the operating instructions. All other servicing should be referred to qualified service personnel.PORTABLE CART WARNINGS3125A

Page 9

10Connecting to the other componentsBefore connecting -Do not connect the units AC power cord to a wall outlet until you have completed all the other connections. -On each pair of connectors, a red connector (marked R) corresponds to the right channel, and a white connector (marked L) to the left channel. Connect white plugs of audio connection cables to L connectors and connect red plugs of audio connection cables to R connectors. -Insert the plug securely. If the connection is incomplete, noise or malfunction may result. Improper connection Insert completely-When you use a digital audio optical cable, do not bend it sharply nor coil it tightly. -Bundling an audio connection cable with the power cord or speaker cord may degrade the sound quality. -To use the unit with the other Onkyo Separate Collection series components, follow the connection diagram in the R-801A instruction manual to connect the unit to the system. Note: The 230-240 V model is shown in the following illustrations.Audio connection cable To L connectors (White) To R connectors (Red)(White) To L connectors (Red) To R connectors

Page 17

18REPEATTAPETAPE REWTAPE FFSLEEP TIMER ENTERCLOCK MODECLEAR SCROLLCDR/PC CD/ DVDMD FM AMINPUT SELECTOR TAPE CDR CD/DVD MDVOLUMEMUTING78 910/04 5 6 23 1-- /---UP DOWNREPEAT(Supplied with R-801A)2Press the button to start Repeat play.-When the last track is completed, the CD player returns to the beginning of the disc and plays all the tracks on the disc again. -Repeat play can be performed in conjunc- tion with Normal, Memory and Random play modes. The REPEAT button can be pressed even when a track is playing.Play mode Repeated tracksNormal All tracks on discMemory Tracks in memory (in stored order)Random Repeats random play of all tracks on disc.Playing CDsPlaying all tracks on disc (Repeat play)1Press the REPEAT button while the unit is stopped to enter Repeat play mode.The REPEAT indicator lights.RC-466SRPTTo quit Repeat playPress the REPEAT or button. The REPEAT indicator disappears to indicate that you are in Normal play mode.or