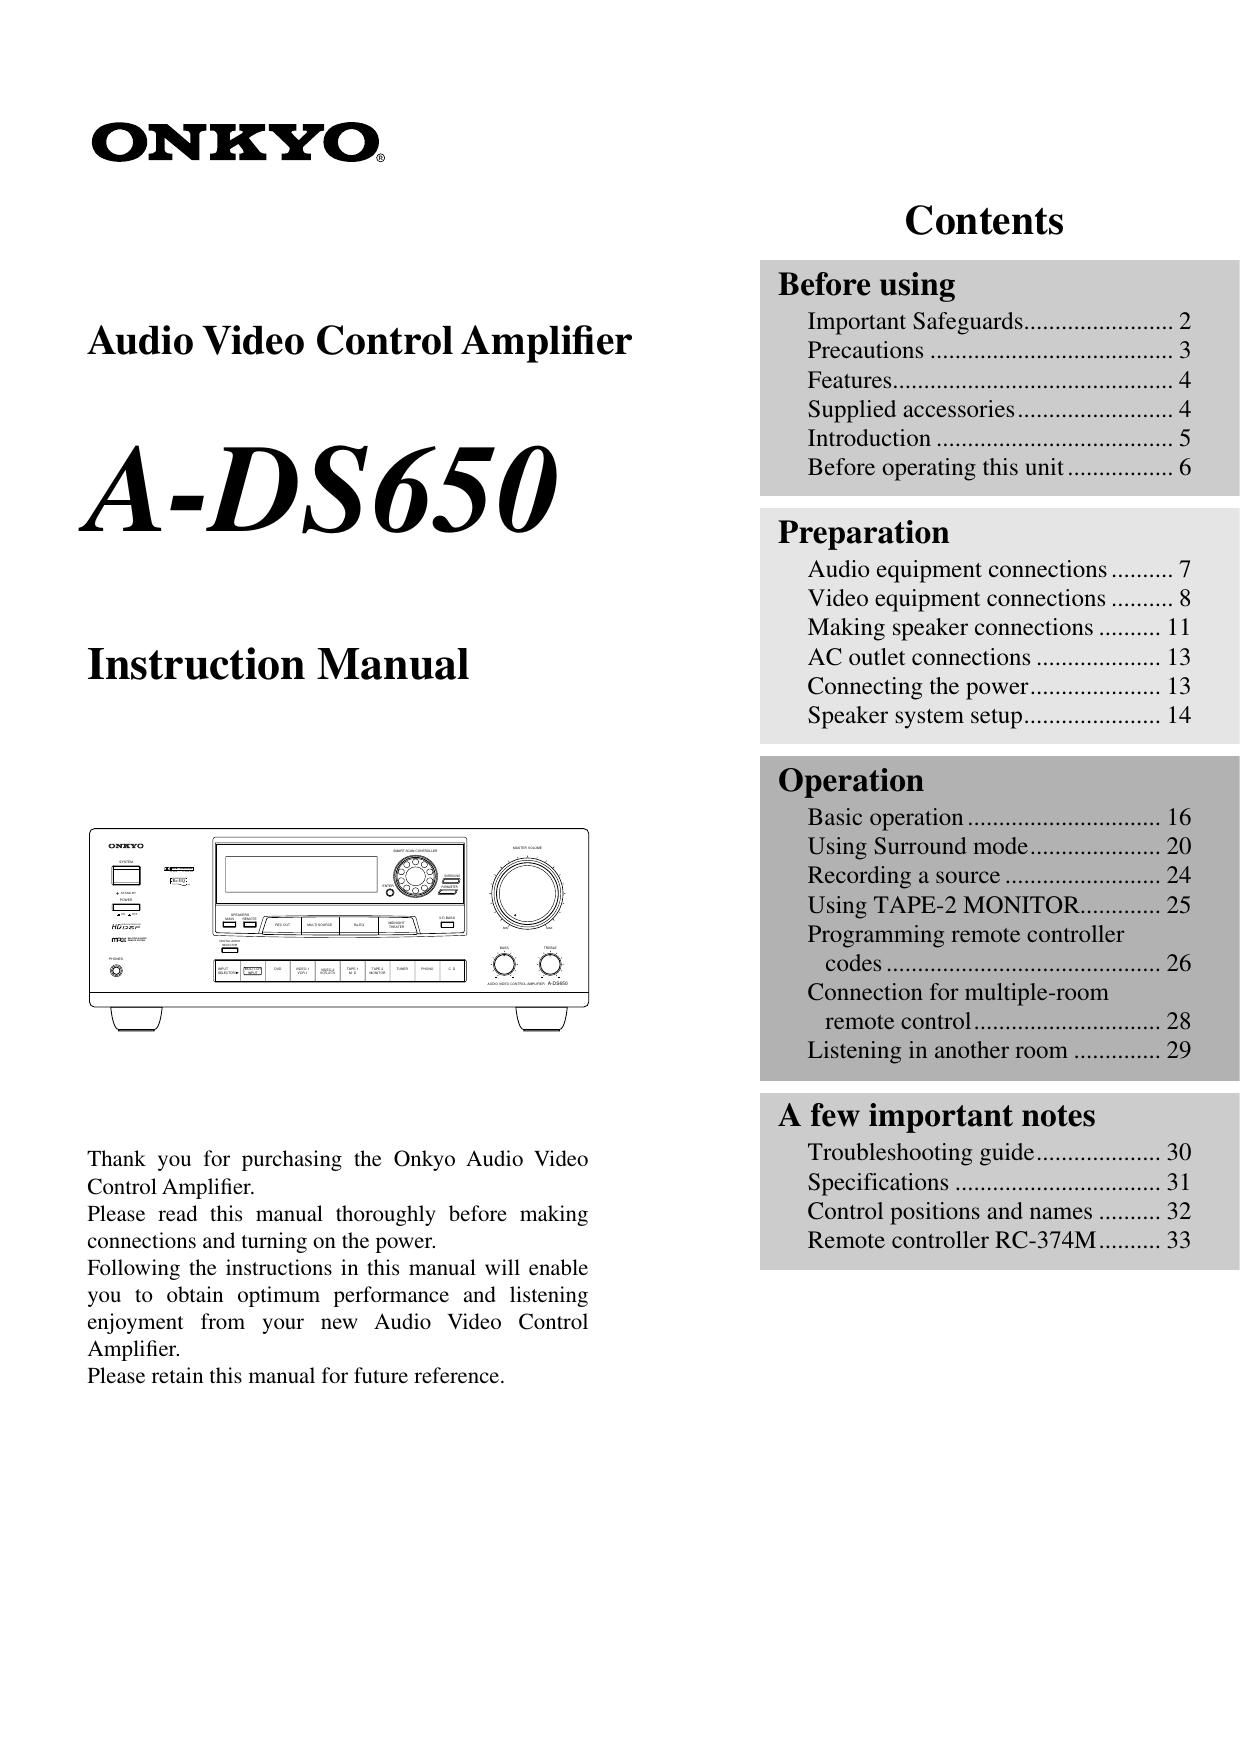
Onkyo ADS 650 Owners Manual

This is the 36 pages manual for Onkyo ADS 650 Owners Manual.
Read or download the pdf for free. If you want to contribute, please mail your pdfs to info@audioservicemanuals.com.

Page: 1 / 36
left right
Onkyo ADS 650 Owners Manual

Extracted text from Onkyo ADS 650 Owners Manual (Ocr-read)


Page 1

2 Important Safeguards 1. Read Instructions - All the safety and operating instructions should be read before the appliance is operated. 2. Retain Instructions - The safety and operating instructions should be retained for future reference. 3. Heed Warnings - All warnings on the appliance and in the operating instructions should be adhered to. 4. Follow Instructions - All operating and use instructions should be followed. 5. Water and Moisture - The appliance should not be used near water - for example, near a bathtub, washbowl, kitchen sink, laundry tub, in a wet basement, or near a swimming pool, and the like. 6. Carts and Stands - The appliance should be used only with a cart or stand that is recom- mended by the manufacturer. 6A. An appliance and cart combi- nation should be moved with care. Quick stops, excessive force, and uneven surfaces may cause the appliance and cart combination to overturn. 7. Wall or Ceiling Mounting - The appliance should be mounted to a wall or ceiling only as recommended by the manufacturer. 8. Ventilation - The appliance should be situated so that its loca- tion or position does not interfere with its proper ventilation. For example, the appliance should not be situated on a bed, sofa, rug, or similar surface that may block the ventilation openings; or if placed in a built-in installation, such as a book- case or cabinet that may impede the flow of air through the ventilation openings, there should be free space of at least 20 cm (8 in.) and an opening behind the appliance. 9. Heat - The appliance should be situated away from heat sources such as radiators, heat registers, stoves, or other appli- ances (including amplifiers) that produce heat. 10. Power Sources - The appliance should be connected to a power supply only of the type described in the operating instructions or as marked on the appliance. 11. Polarization - If the appliance is provided with a polarized plug having one blade wider than the other, please read the fol- lowing information: The polarization of the plug is a safety feature. The polarized plug will only fit the outlet one way. If the plug does not fit fully into the outlet, try reversing it. If there is still trouble, the user should seek the services of a qualified electrician. Under no circumstances should the user attempt to defeat the polar- ization of the plug. 12. Power-Cord Protection - Power-supply cords should be routed so that they are not likely to be walked on or pinched by items placed upon or against them, especially near plugs, con- venience receptacles, and the point where they exit from the appliance. 13. Cleaning - The appliance should be cleaned only as recom- mended by the manufacturer.14. Nonuse Periods - The power cord of the appliance should be unplugged from the outlet when left unused for a long period of time. 15. Object and Liquid Entry - Care should be taken so that objects do not fall and liquids are not spilled into the enclosure through openings. 16. Damage Requiring Service - The appliance should be ser- viced by qualified service personnel when: A. The power-supply cord or the plug has been damaged; or B. Objects have fallen, or liquid has been spilled into the appliance; or C. The appliance has been exposed to rain; or D. The appliance does not appear to operate normally or exhibits a marked change in performance; or E. The appliance has been dropped, or the enclosure damaged. 17. Servicing - The user should not attempt to service the appli- ance beyond that described in the operating instructions. All other servicing should be referred to qualified service person- nel.WARNING:TO REDUCE THE RISK OF FIRE OR ELECTRIC SHOCK, DO NOT EXPOSE THIS APPLIANCE TO RAIN OR MOISTURE.CAUTION:TO REDUCE THE RISK OF ELECTRIC SHOCK, DO NOT REMOVE COVER (OR BACK). NO USER-SERVICEABLE PARTS INSIDE. REFER SERVICING TO QUALIFIED SERVICE PERSONNEL.The lightning flash with arrowhead symbol, within an equilateral triangle, is intended to alert the user to the presence of uninsulated dangerous voltage within the products enclosure that may be of sufficient magnitude to constitute a risk of electric shock to persons. The exclamation point within an equilateral triangle is intended to alert the user to the presence of important operating and maintenance (servicing) instructions in the literature accompanying the appliance.WARNINGRISK OF ELECTRIC SHOCK DO NOT OPENRISQUE DE CHOC ELECTRIQUE NE PAS OUVRIRAVIS PORTABLE CART WARNINGS3125A

Page 2

3 Precautions 1. Warranty Claim You can find the serial number on the rear panel of this unit. In case of warranty claim, please report this number. 2. Recording Copyright Recording of copyrighted material for other than personal use is illegal without permission of the copyright holder. 3. AC Fuse The fuse is located inside the chassis and is not user-serviceable. If power does not come on, contact your Onkyo authorized service station. 4. Care From time to time you should wipe the front and rear panels and the cabinet with a soft cloth. For heavier dirt, dampen a soft cloth in a weak solution of mild detergent and water, wring it out dry, and wipe off the dirt. Following this, dry immediately with a clean cloth. Do not use rough material, thinners, alcohol or other chemical sol- vents or cloths since these could damage the finish or remove the panel lettering. 5. Power WARNING BEFORE PLUGGING IN THE UNIT FOR THE FIRST TIME, READ THE FOLLOWING SECTION CAREFULLY. · The voltage of the available power supply differs according to country or region. Be sure that the power supply voltage of the area where this unit will be used meets the required voltage (e.g., AC 230 V 50 Hz or AC 120 V 60 Hz) written on the rear panel. · Models Equipped with a Voltage Selector Worldwide models are equipped with a voltage selector to con- form to local power supplies. Be sure to set this switch to match the voltage of the power supply in your area before plugging in the unit. For British model Replacement and mounting of an AC plug on the power supply cord of this unit should be performed only by qualified service personnel. · IMPORTANT The wires in the mains lead are coloured in accordance with the following code: Blue : Neutral Brown : Live As the colours of the wires in the mains lead of this apparatus may not correspond with the coloured markings identifying the termi- nals in your plug, proceed as follows: The wire which is coloured blue must be connected to the terminal which is marked with the letter N or coloured black. The wire which is coloured brown must be connected to the termi- nal which is marked with the letter L or coloured red. · IMPORTANT A 5 amp fuse is fitted in this plug. Should the fuse need to be replaced, please ensure that the replacement fuse has a rating of 5 amps and that it is approved by ASTA or BSI to BS1362. Check for the ASTA mark or the BSI mark on the body of the fuse. IF THE FITTED MOULDED PLUG IS UNSUITABLE FOR THE SOCKET OUTLET IN YOUR HOME THEN THE FUSE SHOULD BE REMOVED AND THE PLUG CUT OFF AND DISPOSED OF SAFELY. THERE IS A DANGER OF SEVERE ELECTRICAL SHOCK IF THE CUT OFF PLUG IS INSERTED INTO ANY 13 AMP SOCKET. If in any doubt, please consult a qualified electrician. For U.S. model Note to CATV system installer: This reminder is provided to call the CATV system installers attention to Section 820-40 of the NEC which provides guidelines for proper grounding and, in particular, specifies that the cable ground shall be connected to the grounding system of the building, as close to the point of cable entry as practical. FCC Information for User CAUTION: Changes or modifications not expressly approved by the manufac- turer for compliance could void the user's authority to operate the equipment. NOTE: This equipment has been tested and found to comply with the limits for a Class B digital device, pursuant to Part 15 of the FCC Rules. These limits are designed to provide reasonable protection against harmful interference in a residential installation. This equipment generates, uses, and can radiate ratio frequency energy and, if not installed and used in accordance with the instructions, may cause harmful interference to radio communications. However, there is no guarantee that interference will not occur in a particular installation. If this equipment does cause harmful interference to radio or televi- sion reception, which can be determined by turning the equipment off and on, the user is encouraged to try to correct the interference by one or more of the following measures: · Reorient or relocate the receiving antenna. · Increase the separation between other equipment and the receiver. · Connect the equipment into an outlet on a circuit different from that to which the receiver is connected. · Consult the dealer or an experienced radio/TV technician for help. For Canadian model Modele pour les Canadien · For models having a power cord with a polarized plug: CAUTION: TO PREVENT ELECTRIC SHOCK, MATCH WIDE BLADE OF PLUG TO WIDE SLOT, FULLY INSERT. THIS DIGITAL APPARATUS DOES NOT EXCEED THE CLASS B LIMITS FOR RADIO NOISE EMISSION FROM DIG- ITAL APPARATUS SET OUT IN THE RADIO INTERFERENCE REGULATIONS OF THE CANADIAN DEPARTMENT OF COMMUNICATIONS. · Sur les modèles dont la fiche est polarisée: ATTENTION: POUR ÉVITER LES CHOCS ÉLEC- TRIQUES, INTRODUIRE LA LAME LA PLUS LARGE DE LA FICHE DANS LA BORNE CORRESPONDANTE DE LA PRISE ET POUSSER JUSQUAU FOND. L'INTERFÉRENCE RADIO ÉLECTRIQUE GÉNÉRÉE PAR CET APPAREIL NUMÉRIQUE DE TYPE B NE DÉPASSE PAS LES LIMITES ÉNONCÉES DANS LE RÈGLEMENT SUR LES PER- TURBATIONS RADIO ÉLECTRIQUES, SECTION APPAREIL NUMÉRIQUE, DU MINISTÈRE DES COMMUNICATIONS. For Eurpean model Declaration of ConformityWe, ONKYO EUROPE ELECTRONICS GmbH INDUSTRIESTRASSE 20 82110 GERMERING, GERMANY declare in own responsibility, that the ONKYO product described in this instruction manual is in compliance with the corresponding technical standards such as EN55013, EN55020, EN61000-3-2, -3-3 and EN60065 GERMERING, GERMANY ONKYO EUROPE ELECTRONICS GmbHK.OTSU

Page 16

17 Basic operationDIGITAL AUDIO SELECTORSMART SCAN CONTROLLER ENTERSURROUNDPARAMETER3-D BASSMAINREMOTE SPEAKERSREC OUT MULTI SOURCERe-EQMIDNIGHT THEATERC D PHONO TUNER TAPE-2 MONITOR TAPE-1 M D VIDEO-2 VCR-2/TV VIDEO-1 VCR-1 DVD INPUT SELECTOR ¨ MULTI-CH INPUTMASTER VOLUME TREBLE BASS AUDIO VIDEO CONTROL AMPLIFIERA-DS650MAX MINSYSTEM POWERONPHONESSTAND-BYOFFMULTIPLE SOURCE REMOTE SYSTEM HIGH DEFINITIONRe-EQTMDOLBY SURROUNDPRO - LOGICMULTI-CH INPUT SOURCE SELECTOR VOLUME ¹/  SPEAKERS MAINMASTER VOLUME 3-D BASSDIGITAL AUDIO SELECTORInput selectorBASS TREBLE MULTI-CH INPUTPOWER SLEEP DVDVIDEO-1VIDEO-2 TAPE-1 TUNER PHONO C DSOURCE SELECTOR DVDSUBTITLE ON/OFF PAUSE /STEPDISCGROUP VOLUMETAPE DIMMERTAPE-2 POWER POWERVOLUMEC HTV/VCR MUTING /REMOTE SPEAKERLEVELREMOTE CONTROLLERCH SELTEST TONESENDING/ LEARNINGLEARN SUBROOMPRESETABPROGRAMMABLE AREA TV/VIDEOTUNER CDMULTI-CH INPUTRC-374MSUR MODE 1. Press an input selector button (other than the TAPE-2 MONITOR, MULTI-CH INPUT, TUNER, or PHONO button). 2. Press the DIGITAL AUDIO SELECTOR button. The current selection appears on the display. (See the illustration on the left for the options.) 3. Turn the SMART SCAN CONTROLLER until the number of the digital input appears, then press the ENTER button. 4. With the assignment complete, press the input selector button to automatically select the digital input. To cancel a digital input assignment, press the corresponding input selector button, then press the DIGITAL AUDIO SELECTOR button. Turn the SMART SCAN CONTROL- LER to select ANALOG, then press the ENTER button. · Even when the digital inputs are used, the analog connect- ing cables must be left in place. Otherwise, the multi-room remote system, TAPE OUT, and REC OUTs will not work. (See page 8.) · When a Dolby Digital source is played, for example , appears on the display, indicating which of the three front channels and two surround channels are avail- able for sound reproduction. Warning:·Do not play CD-ROM discs that contain computer data as they may cause speaker damage when amplified by the amplifier.·The multi-room remote system, TAPE-1 and TAPE-2 REC OUTs can output signals from analog sources, but not from digital sources. If your DVD player or a compo- nent equipped with digital output has both analog and digital outputs, connect both of them so that you can lis- ten to and record both signals at the same time. You can connect stereo headphones to the PHONES jack using a standard stereo plug. If you connect headphones, the unit will enter STEREO mode will be entered automatically, and no sound will be poduced from the speakers. If you have selected MULTI-CH INPUT, you will hear only the audio from FRONT L and R of MULTI-CH INPUT.Assigning the digital inputs to input selec- tor buttons:Listening with headphonesC D PHONO TUNER TAPE-2 MONITOR TAPE-1 M D VIDEO-2 VCR-2/TV VIDEO-1 VCR-1 DVD INPUT SELECTOR ¨ MULTI-CH INPUTDVDVIDEO-1VIDEO-2 TAPE-1 TUNER PHONO C DSOURCE SELECTORTAPE-2DIGITAL AUDIO SELECTORSMART SCAN CONTROLLERENTER12, 3Remote controllerANALOGDIGITAL-1 (OPTICAL)DIGITAL-2 (COAXIAL) DIGITAL-3 (COAXIAL)chPHONES

Page 31

32Control positions and namesabcd efgh i j l n omkDIGITAL 123SPEAKERS MAIN REMOTE A B TAPE-2 MONITORV-DVD 123PRO LOGIC 3 STEREO ARENADOLBY DIGITAL STUDIO LIVE SURROUND MODE OFF HALL MUTINGCINEMA Re-EQMIDNIGHT THEATER3-DBSLEEPREC OUT MULTI- SOURCE dB IPMch MINDIGITAL AUDIO SELECTORSMART SCAN CONTROLLER ENTERSURROUNDPARAMETER3-D BASSMAINREMOTE SPEAKERSREC OUT MULTI SOURCERe-EQMIDNIGHT THEATERC D PHONO TUNER TAPE-2 MONITOR TAPE-1 M D VIDEO-2 VCR-2/TV VIDEO-1 VCR-1 DVD INPUT SELECTOR ¨ MULTI-CH INPUTMASTER VOLUME TREBLE BASS AUDIO VIDEO CONTROL AMPLIFIERA-DS650MAX MINSYSTEM POWERONPHONESSTAND-BYOFFMULTIPLE SOURCE REMOTE SYSTEM HIGH DEFINITIONRe-EQTMDOLBY SURROUNDPRO - LOGIC1234 5 678 91011 1214 13 15 1617 18 19 22 21 20European models front panel shown DisplayFor more information on buttons or knobs, refer to the pages listed in the brackets ( [ ] ) below. 1. STAND-BY indicator [13] 2. SYSTEM button [13] 3. DIGITAL AUDIO SELECTOR button [17] 4. SPEAKERS MAIN/REMOTE selector buttons [16, 18, 29] 5. Display (Please refer to the Dis- play illustration.) 6. REC OUT button [24] 7. MULTI SOURCE button [29] 8. Re-EQ button [22] 9. MIDNIGHT THEATER button [22] 10. Remote control sensor [6] 11. ENTER button [14, 15, 20~23] 12. SMART SCAN CONTROLLER jog dial [14, 15, 20~23] 13. SURROUND button [20~23] 14. PARAMETER button [20~23] 15. 3-D BASS button [16, 18] 16. MASTER VOLUME control knob [16, 17, 18] 17. TREBLE control knob [16, 18] 18. BASS control knob [16, 18]19. Input selector buttons [16] 20. MULTI CHANNEL INPUT button [16, 23] 21. PHONES jack [17] 22. POWER switch [13] Front panelIf a protective film on the surface of the dis- play makes it difficult to read the display, remove the protective film. a. Speakers MAIN/REMOTE selector indicator b. Tape-2 Monitor indicator c. DIGITAL input indicator d. Surround mode indicators e. Cinema Re-Equalizer indicator f. 3-D Bass indicator g. Audio Muting indicator h. Source display (For Record out/ Multi-source out) i. Multi-Source indicator j. Record Out indicator k. Intelligent Power Management indicator l. Sleep indicator m. MIDNIGHT THEATER indicator n. Multi-function display o. Video input selector indicatorDisplay