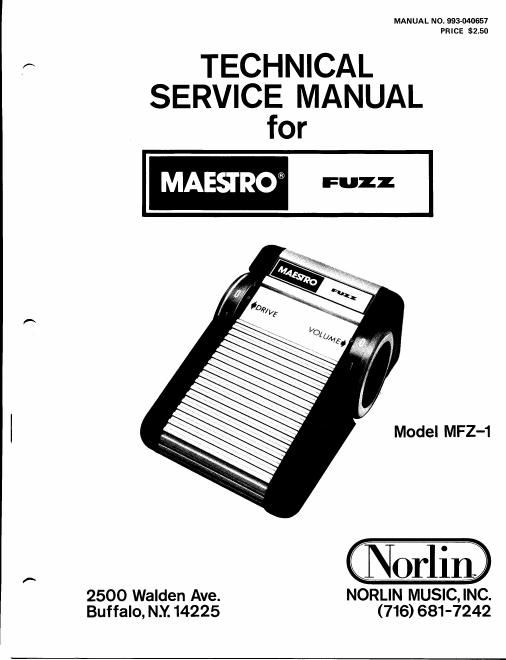
Norlin maestro fuzz service manual

This is the 8 pages manual for norlin maestro fuzz service manual.
Read or download the pdf for free. If you want to contribute, please mail your pdfs to info@audioservicemanuals.com.

Page: 1 / 8
left right
norlin maestro fuzz service manual

Extracted text from norlin maestro fuzz service manual (Ocr-read)


Page 2

INTRODUCTION

This manual provides servicing and parts infor-
mation for Maestro Model MFZ-l Fuzz, manufactured
by Norlin Music, Inc., 2500 Walden Avenue, Buffalo,
New York 14225. The Maestro Fuzz generates low
order harmonic distortion for guitar, bass and other
electroacoustical music signals. Specifications for the
Maestro Fuzz include:

Input Impedance ........ 1 megohm
Maximum Recommended
Input Level .......... OdBm

Output Impedance ...... 20K ohms (maximum)

Maximum Output Level . . +5dBm

Equivalent Input Noise . . . - 100dBrn

Type of Distortion ...... Low order odd
harmonic

Power Requirements ..... 9.0 VDC at

250 microamperes
Recommended Battery
Type ............... NEDA 1604
Estimated Battery Life . . . 3 months

CIRCUIT DESCRIPTION

The Maestro Fuzz, powered by an internal
9 volt battery, generates low order odd harmonic
distortion by using silicon diodes in the feedback
circuit of an operational amplifier. Refer to Figure 3
for the schematic diagram.

Either the fuzz mode or straight guitar is selected
by foot switch SW1. In the fuzz mode, the input
signal from AXE jack J2 is a-c coupled to inverter
IClA, the output of which feeds DRIVE pot R6.
Since the distortion circuit following R6 is level
sensitive, R6 acts as a distortion amount control.
The distortion circuit consists of IClB, CR2 and
CR3. Diodes CR2 and CR3 in the feedback path of
IClB cause symmetrical clipping of the input wave-
form generating the desired distortion. The distorted
signal is a-c coupled to VOLUME pot R9 which
controls the Maestro Fuzz output level. In the
straight mode, SW1 shorts the Maestro Fuzz output
to ground minimizing fuzz circuit bleed-thru and
the input signal is connected directly from AXE
jack J2 to AMP jack J1.

2

DISASSEMBLY

a) Pull out plungers on battery holder assembly
(1, Figure 1) and remove battery holder assembly.
Disconnect battery (2) if present and remove.

b) Loosen setscrews (3) securing dial assemblies
(4 and 5) by inserting a 1/16 inch Allen wrench
through holes in dial assemblies and remove dial
assemblies.

c) Remove nut (6) using a half inch nut driver,
lock washer (7), three screws (8) and screw (9) from
each end cap (10) and remove both end caps.

CAUTION
Do not set Maestro Fuzz on its side when
removing second end cap as damage to
rotary pot shaft may result.

d) Position Maestro Fuzz face down and care-
fully slide hinge assembly (11) out of housing
assembly (26) making certain spring (12) around
push switch assembly (17) does not fly off and
remove spring.

e) Disconnect three pin connector on printed
circuit board assembly (15) noting black wire on
left side of connector.

f) Remove nuts (13) using a half inch nut
driver and flat washers (14) from AXE and AMP
jacks and carefully remove printed circuit board
assembly (15).

g) Remove screw (16), hex nut (18), lock washer
(19) and flat washer (20) and slide out push switch
(22), lock washer and hex ring.

h)Slide foot pads out of their channels if
replacement is required.

TEST AND TROUBLESHOOTING

The Maestro Fuzz requires no tuning or internal
adjustments. When troubleshooting, refer to the
circuit description, schematic diagram, and replace-
ment part lists.