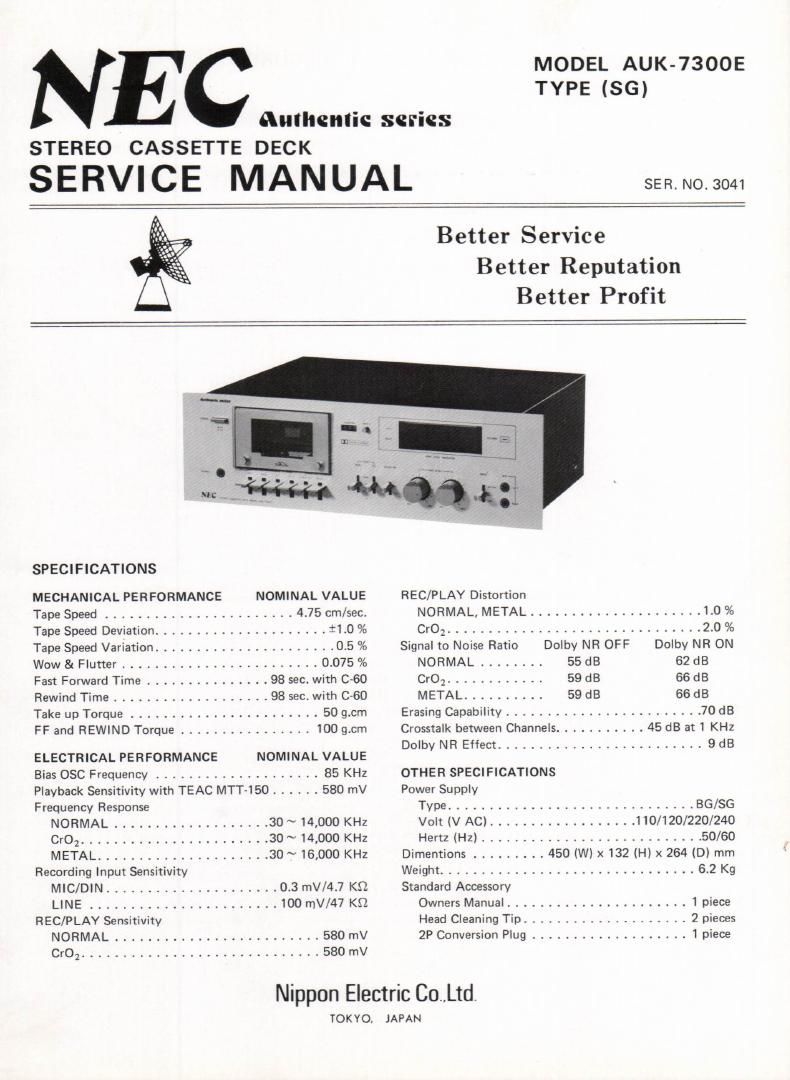
Nec AUK 7300 E Service Manual

This is the 25 pages manual for Nec AUK 7300 E Service Manual.
Read or download the pdf for free. If you want to contribute, please mail your pdfs to info@audioservicemanuals.com.

Page: 1 / 25
left right
Nec AUK 7300 E Service Manual

Extracted text from Nec AUK 7300 E Service Manual (Ocr-read)


Page 2

ALIGNMENT PROCEDURE

Standard Measurement Condition

Ambient Temperature 20°C (68°F) Humidity 60%
Line Voltage 110V/120V/220V/240V 50/60Hz
Stnadard tape for recording/playback Fe203 BASF T3088
CrOz BASF C401 R
Metal Scotch Metafine
NOTE: The head should be clean and degaussed before alignment.
Step Description Model Adjustment Illustration
1 Tape Speed Tape Selector: Normal Play a standard test tape TEAC MTT-l11, then Fig. 1
Dolby NR: OFF adjust the motor so that the line output frequen-
cy is 3,000 Hz.
2 Head Azimuth Tape Selector: Normal Play the test tape TEAC MTT-114, then adjust Fig. 2
Dolby NR: OFF the screw for a line output maximum.
3 Playback Gain Tape Selector: Normal Play the Dolby calibration tape TEAC MTT-l 50, Fig. 3
Douby NR: ON then adjust the AVR101 and AVR201 for a line
output 580 mV.
4 Meter Tape Selector: Normal Play the Dolby calibration tape TEAC MTT-lSO Fig. 4
Dolby NR: ON and make sure the line output is 580 mV.
Adjust a AVR103 and AVR203 so that the bar
graph meter indicates +3 dB.
5 0.8.0. With the set turned in recording condition, adjust Fig. 5
Frequency the oscillator coil L301 so that bias oscillation
frequency is 85 KHz.
6 Bias Current Dolby NR: OFF After temporarily adjusting the current that Fig. 5
Tape Selector: All flows through a head to 900 uA, measure record- Fig. 6
position ing and playing frequecny characteristics, then
Rec. Volume: Adjust adjust the bias current in such manner that
frequency of 14 KHz will become approximately
2 -3 dB over against 333 Hz. In case of fre
quency of 14 KHz is higher than -3 dB as com-
pared with 333 Hz, increase the bias current.
In case of frequency of 14 KHz is lower than
-3 dB as compared with 333 Hz, decrease the
bias current.
Metal .......... AVR304 (Lch)
AVR305 (Rch)
CrOz .......... AVR302
Normal ........ AVR301
Note: 1. Volt meter should be connected by
low capacitance shield cable.
2. Recording level should be reduced
36 dB as compared with step 7.
7 Recording Tape Selector: Metal With the set turned in recording condition apply Fig. 7
Current Dolby NR: OFF a signal of 333 Hz (about 100 mV) to line input,

then adjust the recording volume so that the line
output is 580 mV. Adjust AVR102 and AVR202
so that recording and playback output is 580 mV
:1 dB.