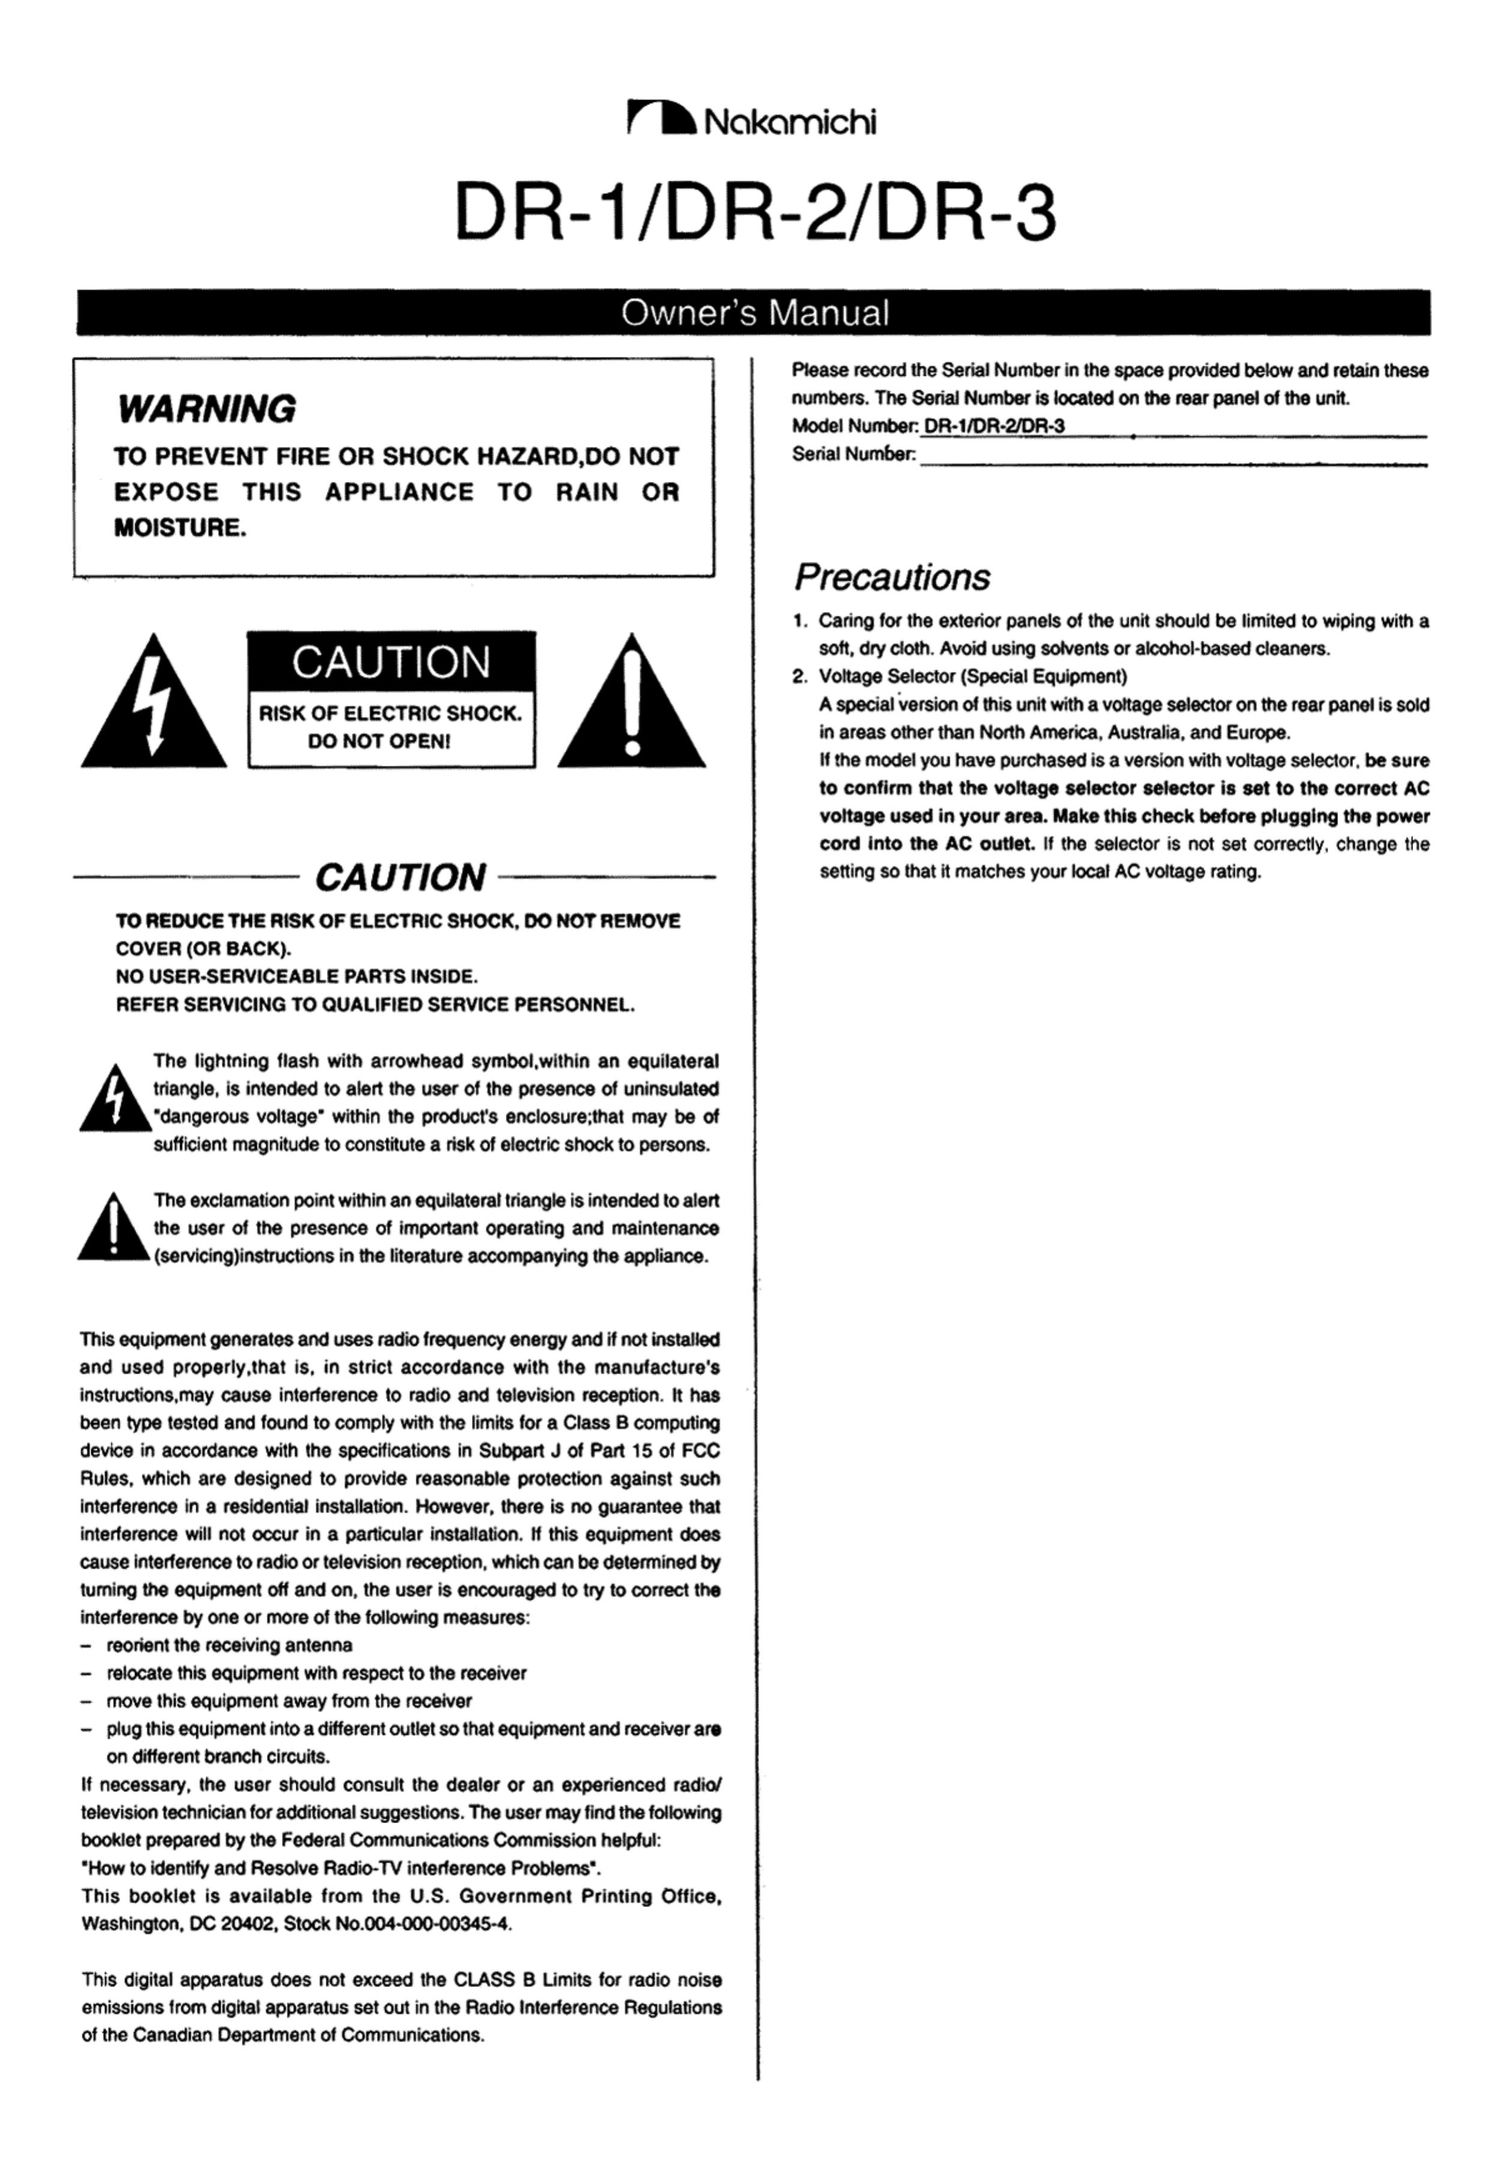
Nakamichi DR 2 Owners Manual

This is the 6 pages manual for Nakamichi DR 2 Owners Manual.
Read or download the pdf for free. If you want to contribute, please mail your pdfs to info@audioservicemanuals.com.

Page: 1 / 6
left right
Nakamichi DR 2 Owners Manual

Extracted text from Nakamichi DR 2 Owners Manual (Ocr-read)


Page 1

Fl Nokomichi

DR-1/DR-2/DR-3

Owners Manual

WARNING

TO PREVENT FIRE OR SHOCK HAZARDDO NOT
EXPOSE THIS APPLIANCE TO RAIN OR

MOISTURE.
A RISK OF ELECTRIC SHOCK. A
no NOT OPEN!
CA U TION

ro REDucE 'rNE RtSK OF ELECTRIC SHOCK. DO NOT REMOVE
COVER (0R BACK).

No USER-SERVICEABLE PARTS INSIDE.

REFER SERVICING ro QUALIFIED SERVICE PERSONNEL.

triangle. is intended to alert the user of the presence of uninsulated
'dangerous voltage' within the products enclosurezthat may be of
sufficient magnitude to constitute a risk of electric shock to persons.

E The lightning flash with arrowhead symboi.within an equilateral

the user of the presence of important operating and maintenance

u The exclamation point within an equilateral triangle is intended to alert
(servicinglinstructions in the literature accompanying the appliance.

This equipment generates and uses radio frequency energy and if not installed

and used properly.that is. in strict accordance with the manufacture's

instructions.may cause interference to radio and television reception. it has

been type tested and found to comply with the limits tor a Class 8 computing

device in accordance with the specifications in Subpart J of Part 15 ot FCC

Rules. which are designed to provide reasonable protection against such

Interference in a residential installation. However. there is no guarantee that

interference will not occur in a particular installation. if this equipment does

cause interference to radio or television reception. which can be determined by

tumlng the equipment off and on, the user is encouraged to try to correct the

interference by one or more oi the following measures:

- reorient the receiving antenna

- relocate this equipment with respect to the receiver

- move this equipment away from the receiver

- plug this equipment into a different outlet so that equipment and receiver are
on different branch circuits.

if necessary. the user should consult the dealer or an experienced radio!

television technician for additional suggestions. The user may find the following

booklet prepared by the Federal Communications Commission helpful:

'How to identify and Resolve Radio-TV interference Problems'.

This booklet is available from the 0.8. Government Printing Office.

Washington. DC 20402. Stock NOON-000003454.

This digital apparatus does not exceed the CLASS 8 Limits for radio noise
emissions from digital apparatus set cut in the Radio interference Regulations
of the Canadian Department of Communications.

Please record the Serial Number in the space provided below and retain these
numbers. TheSerialNumberislocatedontherearpaneioithe unit.

Model Number: DR-fIDRo2IDR-3

Serial Number.

Precautions

1. Caring for the exterior panels of the unit should be limited to wiping with a
soft, dry cloth. Avoid using solvents or alcohol-based cleaners.

2. Voltage Selector (Special Equipment)
A special version of this unit with a voltage selector on the rear panel is sold
in areas other than North America. Australia. and Europe.
If the model you have purchased is a version with voltage selector. be sure
to confirm that the voltage selector selector is set to the correct AC
voltage used in your area. Maire this check before plugging the power
cord into the AC outlet. if the selector is not set correctly. change the
setting so that it matches your local AC voltage rating.

Page 2

Controls

(084 shown)
Power switch Indicator panel
a (Eject) button 1 2 3 4 5 e 7 e
1"\
08-1 M
momma-u
1 8888 3:-:- :2: 222:3? .. a
a: .1. a in
[1-113 ---h a 2:? an. gem- .- law-u-
- I-n-ie-u-unvmc-u .. _-...._ - a... 0-1. '
hmww
am m, e to 11 12 is 14 1s 1s 17 is
Headphone 1" Rec Level Balance Control
19 20 21
r- - -\ I
In eon
(m
I I E- Q j
I; 'E}:
22 a

1. Counter Reset button

When the Counter Reset button is pressed. the tape counter will be reset to

2. Counter search button

In the playback, stop or pause mode. pressing the Counter Search button
automatically locates the position at the tape conesponding to a tape counter
indication of '0000'. When the 0000 point is reached. the mode that was active
before the search reentered.

3. Monitor button (DR-HDR-Z)

This unit incorporates an auto monitor function which automatically switches
the output signal depending on the operation mode.

When the > button is pressed. the "lape' position is automatically selected.
When the deck is set to the Rec-Pause mode by pressing the 0 button. the
output is automatically changed to source.

To compare the sound oi the signal recorded on the tape with the source
scund. or to check the sound quality or the recording level when performing
manual adjustment. press the Monitor button to select the 'TAPE.

4. on (Pause) button

When the on button is pressed during playback. the deck enters the pause
mode.

To resume playback. press the > button.

5. << (Rewind)buttonl >>(Fast Forward)button

The DR-lIDFl-Z is equipped with a Program Check function which allows the
checking of the tape's contents.

When the << (or >>) button is pressed twice. the deck enters the rewind (or
fastoforward) mode for five seconds then enters the playback mode for five
seconds; this process continues until Play( >) or Stop( 1:) is pressed.

6. > (Play)button
1. I: (Stop)button

B. O(Record) button
When theObutton is pressed. the deck enters the Rec-Pause mode. To leave
a silent portion during recording. hold the 0 button depressed. The silent

Page 4

Connection

Tape 1/T ape 2 selector

O Moremeldngenyconnecmueuretommdnpoweroteflcomponente.

CAUTION:

TO PREVENT ELECTRIC SHOCK,
MATCH WIDE BLADE OF PLUG TO
WIDE SLOT, FULLY INSERT.

ToSyeternRemoteOtmitconnector

-------------------------- F To AC wall outlet
+

To Tape In L (white)
wmmm YToACouuet
CECE)
[3:12:12]
[212:]
O O O O o O 0
CD:
To Tape cm L (white) >
and R (red) m Nakamichi preamplifier. ampiitier. or receiver
Playback Recording
1. Press the Power switch. 1. Press the Power switch .
2. Preathe a button. 2. Press the a button.
3. Insert the cassette. 3. insert the cassette.
4. Clem the cassette holder. 4. Ciose the cassette holder.
5. SeiectthetepetypewiththeTape Selector. 5. SeiectthetapetypewiththeTape Selector.
6. Set the Baby NR OnIOlt switch. 6. Set the Dolby NR On/Otl switch.
7. Set the Dairy NR BIC switch. 7. Set the Dolby NFi BIC switch.
8. Pressthe > button. 8. Set the Playbmk Azimuth control to the center position. (DR-1 onty)
9. Adjust the azimuth so that the high frequencies extend to the highest

possible trequency. (DR-1 only)

Record Level Adjustment

9. Set the Bias Tune control to the center position.

to. Press the 0 button.

11.Play back the source to be recorded.

12.Adjust the record level.
For normal and Type II tapes. adjust so that the +5 dB indicator lights briefly
when the loudest sound is input.
For metal tapes, adjust so that the +8 as indicator lights briefly when the
loudest sound is input.

13.Adjust the record level balance.

Press the > button.

15.Listen to the sound atter it has been recorded on the tape. and compare it
with the source saund.
(For DR-t/DR-z. altemate between Source and Tape sound by pressing the
Monitor button during recording.)

16.Adiust the bias by rotating the Bias Tune control.
(Turn the Bias Tune control counterclockwise to increase the high lrequency
content 01 the tape. Turn the control clockwise to decrease the high
trequency content of the tape. Adjust until the Tape sound is the same as
the Source sound.)

17. Press the 0 button
18. Play back the source to be recorded.
19. Press the > button.