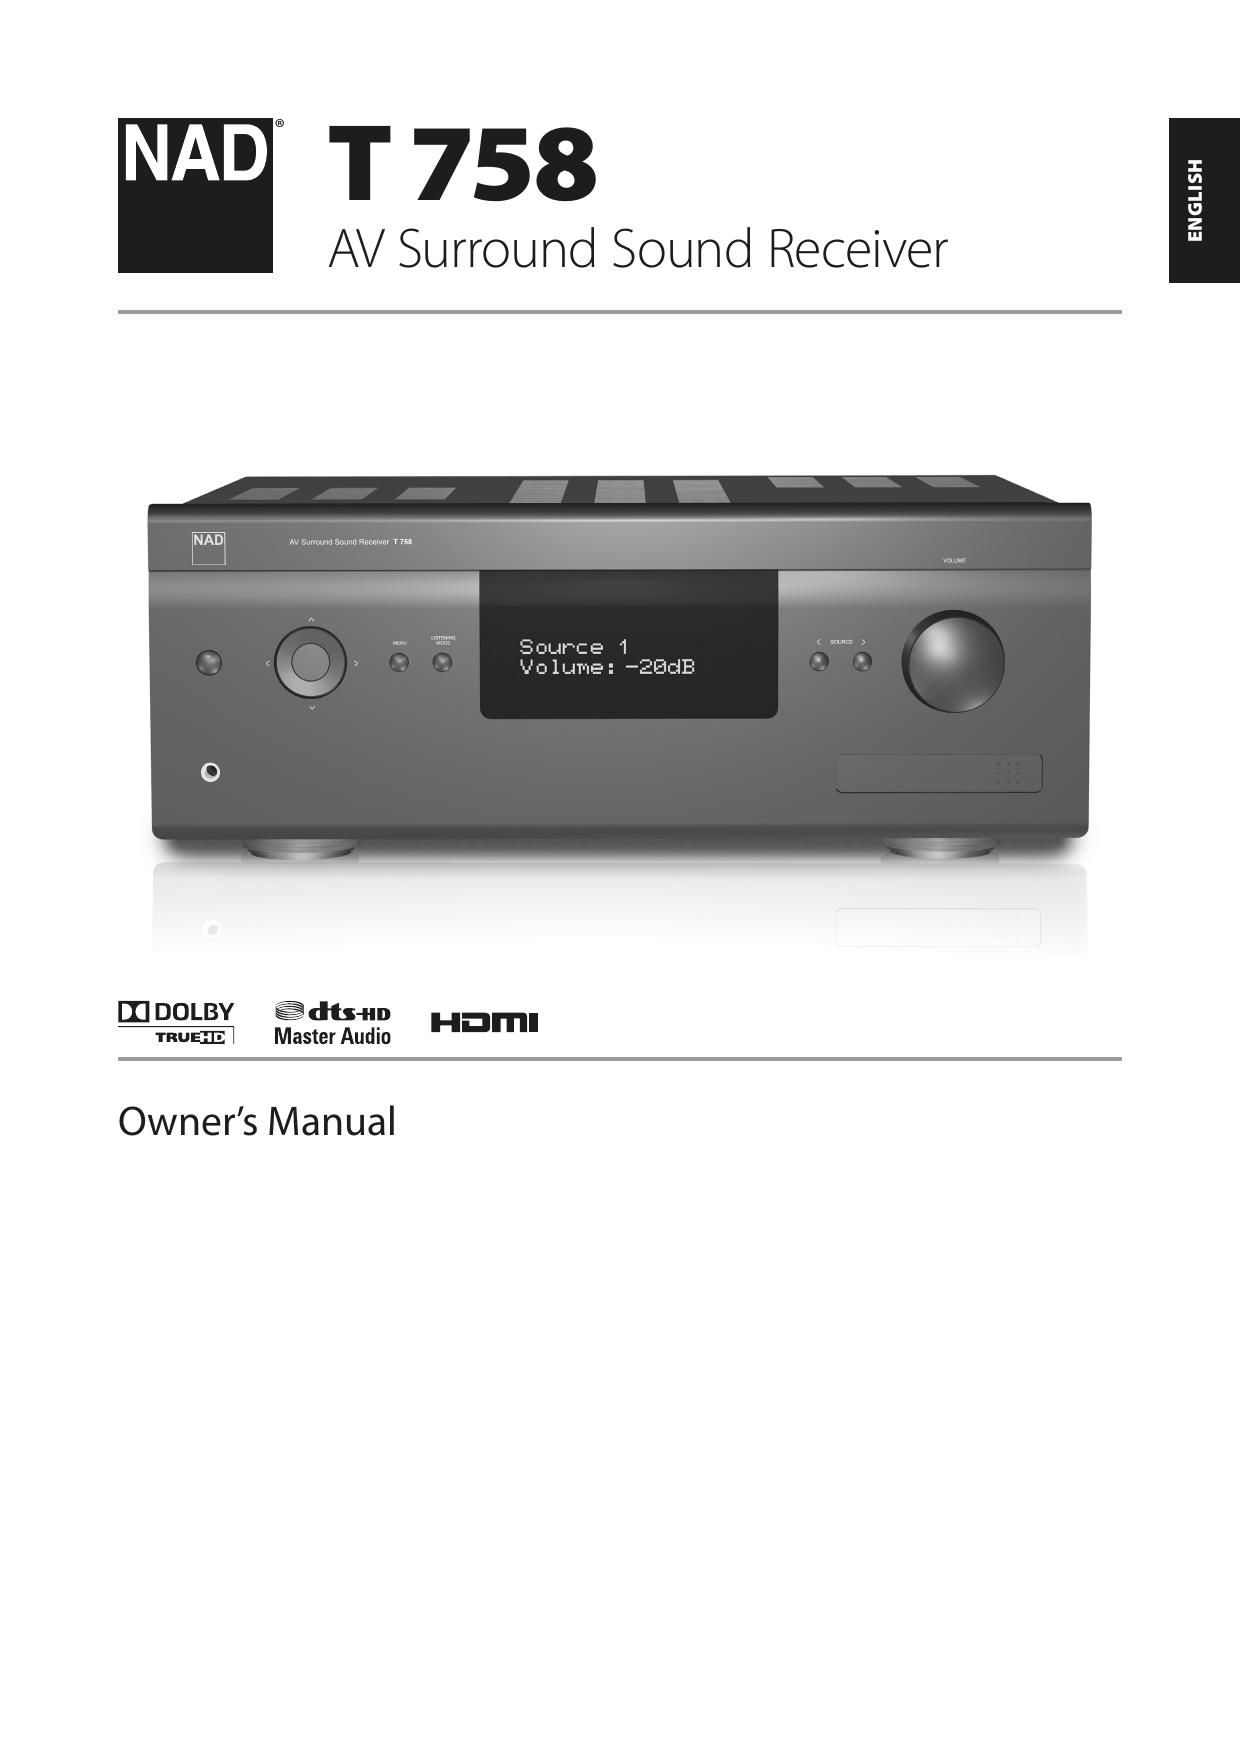
Nad T 758 AV English Owners Manual

This is the 42 pages manual for Nad T 758 AV English Owners Manual.
Read or download the pdf for free. If you want to contribute, please mail your pdfs to info@audioservicemanuals.com.

Page: 1 / 42
left right
Nad T 758 AV English Owners Manual

Extracted text from Nad T 758 AV English Owners Manual (Ocr-read)


Page 1

SAVE THESE INSTRUCTIONS FOR LATER USE. FOLLOW ALL WARNINGS AND INSTRUCTIONS MARKED ON THE AUDIO EQUIPMENT. 1 Read instructions - All the safety and operating instructions should be read before the product is operated. 2 Retain instructions - The safety and operating instructions should be retained for future reference. 3 Heed Warnings - All warnings on the product and in the operating instructions should be adhered to. 4 Follow Instructions - All operating and use instructions should be followed. 5 Cleaning - Unplug this product from the wall outlet before cleaning. Do not use liquid cleaners or aerosol cleaners. Clean only with a dry cloth. 6 Attachments - Do not use attachments not recommended by the product manufacturer as they may cause hazards. 7 Water and Moisture - Do not use this product near water-for example, near a bath tub, wash bowl, kitchen sink, or laundry tub; in a wet basement; or near a swimming pool; and the like. 8 Accessories - Do not place this product on an unstable cart, stand, tripod, bracket, or table. The product may fall, causing serious injury to a child or adult, and serious damage to the product. Use only with a cart, stand, tripod, bracket, or table recommended by the manufacturer, or sold with the product. Any mounting of the product should follow the manufacturers instructions, and should use a mounting accessory recommended by the manufacturer. 9 A product and cart combination should be moved with care. Quick stops, excessive force, and uneven surfaces may cause the product and cart combination to overturn. 10 Ventilation - Slots and openings in the cabinet are provided for ventilation and to ensure reliable operation of the product and to protect it from overheating, and these openings must not be blocked or covered. The openings should never be blocked by placing the product on a bed, sofa, rug, or other similar surface. This product should not be placed in a built-in installation such as a bookcase or rack unless proper ventilation is provided or the manufacturers instructions have been adhered to. 11 Power Sources - This product should be operated only from the type of power source indicated on the marking label. If you are not sure of the type of power supply to your home, consult your product dealer or local power company. The primary method of isolating the amplifier from the mains supply is to disconnect the mains plug. Ensure that the mains plug remains accessible at all times. Unplug the AC power cord from the AC outlet if the unit will not be used for several months or more. 12 Grounding or Polarization - This product may be equipped with a polarized alternating current line plug (a plug having one blade wider than the other). This plug will fit into the power outlet only one way. This is a safety feature. If you are unable to insert the plug fully into the outlet, try reversing the plug. If the plug should still fail to fit, contact your electrician to replace your obsolete outlet. Do not defeat the safety purpose of the polarized plug. 13 Power Cord Protection - Power supply cords should be routed so that they are not likely to be walked on or pinched by items placed upon or against them, paying particular attention to cords at plugs, convenience receptacles, and the point where they exit from the product. 14 Outdoor Antenna Grounding - If an outside antenna or cable system is connected to the product, be sure the antenna or cable system is grounded so as to provide some protection against voltage surges and built-up static charges. Article 810 of the National Electrical Code, ANSI/NFPA 70, provides information with regard to proper grounding of the mast and supporting structure, grounding of the lead-in wire to an antenna discharge unit, size of grounding conductors, location of antenna discharge unit, connection to grounding electrodes, and requirements for the grounding electrode. NOTE TO CATV SYSTEM INSTALLER This reminder is provided to call the CATV system installers attention to Section 820-40 of the NEC which provides guidelines for proper grounding and, in particular, specifies that the cable ground shall be connected to the grounding system of the building, as close to the point of cable entry as practical. 15 Lightning - For added protection for this product during a lightning storm, or when it is left unattended and unused for long periods of time, unplug it from the wall outlet and disconnect the antenna or cable system. This will prevent damage to the product due to lightning and power line surges. 16 Power Lines - An outside antenna system should not be located in the vicinity of overhead power lines or other electric light or power circuits, or where it can fall into such power lines or circuits. When installing an outside antenna system, extreme care should be taken to keep from touching such power lines or circuits as contact with them might be fatal. 17 Overloading - Do not overload wall outlets, extension cords, or integral convenience receptacles as this can result in a risk of fire or electric shock. 18 Object and Liquid Entry - Never push objects of any kind into this product through openings as they may touch dangerous voltage points or short-out parts that could result in a fire or electric shock. Never spill liquid of any kind on the product. WARNING: THE APPARATUS SHOULD NOT BE EXPOSED TO DRIPPING OR SPLASHING, AND OBJECTS FILLED WITH LIQUIDS, SUCH AS VASES, SHOULD NOT BE PLACED ON THE APPARATUS. AS WITH ANY ELECTRONIC PRODUCTS, USE CARE NOT TO SPILL LIQUIDS INTO ANY PART OF THE SYSTEM. LIQUIDS CAN CAUSE A FAILURE AND/OR A FIRE HAZARD. 19 Damage Requiring Service - Unplug this product from the wall outlet and refer servicing to qualified service personnel under the following conditions: a) When the power supply cord or plug is damaged. b) If liquid has been spilled, or objects have fallen into the product. c) If the product has been exposed to rain or water. d) If the product does not operate normally by following the operating instructions. Adjust only those controls that are covered by the operating instructions as an improper adjustment of other controls may result in damage and will often require extensive work by a qualified technician to restore the product to its normal operation. e) If the product has been dropped or damaged in any way. f ) when the product exhibits a distinct change in performance-this indicates a need for service. 20 Replacement Parts - When replacement parts are required, be sure the service technician has used replacement parts specified by the manufacturer or have the same characteristics as the original part. Unauthorized substitutions may result in fire, electric shock, or other hazards. 21 Safety Check - Upon completion of any service or repairs to this product, ask the service technician to perform safety checks to determine that the product is in proper operating condition. IMPORTANT SAFETY INSTRUCTIONS 2 ENGLISH PORTUGU

Page 2

22 Wall or Ceiling Mounting - The product should be mounted to a wall or ceiling only as recommended by the manufacturer. 23 Heat - The product should be situated away from heat sources such as radiators, heat registers, stoves or other products (including amplifiers) that produce heat. 24 Headphones - Excessive sound pressure form earphones and headphones can cause hearing loss. 25 Battery Disposal - When disposing of used batteries, please comply with governmental regulations or environmental public instructions rules that apply in your country or area. Batteries (battery pack or batteries installed) must not be exposed to excessive heat such as sunshine, fire or the like. CAUTION Danger of explosion if battery is incorrectly replaced. Replace only with the same or equivalent type. WARNING TO REDUCE THE RISK OF FIRE OR ELECTRIC SHOCK, DO NOT EXPOSE THIS PRODUCT TO RAIN OR MOISTURE. CAUTION TO PREVENT ELECTRIC SHOCK, MATCH WIDE BLADE OF PLUG TO WIDE SLOT, FULLY INSERT. THE LIGHTNING FLASH WITH ARROWHEAD SYMBOL, WITHIN AN EQUILATERAL TRIANGLE, IS INTENDED TO ALERT THE USER TO THE PRESENCE OF UNINSULATED DANGEROUS VOLTAGE WITHIN THE PRODUCTS ENCLOSURE THAT MAYBE OF SUFFICIENT MAGNITUDE TO CONSTITUTE A RISK OF ELECTRIC SHOCK TO PERSONS. THE EXCLAMATION POINT WITHIN AN EQUILATERAL TRIANGLE IS INTENDED TO ALERT THE USER TO THE PRESENCE OF IMPORTANT OPERATING AND MAINTENANCE (SERVICING) INSTRUCTIONS IN THE LITERATURE ACCOMPANYING THE APPLIANCE. THE EQUIPMENT MUST BE CONNECTED TO AN EARTHED MAINS SOCKET-OUTLET. The disconnect device of the apparatus is its mains plug. Cut off power to the apparatus by disconnecting its mains plug from the mains outlet. The mains plug of the apparatus should be easily accessible or free from any obstruction during intended use. CAUTION Changes or modifications to this equipment not expressly approved by NAD Electronics for compliance could void the users authority to operate this equipment. CAUTION REGARDING PLACEMENT To maintain proper ventilation, be sure to leave a space around the unit (from the largest outer dimensions including projections) that is equal to or greater than shown below. Left and Right Panels: 10 cm Rear Panel: 10 cm Top Panel: 20 cm NOTES ON ENVIRONMENTAL PROTECTION At the end of its useful life, this product must not be disposed of with regular household waste but must be returned to a collection point for the recycling of electrical and electronic equipment. The symbol on the product, users manual and packaging, point this out. The materials can be reused in accordance with their markings. Through re-use, recycling of raw materials or other forms of recycling of old products, you are making an important contribution to the protection of our environment. Your local administrative office can advise you of the responsible waste disposal point. INFORMATION ABOUT COLLECTION AND DISPOSAL OF WASTE BATTERIES (DIRECTIVE 2006/66/EC OF THE EUROPEAN PARLIAMENT AND THE COUNCIL OF EUROPEAN UNION) (FOR EUROPEAN CUSTOMERS ONLY) Batteries bearing any of these symbols indicate that they should be treated as separate collection and not as municipal waste. It is encouraged that necessary measures are implemented to maximize the separate collection of waste batteries and to minimize the disposal of batteries as mixed municipal waste. End-users are exhorted not to dispose waste batteries as unsorted municipal waste. In order to achieve a high level of recycling waste batteries, discard waste batteries separately and properly through an accessible collection point in your vicinity. For more information about collection and recycling of waste batteries, please contact your local municipality, your waste disposal service or the point of sale where you purchased the items. By ensuring compliance and conformance to proper disposal of waste batteries, potential hazardous effects on human health is prevented and the negative impact of batteries and waste batteries on the environment is minimized, thus contributing to the protection, preservation and quality improvement of the environment. NOTE: THE T 758 IS NOT AN AUTO VOLTAGE UNIT. CONNECT ONLY TO THE PRESCRIBED AC OUTLET, I.E., 120V 60HZ OR 230V 50HZ. WARNING: DO NOT INGEST BATTERY, CHEMICAL BURN HAZARD The remote control supplied with this product contains a coin/button cell battery. If the coin/button cell battery is swallowed, it can cause severe internal burns in just 2 hours and can lead to death. Keep new and used batteries away from the children. If the battery compartment does not close securely, stop using the product and keep it away from children. If you think batteries might have been swallowed or placed inside a part of the body, seek immediate medical attention. RECORD YOUR MODEL NUMBER (NOW, WHILE YOU CAN SEE IT) The model and serial number of your new T 758 are located on the back of the cabinet. For your future convenience, we suggest that you record these numbers here: Model no: ...................................... Serial no.: . . . . . . . . . . . . . . . . . . . . . . . . . . . . . . . . . . . . \ . . IMPORTANT SAFETY INSTRUCTIONS NAD is a trademark of NAD Electronics International, a division of Lenbr\ ook Industries LimitedCopyright 2015, NAD Electronics International, a division of Lenbrook In\ dustries Limited 3 ENGLISH PORTUGU

Page 10

USING THE AVR 4 REMOTE CONTROL The AVR 4 remote control handset handles the key functions of the T 758. The AVR 4 can also be used to directly command other NAD products that respond to applicable common remote control codes. This includes other NAD Stereo Receiver, Integrated Amplifier and Preamplifier models. It has additional controls to remotely operate NAD Blu-ray Disc Players, AM/FM Tuners and dedicated AM/ FM/DB Tuners. It will operate up to a distance of 23ft (7m). Alkaline batteries are recommended for maximum operating life. Two AA batteries should be fitted in the battery compartment at the rear of the Remote Control handset. When replacing batteries, check that they have been put in the right way round, as indicated on the base of the battery compartment. NOTE The remote control handset supplied with the T 758 is of a universal NAD type, designed to operate several NAD models. Some buttons are applicable only to specific NAD models. Contact your dealer or NAD audio specialist for assistance. 1 ON, OFF The AVR 4 remote has a separate ON and OFF button. - Press ON button to switch the T 758 from Standby to operating mode. Press OFF button to switch the T 758 to Standby mode. 2 DEVICE SELECTOR A Device Selector button determines only what component the AVR 4 will command; it does not perform any function on the T 758. - Press desired Device Selector button for the applicable buttons to be directed to a page of commands relevant to the selected device. Upon selecting a Device, you can now press the corresponding AVR 4 control buttons applicable for the selected Device. 3 INPUT SELECTORS Refer to the corresponding labels printed in the remote control faceplate and their respective assigned buttons to make use of these functions. - Set the DEVICE SELECTOR to AMP in order to gain access to these buttons. - INPUT 1, INPUT 2 up to INPUT 7 corresponds to T 758s Source 1, Source 2 up to Source 7. Select FRONT to select Front Input and MP for Front Audio MP input. 4 NUMERIC KEYS The numeric keys allow for direct input of tracks for CD players and direct channel/preset access for tuners and receivers. 5 A/V PSET In combination with the numeric keys, press a Preset number from 1 to 5 as referenced to A/V Presets settings. Note that the Preset settings can be configured via the A/V Presets menu. 6 DIMMER - Reduce or restore VFD brightness. - Depending on the NAD model, the brightness of the front panel display will vary when you toggle this button. - Use with NAD T 758 and other compatible NAD Stereo Receiver, Tuner and CD Player models. 7 TEST Initiate speaker TEST mode while at the Speaker Levels section of the Speaker Setup menu. 8 MUTE - Temporarily mutes audio output or restores audio from mute mode. - MUTE mode is indicated by flashing Standby LED indicator for NAD Integrated Amplifiers or Mute shown in the VFD of NAD Receivers. - Adjusting the volume level via the AVR 4 or the front panel volume knob will automatically release the mute function. 9 SOURCE 5/6 - Toggle to select desired Source. 10 SURR Select desired listening or surround mode. IDENTIFICATION OF CONTROLS AVR 4 REMOTE CONTROL 2 10 11 12 1 3, 4 8 9 15 14 5 13 16 7 6 11 ENGLISH PORTUGUÊS FRANÇAIS ESPAÑOL ITALIANO DEUTSCH NEDERLANDS SVENSKA РУССКИЙ

Page 28

DTS-“ES MATRIX 6.1 In this format, the additional signals of the back channel receive a matrix encoding and are inputted into the right and left surround channels. During reproduction they are decoded to the right, left and back surround channels. Since this bit-stream format is 100% compatible with conventional DTS signals, the DTS-ES Matrix 6.1 format effect can also be achieved from sources with DTS-ES 5.1 signals. Naturally, it is also possible to reproduce from a DTS 5.1 channel decoder, signals recorded in DTS-ES 6.1. When a DTS-ES decoder processes a discrete DTS-ES 6.1 or in Matrix 6.1, these formats are automatically detected and the Optimum Surround mode is selected. However, some DTS-ES Matrix 6.1 sources may be detected as DTS. In this case the DTS-ES Matrix mode should be selected manually in order to reproduce them. DTS NEO: 6 SURROUND This mode applies the conventional 2-channel signals such as digital PCM or analog stereo signals to the high precision digital matrix decoder used for DTS-ES Matrix 6.1 to achieve 6.1-channel surround playback. DTS Neo: 6 surround includes two modes for selecting the optimum decoding of the signal sources: DTS NEO: 6 CINEMA: This method is ideal for the reproduction of movies. The decoding takes place by emphasizing the separation in order to achieve the same atmosphere with 2-channel, as with 6.1-channel sources. DTS NEO: 6 MUSIC: Mainly recommended for music reproduction. The right and left front channels do not pass through the decoder and are reproduced directly so there is no loss in sound quality, and the effects of the right surround, left surround, central and back surround channels add a natural sensation of expansion of the sound field. ENHANCED STEREO Please refer to the same description of ENHANCED STEREO under the LISTENING MODES segment of the OPERATION - USING THE T 758 - MAIN MENU. DISPLAY SETUP The Vacuum Fluorescent Display ( VFD) and On-Screen Display (OSD) can be shown in various ways by navigating through the parameters at the Display Setup menu. Use a combination of [ A/S ] or [ENTER] and [ D/F ] keys to step through the Display Setup menu items. NOTE The configurations set forth at Display Setup are carried over whenever it is enabled during A/V Presets setting. Please see also the section below about AV Presets. VACUUM FLUORESCENT DISPLAY (VFD) Display: Select On to display all applicable data or characters at the VFD. Nothing will be shown at VFD if Temp is selected. At Temp setting however, whenever any of the front panel controls or their corresponding keys in the remote control is activated, the appropriate VFD characters will be shown temporarily and then fade away. Dimmer: If it is desired to reduce the brightness of the VFD, set Dimmer to Dim. Otherwise, select Bright to return to normal VFD brightness. Line 1, Line 2: The VFD shows two main lines of data or characters. Line 2 is the line of data or characters located at the lower bottom of the VFD while directly above it is Line 1. For both lines, one can select which display could be shown by choosing through the following Main Source: Shows the active Source. Volume: Current Volume level is shown. Listening Mode: Selected Listening Mode is shown. Audio Src Format: Shows the active Sources detected audio format. Audio Codec: Displays the detected audio stream format like Analog, PCM Surround, Dolby TrueHD, DTS-HD Master Audio and other formats. Video Mode: Show the video resolution of the active input source. Details shown include the video resolution with frame rate. For a better understanding of these video details, consult with your NAD Audio Specialist or your distributors technical department. Zone 2 Source: The assigned Source for Zone 2 is shown. Off: Select Off if it is desired not to show any data at the applicable Line. Temp Line: Choose between Line 1 and Line 2 as the desired line where VFD will be temporarily shown if Temp is selected at Display option as described above. ON-SCREEN DISPLAY (OSD) Temp Disp: This applies to the OSD that is temporarily shown at video out whenever any of the front panel controls or their corresponding keys in the remote control is activated. Set to On if it is desired to show the applicable OSD at the monitor/TV; otherwise, select Off . OPERATION USING THE T 758 -“ SETUP MENU 29 ENGLISH PORTUGU

Page 36

RESET The Reset option allows the connected (and separately sold) NAD DAB Adaptor to be reset to its factory default settings. 1 While listening to a DAB broadcast, press [ TUNER MODE] button and [ A/S ] to select Reset. 2 Press [ENTER]. Reset? No will be shown in the lower line of the VFD. Press [ A/S ] to switch to Reset? Yes option. DAB P-- $Reset? Yes % 3 To select Reset? No or Reset? Yes, press [ENTER] while at the desired option. Selecting Reset? Yes will cause the connected NAD DAB Adaptor module to be reset to its factory default settings. INFORMATION SETTINGS While listening to a DAB broadcast, the type of information displayed in the lower line of the VFD can be varied. Toggle front panels [INFO] button to step through the following display options: Station Name £ ^ DLS ^ Channel and Frequency ^ Ensemble Name ^ Program Type ^ Time and Date ^ Audio Signal information ^ Error Rate STATION NAME The name or identification of the DAB broadcast station is shown. This is the default display. DLS Dynamic Label Segment (DLS) is the scrolling text supplied by the broadcasting station. It may contain information on music titles or details regarding the program or station. CHANNEL AND FREQUENCY The channel and frequency of the currently tuned DAB broadcast are displayed. ENSEMBLE NAME The name of the ensemble that is broadcasting the program is displayed. PROGRAM TYPE This is a description of the type of broadcast supplied by the station, such as Pop, Rock, Drama and the likes. TIME AND DATE The current time and date as supplied by the DAB station are displayed. AUDIO SIGNAL INFORMATION Displays the bit rate and audio type (stereo, mono or joint stereo) as transmitted by the DAB broadcast provider. These are set by the broadcaster to suit the type and quality of material being transmitted. ERROR RATE This displays the digital error rate (0 to 99) of the currently tuned channel - the lower the figure, the better the quality of the received broadcast. OPERATION LISTENING TO DAB RADIO 37 ENGLISH PORTUGUÊS FRANÇAIS ESPAÑOL ITALIANO DEUTSCH NEDERLANDS SVENSKA РУССКИЙ

Page 37

The T 758 is equipped with a data port in the rear panel where an optional NAD IPD Dock for iPod (NAD IPD) can be plugged in. With the NAD IPD linking the T 758 with your own iPod player, you can enjoy listening to your favorite tracks and playlists as well as view applicable still image and video playback. You can control your iPod player using the assigned buttons in the T 758 front panel. And with the corresponding AVR 4 remote control function keys, you can select the materials stored in your iPod for playback as well as access many of its functions even from across the room. The optional NAD IPD also charges your iPod player while it is connected to the T 758. NOTES - NAD IPD Dock for iPod (NAD IPD) currently has two versions - the NAD IPD 1 and NAD IPD 2. These two NAD IPD models and later variants are compatible with the T 758. - NAD IPD and iPod player are not supplied with your T 758. - iPod player functions, features and playback capabilities accessible through T 758 may vary depending on your iPod player model. - When using the AVR 4 to control the iPod functions, make sure that the Device Selector is set to MP. CONNECTING THE OPTIONAL NAD IPD AND iPod PLAYER TO THE T 758 Make sure that all the devices are unplugged before making the connections. 1 Connect the NAD IPDs DATA PORT to the corresponding MP DOCK data port of the T 758. 2 Connect also the NAD IPDs S-Video out and audio out to the T 758 AUDIO 3/S-VIDEO 1 input (the default iPod source allocation in the T 758). 3 Dock your iPod player into the NAD IPD. NAVIGATING THE IPOD PLAYERS FUNCTIONS AND FEATURES After linking together your iPod player, NAD IPD and the T 758, you can now plug them IN to their applicable power sources. 1 With your T 758, iPod player and NAD IPD all at power ON state, select SOURCE 5 (iPod) of your T 758. Your iPod player will show in its display the NAD logo and below it OK to disconnect. On the other hand, the T 758 VFD will show in the upper line iPod Menu and the lower line Playlists. The lower line will vary depending on the current menu selected. At the same time, the T 758 OSD will display the whole iPod Menu selections like Playlists, Artists, Albums, Songs, Podcasts, Genres, Composers and Audiobooks. 2 Navigate through the iPod menu selections using a combination of the [ A/S/D/F ] buttons. NOTES - The iPod players click wheel and controls will not operate when it is properly connected to the T 758 via the NAD docking station. - To exit from the iPod Menu at Source 5 (iPod), press [ A ] bringing you to Menu Select OSD. Follow the instructions as shown. - Source 5 is defaulted to iPod. For Source 5 (iPod) to be changed and allocated for other inputs, go to iPod Setup menu under the Source Setup menu. At iPod Setup menu, set Enabled to No -“ you can now assign Source 5 with another input or setting as desired. CONTROL FEATURES AND SETTINGS The following control functions and settings are selectable or enabled using the front panel and AVR 4 remote control buttons. Since the AVR 4 will be the primary controller in most cases, we will focus on remote- controlled operations. Note that other NAD IPD models, like the NAD IPD 2, have their own remote controls. The controls below also apply to the corresponding buttons of the remote controls of such applicable NAD IPD models. ENTER While at iPod Menu OSD, press [ENTER] to go to iPod Settings and setup the following options: Shuffle: Select Shuffle to enable random playback of either Songs or Albums lists. To turn off shuffle mode, select Off . Repeat: Select One for repeated playback of the current song. Select All for repeated playback of your entire list under Songs selection. Audiobook Speed: The playback speed of your audiobook can be varied according to your preference. During audiobook playback, adjust the reading speed to Normal, Fast or Slow. DISP - During playback, toggle [DISP] key of AVR 4 to show in the T 758 VFD upper line the Song title, Artist Name and Album title. - If there is no information available, the display will show No Song, No Artist or No Album as applicable. Aside from this information, the lower line will display the current titles song number allocation and time elapsed. D/F - During playback mode, press [ D ] to skip forward to the next song or [ F ] to skip back to the previous song. - For quicker scrolling up or down the list, press and hold [ D/F ]. - While at menu options or selection lists, toggle [ D/F ] to go up or down the options or lists. D/F , 9/0 - Press AVR 4s [ 9/0 ] to scroll up and down the Songs list one page or at least 8 titles at a time. - Press and hold [ D/F ] to quickly scroll through the song titles. - During fast scrolling, [ 9/0 ], the first letter of the song is displayed on the bottom right corner of the OSD as the title changes. This is applicable only when there are more than 4000 song titles. [ j ] (PAUSE)/ [ 4 ] (PLAY) - Press [ j ] (PAUSE) during playback to stop playback temporarily. - Resume play by pressing [ j ] (PAUSE) again or [ 4 ] (PLAY ). 9/0 During playback or PAUSE mode, press [ 9/0 ] once for fast forward or backward scanning of current song. OPERATION LISTENING TO YOUR iPod PLAYER 38 ENGLISH PORTUGU