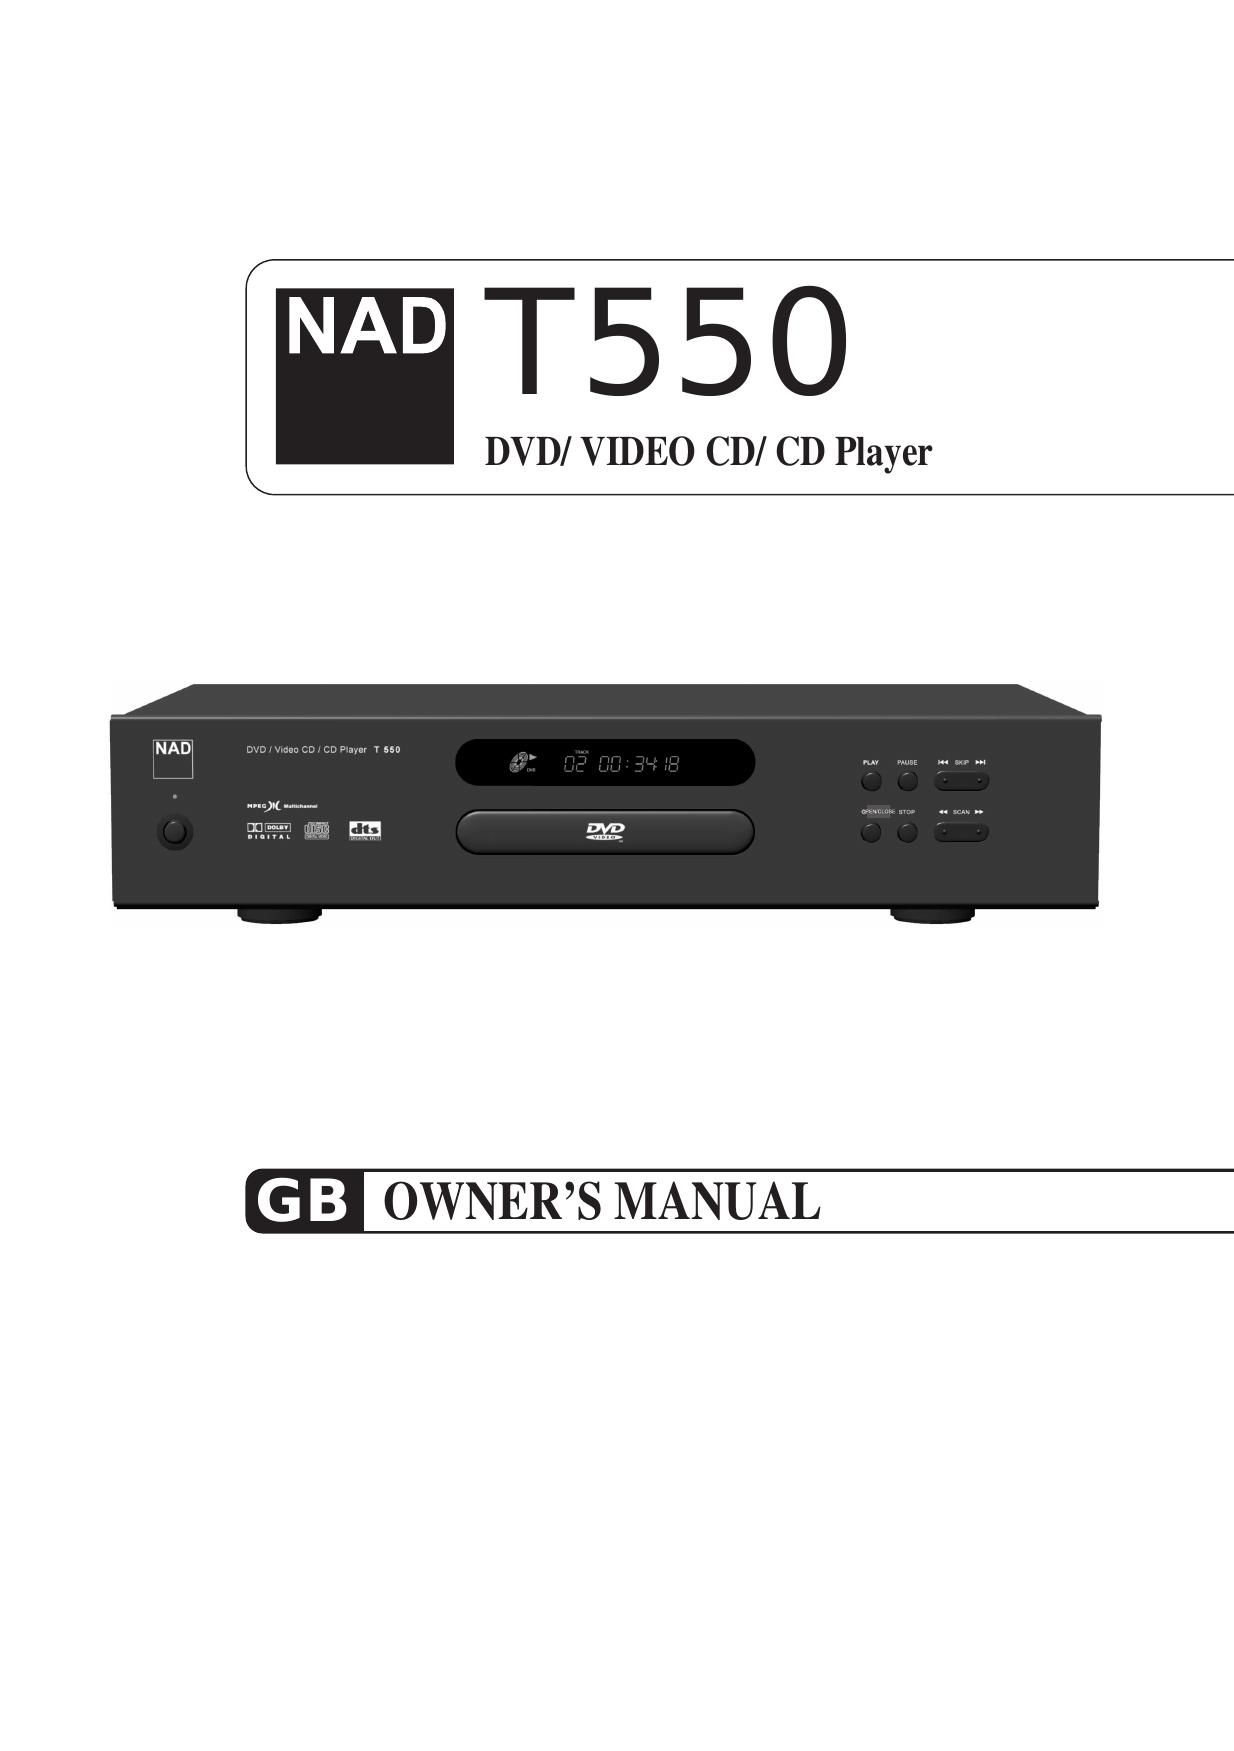
Nad T 550 Owners Manual

This is the 40 pages manual for Nad T 550 Owners Manual.
Read or download the pdf for free. If you want to contribute, please mail your pdfs to info@audioservicemanuals.com.

Page: 1 / 40
left right
Nad T 550 Owners Manual

Extracted text from Nad T 550 Owners Manual (Ocr-read)


Page 1

2 INTRODUCTION ecautions equipment draws nominal non-operating power from AC outlet with its POWER switch in the STANDBY Obs! n ätstr ömst ällaren skiljer ej hela apparaten fran n ätet. NOT off the mains plug from this equipment. plug fitted is not suitable for the power points in your or the cable is too short to reach a power point, then an appropriate safety approved extension lead or nonetheless the mains plug is cut off, remove the fuse dispose of the plug immediately, to avoid a possible hazard by inadvertent connection to the mains If this product is not provided with a mains plug, or one has to be fitted, then follow the instructions given below: IMPORTANT. DO NOT make any connection to the larger terminal which is marked with the letter E or by the safety symbol or coloured GREEN or GREEN-and- wires in the mains lead on this product are coloured in accordance with the following code : BLUE - NEUTRAL BROWN - LIVE these colours may not correspond with the coloured identifying the terminals in your plug proceed as follows: The wire which is coloured BLUE must be connected to the which is marked with the letter N or coloured wire which is coloured BROWN must be connected to terminal which is marked with the letter L or coloured replacing the fuse only a correctly rated approved IN DOUBT A COMPETENT equipment has been tested and found to comply the limits for a Class B digital device, pursuant to Part 15 of the FCC Rules. These limits are designed to provide reasonable protection against interference in a residential area. This device generates and uses radio energy and if not installed and used in with the instructions, it may cause to radio or TV reception. If this unit does interference with TV or radio reception you can to correct the interference by one or more of the a) Reorient or relocate the receiving antenna. b) Increase the separation between the equipment and the receiver. c) Plug the equipment into a different outlet so that it is on the same circuit as the receiver. If necessary, radio/TV technician for additional suggestions. CAUTION or modifications to this equipment not approved by NAD Electronics for compliance void the user s authority to operate this For U.S.A IMPORTANT (for U.K. Customers) For CANADA AC POWER CORD CONNECTION CAUTION : PREVENT ELECTRIC SHOCK, MATCH WIDE Pour le CANADA CORDE DE CONNEXION CA ATTENTION : ÉVITER LES CHOCS ÉLECTRIQUES, LA LA PLUS LARGE DE DANS CORRESPONDANTE DE PRISE ET POUSSER JUSQU AU FOND. WARNING: TO PREVENT FIRE OR SHOCK HAZARD, DO NOT EXPOSE THIS APPLIANCE TO RAIN OR MOISTURE. TO REDUCE THE RISK OF ELECTRIC SHOCK, DO NOT REMOVE COVER BACK). NO USER-SERVICEABLE PARTS INSIDE. REFER SERVICING TO THE LIGHTNING FLASH WITH ARROWHEAD SYMBOL, WITHIN AN EQUILATERAL TRIANGLE, IS INTENDED TO ALERT THE USER TO THE PRESENCE OF UNINSULATED DANGEROUS VOLTAGE WITHIN THE PRODUCT S ENCLOSURE THAT MAY BE OF SUFFICIENT MAGNITUDE TO CONSTITUTE A RISK OF ELECTRIC SHOCK TO PERSONS. THE EXCLAMATION POINT WITHIN AN EQUILATERAL TRIANGLE IS INTENDED TO ALERT THE USER TO THE PRESENCE OF IMPORTANT OPERATING AND MAINTENANCE (SERVICING) INSTRUCTIONS IN THE LITERATURE ACCOMPANYING THE APPLIANCE. RISK OF ELECTRIC SHOCK DO NOT OPEN

Page 2

3 INTRODUCTION able of Contents Introduction Safety Precautions .............................................. 2 Table of Contents ............................................... 3 IMPORTANT SAFETY INSTRUCTIONS ...... 4 ~ 5 Precautions ......................................................... 6 For Proper and Long Use ............................. 7 ~ 8 Features ............................................................ ..9 Identification of Contents .......................... 10 ~ 13 Front Panel/Display window .......................... 10 Rear panel ..................................................... 11 Remote Control ............................................. 12 Preparing the Remote Control ....................... 13 Operating with the Remote Control ............... 13 Connections Connecting to a TV ........................................... 14 Connecting to an Audio System ....................... 15 Connecting to Optional Equipment ........... 16 ~ 19 Enjoying Dolby Digital Sound ........................ 16 Enjoying Dolby Digital (5.1 CH) Sound ......... 17 Enjoying Dolby Pro Logic Surround Sound ...18 Enjoying 2 Channel Digital Stereo Sound ..... 19 Enjoying DTS Sound ..................................... 19 Basic Operation Basic Playback ......................................... 20 ~ 23 Playing DVDs, CDs & Video CDs .................. 20 Stopping Playing & Switching Power Off ....... 21 Skipping forward or back ............................... 21 Scanning forward or back ............................... 21 Viewing a still frame ...................................... 22 Slow Playback-Viewing a slow picture .......... 22 Playing Frame by Frame ............................... 22 23 Viewing Information about DISPLAY ................ 24 Using a title menu/ DVD menu ......................... 25 Changing subtitle language .............................. 26 Viewing from another angle .............................. 27 Repeat Play ...................................................... 28 Storing markers in memory to be viewed (listened to) again ................................. 29 Zooming Feature/ Random Play ....................... 30 Program Play .................................................... 31 INTRO Play ....................................................... 31 Initial SETUP Operation Common procedures of initial settings .............. 32 SET UP Menu CLEAR ...................................... 32 Selecting Display mode .................................... 33 Selecting Audio Output ..................................... 34 Selecting rating level and Password-Parental Control ............................... 35 Selecting Disc Language .................................. 36 Reference Disc Requirements/Copyright Information ........ 37 Troubleshooting ................................................ 38 Specifications .................................................... 39

Page 12

13 Identification of Contr ols Open the battery cover. Insert batteries (AAA size). Close the cover. 1 2 3 Make sure to martch the + and - on the batteries to the marks inside the battery compartment. Notes on the remote control Direct the remote control at the remote sensor of the DVD player. Do not drop or give the remote control a shock. not leave the remote control near extremely not spill water or put anything wet on the Do not open the remote control. Notes use of batteries may cause battery To operate the remote control correctly, follow the instructions below. Do not insert the batteries into the remote control in the wrong direction. not charge, heat, open, or short-circuit the not leave dead or exhausted batteries in the Do not use different types of batteries together, or mix old and new batteries. you do not use the remote control for a long of time, remove the batteries to avoid If the remote control does not function correctly or if the operating range becomes reduced, replace all batteries with new ones. battery leakage occurs, wipe the battery liquid the battery compartment, then insert new batteries should last about one year with the batteries into the remote control so you can use it to operate the DVD player. section shows you how to use the remote the remote control at the remote sensor and Distance : About 23 ft (7 m) from the front of the remote sensor. Angle : About 30 ˚ in each direction of the front of the remote sensor. not expose the remote sensor of the DVD to a strong light source such as direct or illumination. If you do so, you may not able to operate the DVD player with the Pr eparing the Remote Contr Within about 23 ft (about 7 m) 30

Page 34

INITIAL SETUP OPERATION d-Par ental Contr ol (DVD only) is to prohibit the playing of specified DVDs Some DVD discs contain a restriction level which parents to remove scenes or prevent of discs by children. DVD players are with a password designed to prevent to select Rating, and to If password is locked, press the password and ENTER button. Press to select password , and press to select Change or Clear , and press ENTER button. change the password, press the old password and button, then press the new password and clear the password, press the password and rating is locked. Any discs whose rating is than the setting cannot be played back you have forgotten your password, you can the factory default settings with password set to 1, 2, 3, 4. Note that after having restored the factory dafault settings, all other settings are be reset again. Refer also to page 32, Operation , SETUP MENU Clear . 3 2 Disc Audio Rating Audio Output Disc Subtitle English Disc Menu English Change Password PASSWORD**** Speaker Output English TV AspectTV Mode Auto FLT Brightness 100% 16:9 W ide Two ChannelPCM only Theatrical Disc Audio Rating Audio Output Disc Subtitle English Disc Menu English Change Password PASSWORD**** Speaker Output English TV AspectTV Mode Auto FLT Brightness 100% 16:9 W ide Two ChannelPCM only Theatrical Disc Audio Rating Audio Output Disc Subtitle English Disc Menu English Change Password PASSWORD**** Speaker Output English TV AspectTV Mode Auto FLT Brightness 100% 16:9 W ide Two ChannelPCM only Theatrical Selecting rating level (DVD only) At the SET UP screen Video discs has the rating level with 8 steps the setting is Adult , the player could play all If the setting is Kids , the player could only play a disc whose rating is 1. the setting is Theatrical , the player could play You cannot play DVD video discs rated higher than the you selected unless you cancel the rating level example, when you select kids, discs rated higher you change the level and enter a password, playback of all DVDs with ratings higher than you selection will be blocked, unless the correct