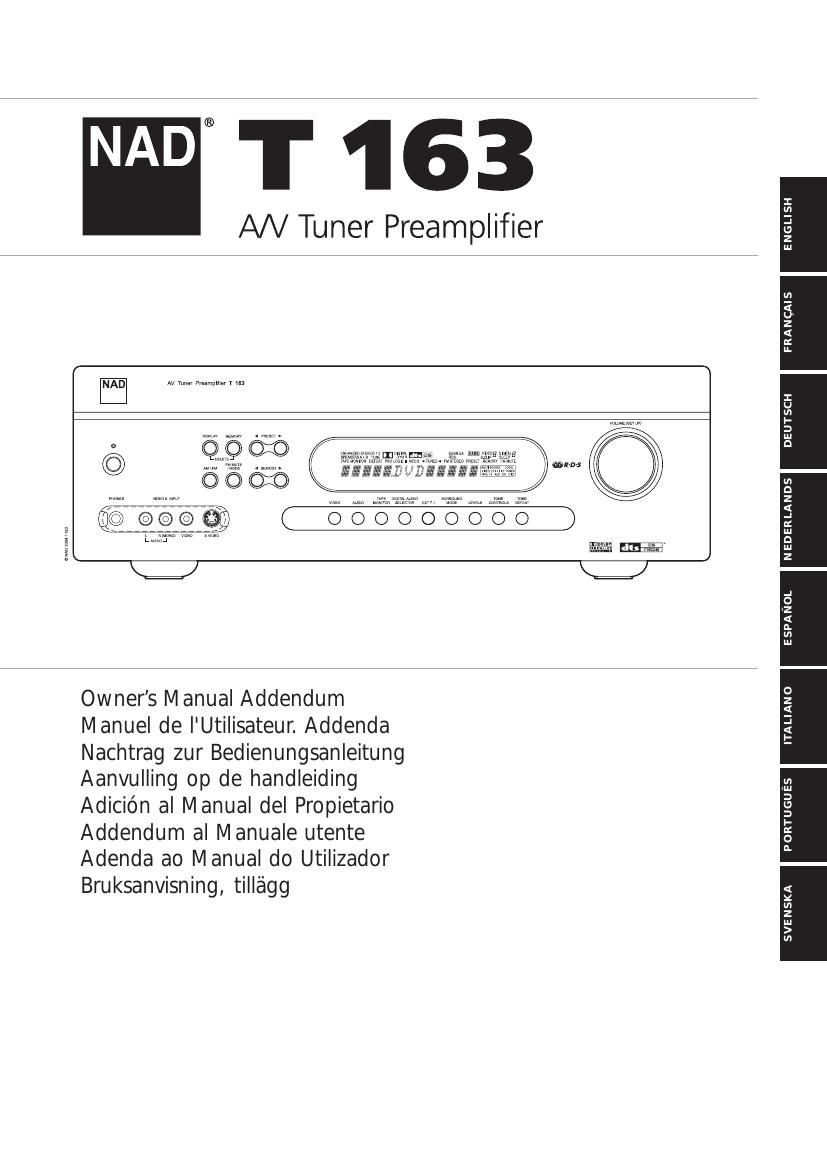
Nad T 163 Owners Manual 2

This is the 18 pages manual for Nad T 163 Owners Manual 2.
Read or download the pdf for free. If you want to contribute, please mail your pdfs to info@audioservicemanuals.com.

Page: 1 / 18
left right
Nad T 163 Owners Manual 2

Extracted text from Nad T 163 Owners Manual 2 (Ocr-read)


Page 1

2 2 2 2 2 T 163 OWNERS MANUAL ADDENDUM One of the benefits of the T 163 A/V Tuner Preamplifier is its capability for software upgrades. As NAD develops new features, we issue new operational software. This T 163 has a new version of software installed. There are several ne\ w features that are not described in the Owner's Manual that are outlined below, along with the page refer\ ence to the original instruction. One exciting new feature is the substitution of the HDCD decoding format\ with the new Dolby Digital Pro Logic IIx. Dolby Digital Pro Logic IIx (page 24) Dolby Pro Logic IIx (page 23) Dolby Digital Pro Logic IIx and Dolby Prologic IIx processes both stereo\ and 5.1 signals into a 6.1*- or 7.1- channel output. For both Pro Logic IIx processes you can choose Movie or\ Music modes to tailor your listening experience to source material. For two channel signals Pro Logic IIx Mus\ ic mode also features three additional user controls; Dimension, Center Width, and Panorama. The fol\ lowing chart shows the channels available assuming they are enabled in the SPEAKER SETTINGS OSD menu; Setup Menus Since the T 163 was introduced, we have been asked for more flexible opt\ ions in the Setup Menus. This resulted in adding a more ergonomic interface and new options such as a \ menu for the Zone settings. Zone Settings (page 18 Advanced Options) POWER STATE There are two settings to allow the second zone to power on or off from \ the HTR 2 remote control instead of using the ZR 2 remote control. With the HTR 2; toggling the POWER STATE to ON will power on the second zone as indicated in the T 163s VFD, toggling the POWER STATE to OFF will power off the second zone. VOLUME CTRL There are now two primary settings for the second zone volume control; F\ IXED and VARIABLE. When set to VARIABLE the second zone volume will be adjustable via the ZR 2. When s\ et to FIXED the second zone volume will be set to the preset level as shown on the ZONE SETTINGS, LE\ VEL. The FIXED setting is the preferred setting when the second zone amplifier has its own volume cont\ rol (or when using a distribution amplifier with passive impedance matching volume controls). LEVEL (page 13 MS OUT) This sets the audio volume level at initial power on of the second zone \ MS OUT (MultiSource Out). Set this level from -75dB to +18dB (the default setting is -20dB). To change this level the VOLUME CTRL setting must be set to VARIABLE. Once the VOLUME CTRL setting is set to FIXED, the level cannot\ be adjusted. To mute the MS OUT; press ENTER on the HTR 2 and an M will show beside the audio volum\ e level to indicate muting. AUTO TRIG IN This feature was formerly named AUTO TRIGGER, and still functions as it \ did before. Advanced Options (page 18) Dolby Digital Pro Logic IIx is now a surround mode selection available by the HTR 2s and T 163s front panel button, SURROUND MODE. Listening Mode Two-Channel Sources Dolby Pro Logic IIx Music Dolby Pro Logic IIx Movie Listening Mode Multichannel Source Dolby Digital Pro Logic IIx Music Dolby Digital Pro Logic IIx Movie 6.1-Speaker System Front (left & right), Center, Surround (left & right), and Back Surround Front (left & right), Center, Surround (left & right), and Back Surround not available* 7.1-Speaker System Front (left & right), Center, Surround (left & right), and Back Surround (left & right) Front (left & right), Center, Surround (left & right), and Back Surround (left & right) Front (left & right), Center, Surround (left & right), and Back Surround (left & right) Active Decoded Output Channels

Page 2

3 33 3 3 ENGLISH T 163 OWNERS MANUAL ADDENDUM Enhanced Stereo 1 and 2 Both Enhanced Stereo modes are now fully user configurable. In the LISTENING MODE menu, individual speakers can be set to either ON or OFF. Listening to Radio (page 20) RDS TEXT RDS TEXT will now display on the T 163s OSD below the stations number and name. RDS TEXT will scroll across the OSD as well as the T 163s VFD. HTR 2 Direct Frequency Entry With the HTR 2 you can now directly enter the frequency of the radio station. When entering digits, more than three will force the direct entry mode. Pressing ENTER will lock the frequency as seen on the T 163s VFD and OSD. For example; pressing 1021 will force the direct entry to 102.1. Sleep Mode The Sleep Mode timer will switch the T 163 to Standby mode automatically after a preset number of minutes. Pressing the HTR-2s SLEEP button once will display the setting of the sleep time increment. Pressing the HTR-2s SLEEP button a second time within a 3-second period will change the sleep time increment in 15- minute intervals, after which time the T 163 will automatically switch into Standby mode. The sleep time increment will display on the T 163s front panel Vacuum Fluorescent Display (VFD) as well as an icon SLEEP that will display continuously in the top left corner of the T 163s front panel VFD. To adjust the sleep delay, press the HTR-2s SLEEP button twice; first to display the sleep time increment, and a second time to change the sleep time increment. Each consecutive press increases the sleep time in 15-minute increments from 15 to 90 minutes. To cancel the sleep mode, continue pressing the HTR-2s SLEEP button until SLEEP OFF displays on the VFD. Switching the T 163 to standby from either the HTR- 2s OFF or the T 163s POWER button will also cancel the sleep mode. PRESET 6 PRESET 7 PRESET 8 PRESET 9 PRESET 107.1 LARGE SPK 7.1 SMALL SPK 5.0 LARGE SPK 4.1 SMALL SPK 5.1 SMALL SPKFront, Centre, Surround, Surround Back, Subwoofer Front, Centre, Surround, Surround Back, Subwoofer Front, Centre, Surround Front, Surround, Subwoofer Front, Centre, Surround, SubwooferPermanent A/V Presets Speaker Settings (page 17) ENHANCED BASS When the subwoofer is set to ON and one or more speakers are set to LARGE, ENHANCED BASS is also available. Normally, with speakers set to LARGE the subwoofer is not active. The ENHANCED BASS option allows full range operation of the speakers with the additional bass contribution of the subwoofer. This feature is particularly useful when one wants to experience maximum bass output. Please note that due to acoustic cancellation effects, the bass response may be uneven when using this setting. Input Settings (page 16) The option to rename inputs is now available. Press the ENTER button to select the renaming menu. The name can be as long as thirteen characters. Use the HTR 2s navigation buttons to select the appropriate letter and then press ENTER. For each input, any or all signals can now be set to OFF, including: VIDEO IN, ANALOG IN, and DIGITAL IN. This is desirable if the signal source is not connected to the selected input. Trigger outs TRIG OUT 1 and 2 also can also be set to OFF for any input. ANALOG IN GAIN is now adjustable from -12dB to +12dB allowing adjustment to prevent large shifts in volume when changing inputs. It is preferable to reduce the volume of the loudest inputs to match the softest inputs rather than the other way round. TRIG OUT 1 and 2 The menu for setting for trigger out is now on the same page as INPUT SETTINGS. Thus trigger out 1 and 2 may be set independent of either main or zone power on state for each input. Save To Preset (page 19) The option to rename all five A/V Presets is now available. The preset settings must be stored first before renaming. Store the preset by using the HTR 2s navigation buttons and then press the ENTER button. Press the navigation button to toggle through to the NAME? menu then press the HTR 2s ENTER button a second time. The name can be as long as thirteen characters. Use the HTR 2s navigation buttons to find the appropriate letter and then press ENTER to select. Enhanced User Features A/V Presets for Speaker Configuration (Quick Setup) Five of the most common speaker setups are pre-configured to simplify first time use of your new surround sound receiver. Select your speaker configuration from the table below, and use the A/V Presets to select the most appropriate one. Your selection may be fine tuned by following the instructions for SPEAKER SETTING (page 17). These presets add convenient quick set-up of several common speaker configurations.

Page 16

17 1717 17 17 SVENSKA T 163 BRUKSANVISNING, TILLÄGG Enhanced Stereo 1 och 2 Båda Enhanced Stereo lägena är nu fullt konfigurerbara för användarna. I LISTENING MODE menyn kan individuella högtalare sättas på eller stängas av. Lyssna på Radio (sidan 20) RDS TEXT RDS TEXT visas nu i displayen på T 163 nedan för stationens nummer och namn. RDS TEXT kommer att rulla fram i menyn på skärmen och i displayen på T 163. HTR 2 Direkt frekvensval Med HTR 2 kan man nu direkt lägga in frekvensen för en radiostation. När man lägger in mer än tre siffror tvingas direktläget fram. Ett tryck på ENTER kommer att låsa frekvensen som visas i displayen och på skärmen. Till exempel: trycker man in 1021 kommer att ge frekvensen 102.1MHz. Insomningsläget Insomningsläget stänger av T 163 i Standby-läget automatiskt efter ett förutbestämt antal minuter. Trycker man på HTR-2s SLEEP-knapp en gång visar tidsinställningen. Trycker du på HTR-2s SLEEP-knapp en andra gång inom tre sekunder ändrar tiden i 15-minuters intervall. Efter tiden löpt ut kommer T 163 automatiskt att stängas av till Standby-läge. Den inställda tiden visas i displayen på T 163s frontpanel display tillsammans med ikonen SLEEP i det övre vänstra hörnet av displayen. För att justera insomningstiden, trycker man på HTR-2s SLEEP-knappen två gånger: första gången för att visa tiden och en andra gång för att ändra inställningen. Varje tryckning ändrar tiden med 15-minuter intervall mellan 15 till 90 minuter. För att avbryta insomningsläget, fortsätter du att trycka på HTR-2s SLEEP- knapp tills SLEEP OFF visas i displayen. Om du stänger av T 163 till standby från antingen HTR-2s OFF- knappor eller på T 163s POWER-knapp så avslutas insomningsläget. SNABBVAL 6 SNABBVAL 7 SNABBVAL 8 SNABBVAL 9 SNABBVAL 107.1 LARGE SPK 7.1 SMALL SPK 5.0 LARGE SPK 4.1 SMALL SPK 5.1 SMALL SPKFront, Center, Surround, Surround Back, Subbas Front, Center, Surround, Surround Back, Subbas Front, Center, Surround Front, Surround, Subbas Front, Center, Surround, Subbas Permanenta A/V snabbval Högtalarinställningar (sidan 17) ENHANCED BASS När en subbas är aktiverad och de andra högtalarna är inställda på LARGE, kan man också välja ENHANCED BASS. Normalt med högtalare inställda på LARGE används inte subbasen. Funktionen ENHANCED BASS medger fullfrekvens för högtalarna och samtidigt använda ett tillskott från subbasen. Detta är en funktion om man vill uppleva maximal basåtergivning. Tänk dock på att olika akustiska fenomen kan ge en väldigt ojämn frekvensgång i basen med den här inställningen. Ingångsinställningar (sidan 16) Nu kan man namnge de olika ingångarna. Tryck på ENTER-knappen för att välja menyn för att ändra namn på en ingång. Namnen kan ha upp till tretton tecken. Använd navigationsknapparna på HTR 2 för att välja tecken, tryck sedan på ENTER. För varje ingång kan någon eller alla signaler stängas av, inklusive: VIDEO IN, ANALOG IN, och DIGITAL IN. Detta kan vara önskvärt om signalkällan inte är ansluten till den önskade ingången. Trigger utgångarna, TRIG OUT 1 och 2, kan också stängas av för någon ingång. ANALOG IN GAIN är nu justerbart från -12dB till +12dB så att man kan kompensera för stora variationer mellan olika signaler på de olika ingångarna. Vi rekommenderar att man minskar volymen på de starkaste signalerna så att de matchar de svagare signalerna än tvärt om. TRIG OUT 1 och 2 Menyn för att ställa in triggerutgångarna finns nu på samma sida som INPUT SETTINGS. Man kan ställa in trigger utgångarna 1 och 2 individuellt för varje zon och av och på för varje ingång. Spara till Snabbval (sidan 19) Nu kan man ändra namn på alla fem A/V snabbvalen. Först måste man lagra inställningarna innan man kan ändra namnet. Lagra snabbvalet med HTR 2s navigations knappar och tryck på ENTER-knappen. Tryck på navigationsknapparna för att bläddra fram till NAME? menyn och tryck sedan på HTR 2s ENTER-knapp en andra gång. Namnet kan innehålla tretton tecken. Använd HTR 2s navigationsknappar för att välja tecken och sedan på ENTER för att välja. Utökade användarfunktioner A/V snabbval för högtalarkonfiguration (Snabbstart) Fem av de mest vanliga högtalaruppställningarna är förinställda för att förenkla hanteringen av din nya surroundreceiver första gången. Välj din högtalarkonfiguration i tabellen nedan, och använd det A/V snabbval passar bäst. Ditt val kan finjusteras genom att du följer instruktionen i HÖGTALAR INSTÄLLNINGAR (sidan 17). Dessa snabbval ger en bekväm snabb inställning av de vanligaste konfigurationerna.