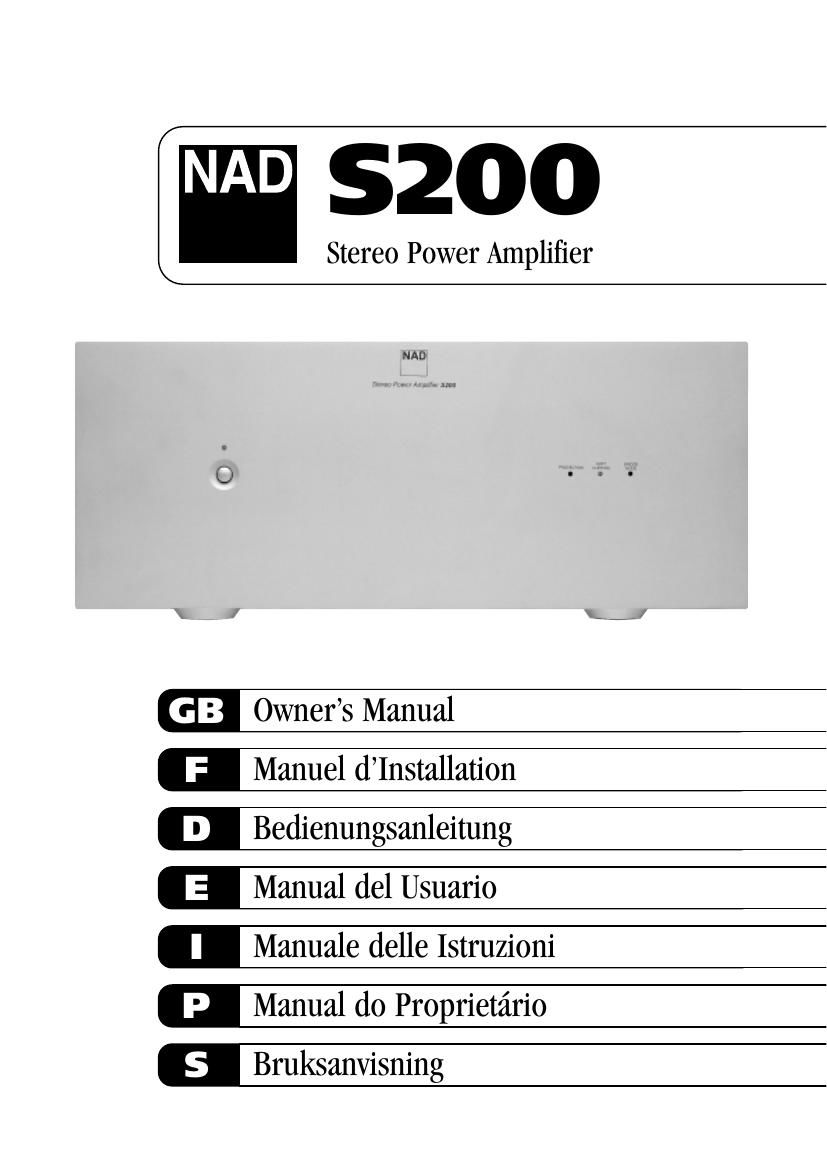
Nad S 200 Owners Manual

This is the 40 pages manual for Nad S 200 Owners Manual.
Read or download the pdf for free. If you want to contribute, please mail your pdfs to info@audioservicemanuals.com.

Page: 1 / 40
left right
Nad S 200 Owners Manual

Extracted text from Nad S 200 Owners Manual (Ocr-read)


Page 1

Warning: To reduce the risk of fire or electric shock, do not expose this unit to rain or moisture. The lightning flash with an arrowhead symbol within an equilateral triangle, is intended to alert the user to the presence of uninsulated dangerous voltage within the products enclosure that may be of sufficient magnitude to constitute a risk of electric shock to persons. The exclamation point within an equilateral triangle is intended to alert the user to the presence of important operating and maintenance (servicing) instructions in the literature accompanying the product. Do not place this unit on an unstable cart, stand or tripod, bracket or table. The unit may fall, causing serious injury to a child or adult and serious damage to the unit. Use only with a cart, stand, tripod, bracket or table recommended by the manufacturer or sold with the unit. Any mounting of the device on a wall or ceiling should follow the manufacturers instructions and should use a mounting accessory recommended by the manufacturer. An appliance and cart combination should be moved with care. Quick stops, excessive force and uneven surfaces may cause the appliance and cart combination to overturn. Read and follow all the safety and operating instructions before connecting or using this unit. Retain this notice and the owners manual for future reference. All warnings on the unit and in its operating instructions should be adhered to. Do not use this unit near water; for example, near a bath tub, washbowl, kitchen sink, laundry tub, in a wet basement or near a swimming pool. The unit should be installed so that its location or position does not interfere with its proper ventilation. For example, it should not be situated on a bed, sofa, rug or similar surface that may block the ventilation openings; or placed in a built-in installation, such as a bookcase or cabinet, that may impede the flow of air through its ventilation openings. The unit should be situated from heat sources such as radiators, heat registers, stoves or other devices (including amplifiers) that produce heat. The unit should be connected to a power supply outlet only of the voltage and frequency marked on its rear panel. The power supply cord should be routed so that it is not likely to be walked on or pinched, especially near the plug, convenience receptacles, or where the cord exits from the unit. Unplug the unit from the wall outlet before cleaning. Never use benzine, thinner or other solvents for cleaning. Use only a soft damp cloth. The power supply cord of the unit should be unplugged from the wall outlet when it is to be unused for a long period of time. Care should be taken so that objects do not fall, and liquids are not spilled into the enclosure through any openings. This unit should be serviced by qualified service personnel when: A. The power cord or the plug has been damaged; or B. Objects have fallen, or liquid has been spilled into the unit; or C. The unit has been exposed to rain or liquids of any kind; or D. The unit does not appear to operate normally or exhibits a marked change in performance; or E. The device has been dropped or the enclosure damaged. DO NOT ATTEMPT SERVICING OF THIS UNIT YOURSELF. REFER SERVICING TO QUALIFIED SERVICE PERSONNEL Upon completion of any servicing or repairs, request the service shops assurance that only Factory Authorized Replacement Parts with the same characteristics as the original parts have been used, and that the routine safety checks have been performed to guarantee that the equipment is in safe operating condition. REPLACEMENT WITH UNAUTHORIZED PARTS MAY RESULT IN FIRE, ELECTRIC SHOCK OR OTHER HAZARDS. ATTENTION POUR ÉVITER LES CHOC ELECTRIQUES, INTRODUIRE LA LAME LA PLUS LARGE DE LA FICHE DANS LA BORNE CORRESPONDANTE DE LA PRISE ET POUSSER JUSQUAU FOND. CAUTION TO PREVENT ELECTRIC SHOCK, MATCH WIDE BLADE OF PLUG TO WIDE SLOT FULLY INSERT. If an indoor antenna is used (either built into the set or installed separately), never allow any part of the antenna to touch the metal parts of other electrical appliances such as a lamp, TV set etc. CAUTION POWER LINES Any outdoor antenna must be located away from all power lines. OUTDOOR ANTENNA GROUNDING If an outside antenna is connected to your tuner or tuner- preamplifier, be sure the antenna system is grounded so as to provide some protection against voltage surges and built-up static charges. Article 810 of the National Electrical Code, ANSI/NFPA No. 70-1984, provides information with respect to proper grounding of the mast and supporting structure, grounding of the lead-in wire to an antenna discharge unit, size of grounding conductors, location of antenna discharge unit, connection to grounding electrodes and requirements for the grounding electrode. a. Use No. 10 AWG (5.3mm2) copper, No. 8 AWG (8.4mm2) aluminium, No. 17 AWG (1.0mm2) copper-clad steel or bronze wire, or larger, as a ground wire. b. Secure antenna lead-in and ground wires to house with stand-off insulators spaced from 4-6 feet (1.22 - 1.83 m) apart. c. Mount antenna discharge unit as close as possible to where lead- in enters house. d. Use jumper wire not smaller than No.6 AWG (13.3mm2) copper, or the equivalent, when a separate antenna-grounding electrode is used. see NEC Section 810-21 (j). EXAMPLE OF ANTENNA GROUNDING AS PER NATIONAL ELECTRICAL CODE INSTRUCTIONS CONTAINED IN ARTICLE 810 - RADIO AND TELEVISION EQUIPMENT. NOTE TO CATV SYSTEM INSTALLER:This reminder is provided to call the CATV system installers attention to Article 820-40 of the National Electrical Code that provides guidelines for proper grounding and, in particular, specifies that the ground cable ground shall be connected to the grounding system of the building, as close to the point of cable entry as practical. CAUTION RISK OF ELECTRIC SHOCK DO NOT OPEN ATTENTION:RISQUE DE CHOC ELECTRIQUE NE PAS OUVRIR CAUTION:TO REDUCE THE RISK OF ELECTRIC SHOCK, DO NOT REMOVE COVER (OR BACK). NO USER SERVICEABLE PARTS INSIDE. REFER SERVICING TO QUALIFIED SERVICE PERSONNEL. IMPORTANT SAFETY INSTRUCTIONS 2

Page 2

3 FRONT PANEL CONTROLS REAR PANEL CONNECTIONS FIGURE 1 ©1998 NAD S200 ©1998 NAD S200

Page 18

D 19

Page 22

PRECAUCION: En modo de puenteo los hilos de altavoz han d e estar flotando respecto a la tierra del circuito. NO conecte los hilos de altavoz a ninguna cosa que participe de una tierra común entre los canales estéreo (como un interruptor de altavoz o un amplificador para auriculares electrostáticos), ni a ninguna cosa que participe de una tierra común con las entradas de amplificador (como un comparador de conmutación o un analizador de distorsión). 4. Satisfechas las condiciones precedentes, ponga el interruptor BRIDGING (puenteo) en ON (MONO). Finalmente ponga Power en ON. 5. Para que el amplificador vuelva a funcionamiento estéreo normal en fecha posterior, primero apague la alimentación eléctrica. Vuelva a poner el interruptor BRIDGING en OFF (STEREO). Restablezca las conexiones de entrada normales de izquierda y derecha, y vuelva a conectar los hilos de altavoz a los terminales de altavoz como se describe antes bajo el título SPEAKERS (altavoces). CONTROLES DEL PANEL DELANTERO 1. POWER ON/OFF (ALIMENTACION ELECTRICA CONECTADA/DESCONECTADA) Pulse el pulsador Power para conectar el amplificador. Se ilumina el diodo LED azul cuando la alimentación eléctrica está conectada y el amplificador está preparado para uso. Pulse el pulsador Power otra vez para desconectar el amplificador. 2. INDICADOR DE POWER (ESTADO) Se enciende el diodo LED azul cuando el S200 está conectado, lo que indica el estado de funcionamiento del amplificador como sigue. OSCURO: Power off. El interruptor Power puede estar en off, el cable de Red de CA puede estar desenchufado o no conectado a una toma de pared con corriente, o el fusible térmico puede haberse fundido. AZUL: Power on. El amplificador está preparado para uso. 3. INDICADOR DE PROTECCION Se enciende el diodo LED azul cuando se activa el modo de Protection (protección), lo que significa que los altavoces han sido desconectados por un relé interno. Este modo se activa brevemente durante la conexión y desconexión del equipo, para proteger los altavoces contra impulsos súbitos de baja frecuencia. En otros momentos el modo Protection se puede activar por un calentamiento excesivo severo, cableado de altavoces cortocircuitado, o una avería interna. Si el indicador de diodo LED azul está continuamente encendido, ponga Power en Off. Cuando se enfríala etapa de salida, los relés automáticamente vuelven a conectar los altavoces, y puede volverse a funcionamiento normal. En la mayoría de los casos una reducción de volumen muy pequeña impide más interrupciones.Si los relés de protección interrumpen la frecuencia de sonido, deben considerarse varias causas posibles: Un torón suelto de hilo que causa un cortocircuito parcial entre los terminales de altavoz, o funcionamiento continuo de alta potencia en impedancia muy baja en modo Bridged (puenteado) o cualquier obstrucción del paso libre del aire que se necesita para ventilar el amplificador y disipar el calor. Si el sistema de protección interrumpe el sonido aunque el amplificador esté frío, devuelva el amplificador a su distribuidor NAD para servicio. Los relés de protección pueden desactivar para proteger sus altavoces contra un avería de circuito, como un voltaje CC inapropiado en los terminales de altavoz. 4. INDICADOR DE SOFT CLIPPING (RECORTE BLANDO) Este diodo LED se enciende cuando el interruptor de Soft Clipping (en el panel trasero) está en ON. 5. INDICADOR DE MODO BRIDGE (PUENTEO) Este diodo LED se enciende cuando el interruptor de Bridging (en el panel trasero) está puesto en ON (STEREO). E 23