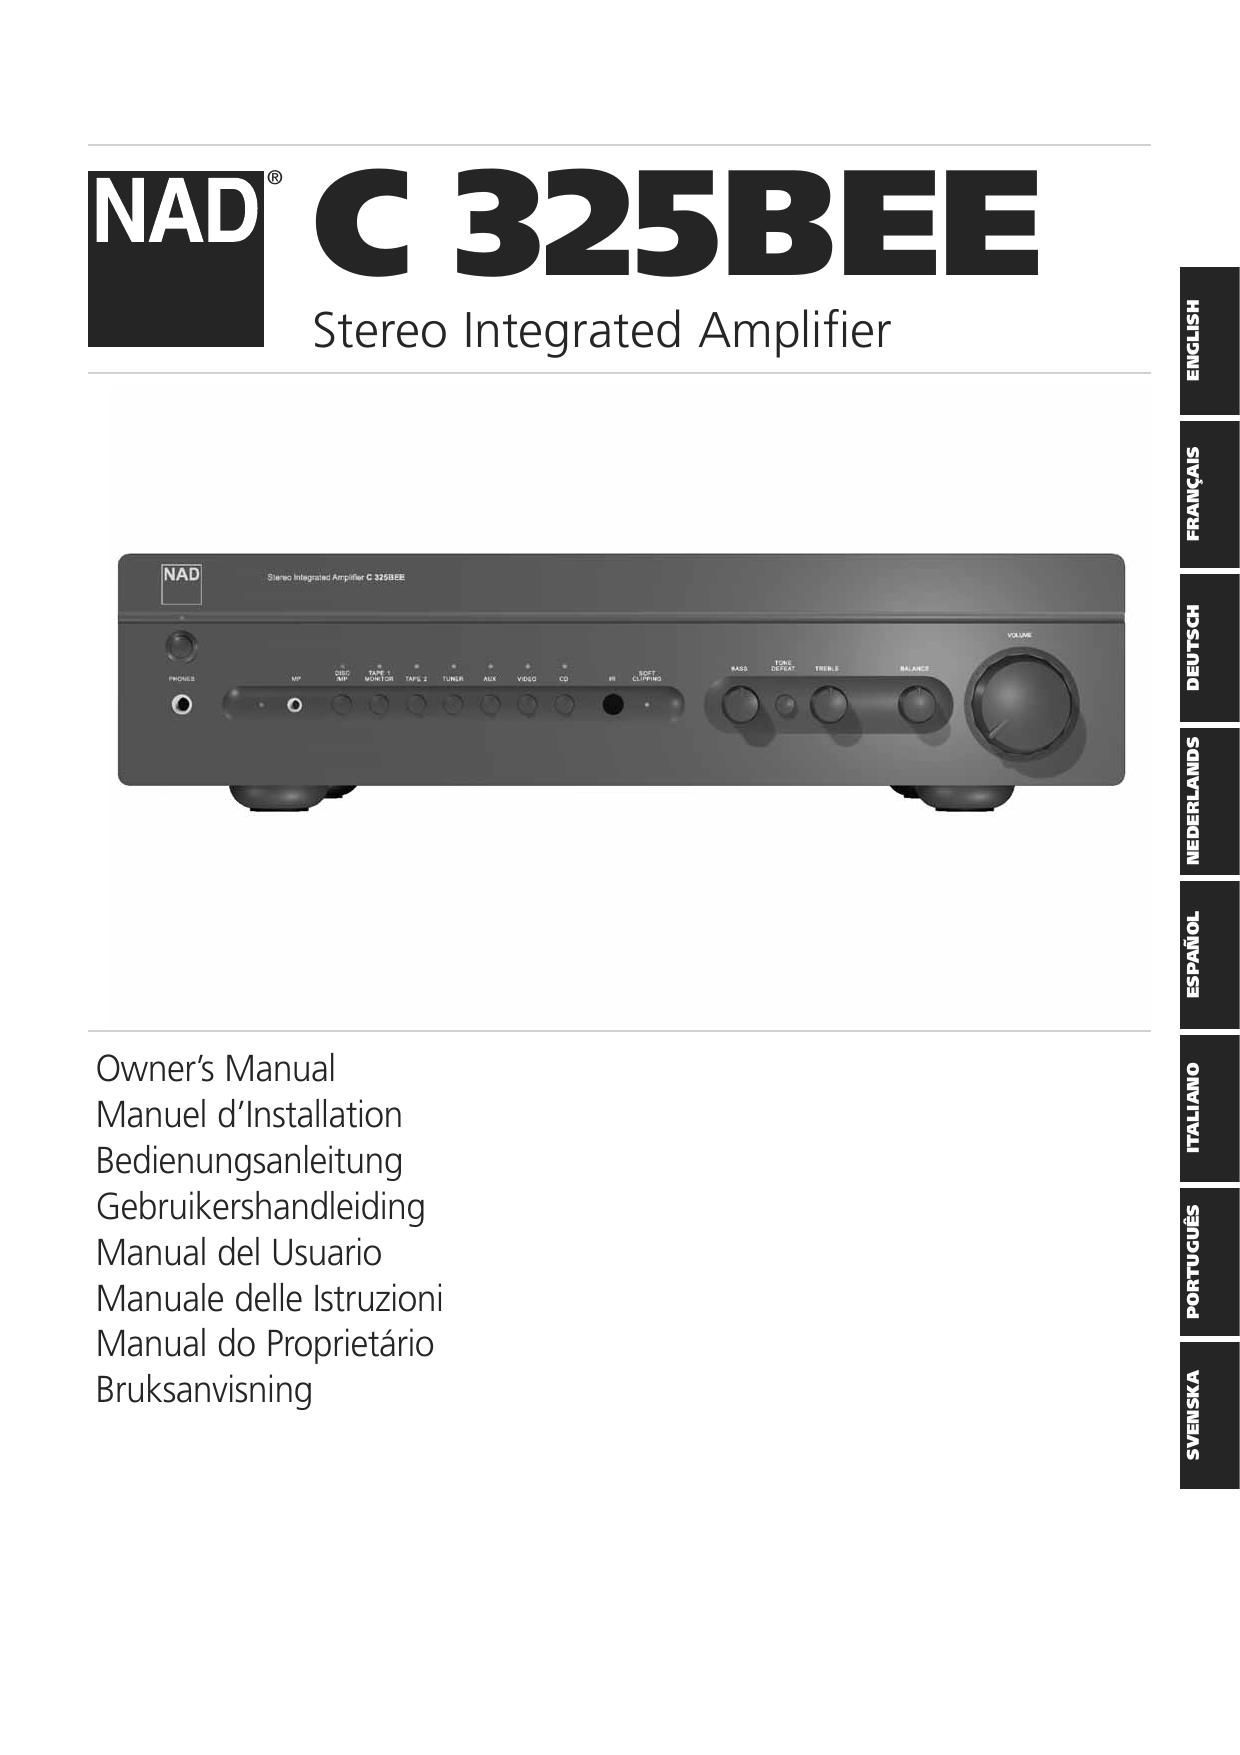
Nad C 325 BEE Owners Manual

This is the 82 pages manual for Nad C 325 BEE Owners Manual.
Read or download the pdf for free. If you want to contribute, please mail your pdfs to info@audioservicemanuals.com.

Page: 1 / 82
left right
Nad C 325 BEE Owners Manual

Extracted text from Nad C 325 BEE Owners Manual (Ocr-read)


Page 1

2 ENGLISH FRANÇAIS DEUTSCH NEDERLANDSESPAÑOLITALIANO PORTUGUÊSSVENSKA IMPORTANT SAFETY INSTRUCTIONS IMPORTANT SAFETY INSTRUCTIONS - Save these instructions for later use. - Follow all warnings and instructions marked on the audio equipment. 1 Read instructions - All the safety and operating instructions should be read before the product is operated. 2 Retain instructions- The safety and operating instructions should be retained for future reference. 3 Heed Warnings - All warnings on the product and in the operating instructions should be adhered to. 4 Follow Instructions- All operating and use instructions should be followed. 5 Cleaning- Unplug this product from the wall outlet before cleaning. Do not use liquid cleaners or aerosol cleaners. Use a damp cloth for cleaning. 6 Attachments- Do not use attachments not recommended by the product manufacturer as they may cause hazards. 7 Water and Moisture- Do not use this product near water-for example, near a bath tub, wash bowl, kitchen sink, or laundry tub; in a wet basement; or near a swimming pool; and the like. 8 Accessories- Do not place this product on an unstable cart, stand, tripod, bracket, or table. The product may fall, causing serious injury to a child or adult, and serious damage to the product. Use only with a cart, stand, tripod, bracket, or table recommended by the manufacturer, or sold with the product. Any mounting of the product should follow the manufacturers instructions, and should use a mounting accessory recommended by the manufacturer. 9A product and cart combination should be moved with care. Quick stops, excessive force, and uneven surfaces may cause the product and cart combination to overturn. 10 Ventilation- Slots and openings in the cabinet are provided for ventilation and to ensure reliable operation of the product and to protect it from overheating, and these openings must not be blocked or covered. The openings should never be blocked by placing the product on a bed, sofa, rug, or other similar surface. This product should not be placed in a built-in installation such as a bookcase or rack unless proper ventilation is provided or the manufacturers instructions have been adhered to. 11 Power Sources - This product should be operated only from the type of power source indicated on the marking label. If you are not sure of the type of power supply to your home, consult your product dealer or local power company. The primary method of isolating the amplifier from the mains supply is to disconnect the mains plug. Ensure that the mains plug remains accessible at all times. Unplug the AC power cord from the AC outlet if the unit will not be used for several months or more. 12 Grounding or Polarization - This product may be equipped with a polarized alternating-current line plug (a plug having one blade wider than the other). This plug will fit into the power outlet only one way. This is a safety feature. If you are unable to insert the plug fully into the outlet, try reversing the plug. If the plug should still fail to fit, contact your electrician to replace your obsolete outlet. Do not defeat the safety purpose of the polarized plug. 13 Power-Cord Protection- Power-supply cords should be routed so that they are not likely to be walked on or pinched by items placed upon or against them, paying particular attention to cords at plugs, convenience receptacles, and the point where they exit from the product. 14 Outdoor Antenna Grounding- If an outside antenna or cable system is connected to the product, be sure the antenna or cable system is grounded so as to provide some protection against voltage surges and built-up static charges. Article 810 of the National Electrical Code, ANSI/NFPA 70, provides information with regard to proper grounding of the mast and supporting structure, grounding of the lead-in wire to an antenna discharge unit, size of grounding conductors, location of antenna discharge unit, connection to grounding electrodes, and requirements for the grounding electrode. NOTE TO CATV SYSTEM INSTALLER -This reminder is provided to call the CATV system installers attention to Section 820-40 of the NEC which provides guidelines for proper grounding and, in particular, specifies that the cable ground shall be connected to the grounding system of the building, as close to the point of cable entry as practical. 15 Lightning - For added protection for this product during a lightning storm, or when it is left unattended and unused for long periods of time, unplug it from the wall outlet and disconnect the antenna or cable system. This will prevent damage to the product due to lightning and power-line surges. 16 Power Lines- An outside antenna system should not be located in the vicinity of overhead power lines or other electric light or power circuits, or where it can fall into such power lines or circuits. When installing an outside antenna system, extreme care should be taken to keep from touching such power lines or circuits as contact with them might be fatal. 17 Overloading- Do not overload wall outlets, extension cords, or integral convenience receptacles as this can result in a risk of fire or electric shock. 18 Object and Liquid Entry- Never push objects of any kind into this product through openings as they may touch dangerous voltage points or short-out parts that could result in a fire or electric shock. Never spill liquid of any kind on the product.

Page 2

3 ENGLISH FRANÇAIS DEUTSCH NEDERLANDS ESPAÑOL ITALIANO PORTUGUÊS SVENSKA IMPORTANT SAFETY INSTRUCTIONS 19 Damage Requiring Service- Unplug this product from the wall outlet and refer servicing to qualified service personnel under the following conditions: a)When the power-supply cord or plug is damaged. b)If liquid has been spilled, or objects have fallen into the product. c)If the product has been exposed to rain or water. d)If the product does not operate normally by following the operating instructions. Adjust only those controls that are covered by the operating instructions as an improper adjustment of other controls may result in damage and will often require extensive work by a qualified technician to restore the product to its normal operation. e)If the product has been dropped or damaged in any way. f)when the product exhibits a distinct change in performance-this indicates a need for service. 20 Replacement Parts- When replacement parts are required, be sure the service technician has used replacement parts specified by the manufacturer or have the same characteristics as the original part. Unauthorized substitutions may result in fire, electric shock, or other hazards. 21 Safety Check- Upon completion of any service or repairs to this product, ask the service technician to perform safety checks to determine that the product is in proper operating condition. 22 Wall or Ceiling Mounting- The product should be mounted to a wall or ceiling only as recommended by the manufacturer. WARNING TO PREVENT FIRE OR SHOCK HAZARD, DO NOT EXPOSE THIS APPLIANCE TO RAIN OR MOISTURE. THE LIGHTNING FLASH WITH ARROWHEAD SYMBOL, WITHIN AN EQUILATERAL TRIANGLE, IS INTENDED TO ALERT THE USER TO THE PRESENCE OF UNINSULATED DANGEROUS VOLTAGE WITHIN THE PRODUCTS ENCLOSURE THAT MAY BE OF SUFFICIENT MAGNITUDE TO CONSTITUTE A RISK OF ELECTRIC SHOCK TO PERSONS. THE EXCLAMATION POINT WITHIN AN EQUILATERAL TRIANGLE IS INTENDED TO ALERT THE USER TO THE PRESENCE OF IMPORTANT OPERATING AND MAINTENANCE (SERVICING) INSTRUCTIONS IN THE LITERATURE ACCOMPANYING THE APPLIANCE CAUTION Changes or modifications to this equipment not expressly approved by NAD Electronics for compliance could void the users authority to operate this equipment. CAUTION REGARDING PLACEMENT To maintain proper ventilation, be sure to leave a space around the unit (from the largest outer dimensions including projections) equal to, or greater than, shown below. Left and Right Panels : 10 cm Rear Panel : 10 cm Top Panel : 50 cm IMPORTANT INFORMATION FOR UK CUSTOMERS DO NOTcut off the mains plug from this equipment. If the plug fitted is not suitable for the power points in your home or the cable is too short to reach a power point, then obtain an appropriate safety approved extension lead or consult your dealer. If, nonetheless, the mains plug is cut off, REMOVE THE FUSE and dispose of the PLUG immediately, to avoid possible shock hazard by inadvertent connection to the mains supply. If this product is not provided with a mains plug, or one has to be fitted, then follow the instructions given below: IMPORTANT DO NOTmake any connection to the larger terminal which is marked with the letter E or by the safety earth symbol or coloured GREEN or GREEN AND YELLOW. The wires in the mains lead on this product are coloured in accordance with the following code: BLUE - NEUTRAL BROWN - LIVE As these colours may not correspond with the coloured markings identifying the terminals in your plug, proceed as follows: The BLUE wire must be connected to the terminal marked with the letter N or coloured BLACK. The BROWN wire must be connected to the terminal marked with the letter L or coloured RED When replacing the fuse, only a correctly rated and approved type should be used, and be sure to re-fit the fuse cover. IF IN DOUBT CONSULT A COMPETENT ELECTRICIAN This product is manufactured to comply with the radio interference requirements of EEC DIRECTIVE 89/68/EEC and 73/23/EEC NOTES ON ENVIRONMENTAL PROTECTION At the end of its useful life, this product must not be disposed of with regular household waste but must be returned to a collection point for the recycling of electrical and electronic equipment. The symbol on the product, user's manual and packaging, point this out. The materials can be reused in accordance with their markings. Through re-use, recycling of raw materials, or other forms of recycling of old products, you are making an important contribution to the protection of our environment. Your local administrative office can advise you of the responsible waste disposal point. Model No. :________________________Serial No. :_________________

Page 15

6 ENGLISH FRANÇAIS DEUTSCH NEDERLANDSESPAÑOLITALIANO PORTUGUÊSSVENSKA MAGNÉTOPHONE 1 [TAPE 1] est une fonction de suivi magnétophone qui nannule pas la sélection dentrée en cours. Par exemple, si le CD est lentrée active lorsque MAGNÉTOPHONE 1 [TAPE 1] est sélectionné, le signal CD continue dêtre sélectionné et est envoyé aussi bien aux prises de sortieMAGNÉTOPHONE 2 [TAPE 2]etMAGNÉTOPHONE 1 [TAPE 1], mais cest le son du magnétophone relié à TAPE 1 qui sera entendu sur les haut-parleurs. En plus du voyant orange indiquant le fonctionnement du Magnétophone 1, le voyant vert de l'entrée active restera allumé lui aussi. NOTA La télécommande livrée avec le C325BEE est de type universel NAD et est conçue pour commander plusieurs modèles NAD. Certains boutons de ce combiné ne fonctionnent pas car les fonctions concernées ne sont pas supportées par le C325BEE. Les boutons de sélection dentrée Vidéo 2 et Vidéo 3 sur la télécommande ne fonctionnent pas dans le cas du C325BEE. 6 Indicateur d'Écrêtage Doux - L'indicateur vert d'Écrêtage Doux indique que le mode d'Écrêtage Doux [Soft Clipping] est actif. Reportez-vous aussi au chapitre "Branchements sur le panneau arrière", section 12 "Écrêtage Doux" pour de plus amples informations. 7 Commandes de Tonalité - Le NAD C325BEE est équipé de commandes deGRAVES [BASS] ET d'AIGUS [TREBLE], qui permettent de régler la tonalité globale de votre chaîne. La position médiane (12 heures) correspond à une courbe plate, sans amplification ni atténuation; un léger déclic est ressenti dans le mouvement du bouton à cet endroit. Tournez le bouton en sens horaire pour amplifier les Graves ou les Aigus. Tournez le bouton en sens anti-horaire pour atténuer les Graves ou les Aigus. Les commandes de Tonalité naffectent pas les enregistrements faits au moyen des Sorties "Magnétophone" [Tape] mais agissent toutefois sur le signal allant vers la "Sortie de Préamplification" [Pre Out]. 8 Tonalité Neutre [Tone defeat] - L'interrupteur de TONALITÉ NEUTRE [TONE DEFEAT]contourne la section de commande de la tonalité du NAD C325BEE. Si l'on n'utilise pas les commandes de tonalité, c'est à dire si elles restent toujours en position médiane (12 heures), il est conseillé de mettre les circuits de réglage de la tonalité complètement hors circuit grâce à ce bouton-interrupteur. Si le bouton nest pas enfoncé, les circuits de tonalité sont actifs; le fait d'enfoncer le bouton "TONALITÉ NEUTRE" [TONE DEFEAT] contourne les circuits de réglage de la tonalité. 9 Balance - La commande de BALANCErègle les niveaux relatifs des haut- parleurs gauche et droit. La position médiane (12 heures) assure un niveau égal pour les voies gauche et droite. Un léger déclic est ressenti dans le mouvement du bouton à cet endroit. En tournant le bouton en sens horaire, vous déportez léquilibre vers la droite. En tournant le bouton en sens anti-horaire, vous déportez léquilibre vers la gauche. La commande de BALANCEnaffecte pas les enregistrements faits au moyen des Sorties "Magnétophone" [TAPE] mais agit toutefois sur le signal allant vers la "Sortie de Préamplification" [Pre Out]. 10 Volume -La commande de VOLUMEsonore règle le volume global des signaux envoyés aux haut-parleurs. Elle est motorisée et peut être réglée à l'aide de la télécommande. La commande de VOLUME naffecte pas les enregistrements faits au moyen des Sorties "Magnétophone" [TAPE], mais agit toutefois sur le signal allant vers la "Sortie de préamplification" [Pre Out]. Sur la télécommande, appuyez sur le bouton "SILENCIEUX" [MUTE] pour couper provisoirement le son des haut-parleurs et du casque. Le mode Silencieux est indiqué par le clignotement de la LED de l'entrée active. Réappuyez sur le bouton SILENCIEUX [MUTE] pour remettre le son. La commande Mute naffecte pas les enregistrements faits au moyen des Sorties "Magnétophone" [TAPE] mais agit toutefois sur le signal allant vers la "Sortie de Préamplification" [Pre Out]. BRANCHEMENTS SUR LE PANNEAU ARRIÈRE 1 Entrée / Sortie IR - Cette entrée est reliée à la sortie d'un relais IR (infrarouge) (Xantech ou similaire), ou à la sortie IR d'un autre élément permettant de commander le C325BEE depuis un endroit éloigné. Demandez à votre revendeur ou à votre installateur de vous donner de plus amples informations. 2 Entrée Disc - Entrée pour les signaux dentrée supplémentaires de niveau ligne, tels qu'un lecteur CD, un lecteur Mini-Disc ou le signal de sortie provenant dun amplificateur de rehausseur pour tourne-disques. Utilisez un câble jumelé RCA vers RCA pour relier les prises de "Sortie Audio" gauche et droite de lappareil audio auxiliaire à cette entrée. NOTA : Lorsque vous insérez une fiche stéréo de 3,5 mm stéréo dans la prise MP, l'indicateur à côté de la prise s'allume et la source DISCde niveau ligne est déconnectée. Il est conseillé, avant de brancher/débrancher le câble du lecteur Média externe, de couper le volume grâce à la touche MUET [MUTE], ou alors de sélectionner une entrée différente. 3 Entrée CD - Entrée pour un lecteur CD ou pour toute autre source de signal de niveau ligne. Utilisez un câble jumelé RCA vers RCA pour relier les prises de sortie audio gauche et droite du lecteur CD à cette entrée. Le NAD C325BEE n'accepte que les signaux analogiques de votre lecteur CD. 4 Entrée Vidéo input - Entrée pour le signal audio provenant d'un magnétoscope stéréo (ou TV stéréo / Satellite / Récepteur de télédistribution) ou d'une autre source audio de niveau ligne. En utilisant les câbles jumelés RCA vers RCA, reliez les connecteurs de "Sortie Audio" gauche et droit de lappareil à ces entrées. Nota : Il s'agit d'entrées audio uniquement. 5 Entrée AUX - Entrée pour d'autres signaux de niveau ligne, comme un deuxième lecteur CD par exemple. Utilisez un câble jumelé RCA vers RCA pour relier les prises de "Sortie Audio" gauche et droite de lappareil audio auxiliaire à cette entrée. 6 Entrée Tuner - Entrée pour un tuner ou pour toute autre source de signal de niveau ligne. Utilisez un câble jumelé RCA vers RCA pour relier les connecteurs de "Sortie Audio" gauche et droit de lappareil à cette entrée. 7 Entrée / Sortie Magnétophone 2 [Tape 2] - Branchements pour enregistrement et lecture analogiques sur un magnétophone audio de type quelconque. En utilisant des câbles jumelés RCA vers RCA, reliez les prises de "Sortie Audio" gauche et droite du magnétophone aux prises d'ENTRÉE MAGNÉTOPHONE 2 [TAPE 1 IN] pour la lecture et le contrôle d'enregistrement des bandes. Reliez les prises d'Entrée Audio gauche et droite du magnétophone aux prises de SORTIE MAGNÉTOPHONE 2 [TAPE 2 OUT] pour l'enregistrement des bandes. 8 Entrée / Sortie Magnétophone 1 [Tape 2] - Branchements pour enregistrement et lecture analogiques sur un magnétophone audio de type quelconque. En utilisant des câbles jumelés RCA vers RCA, reliez les prises de "Sortie Audio" gauche et droite du magnétophone aux prises d'ENTRÉE MAGNÉTOPHONE 1 [TAPE 1 IN] pour la lecture et le contrôle d'enregistrement des bandes. Reliez les prises d'Entrée Audio gauche et droite du magnétophone aux prises de SORTIE MAGNÉTOPHONE 1 [TAPE 2 OUT] pour l'enregistrement des bandes. 9 Sortie Préamplificateur [Pre out] - Branchements à un amplificateur de puissance externe ou à un processeur externe, tel qu'un décodeur ambiophonique. Pour une utilisation normale, ceux-ci doivent être branchés sur les prises [Main-In] (N° 10) à l'aide des cavaliers fournis. Pour brancher votre NAD C325BEE à des modules processeurs ou damplificateur externes, il sera nécessaire denlever ces liaisons dabord. Utilisez un câble jumelé RCA vers RCA pour brancher le connecteur dEntrée Audio [Audio-Input] gauche et droit de lamplificateur de puissance ou processeur aux prises de Sortie Préampli [Pre-Out].

Page 69

10 ENGLISH FRANÇAIS DEUTSCH NEDERLANDSESPAÑOLITALIANO PORTUGUÊSSVENSKA ESPECIFICAÇÕES SECÇÃO DO PRÉ-AMPLIFICADOR Entradas de nível de linha (Disc, CD, Video, Aux, Tuner, Tape1, Tape2) Impedância de entrada (R e C) 20 k-+ 470 pF Sensibilidade de entrada (potência nominal de referência) 240 mV Sinal de entrada máximo 6 V Rácio de Sinal / Ruído, medido na escala A 1 97,0 dB, ref. 1 W Rácio de Sinal / Ruído na saída do pré-amplificador, medido na escala A 110 dB, ref. 500 mV Resposta de frequência de 20 Hz - 20 kHz <±0,1 dB (Desactivação da tonalidade ligada) <±0,2 dB (Desactivação da tonalidade desligada) Distorção Harmónica Total + Ruído, Intermodulação de acordo com as normas do SMPTE < 0,01% a 5 V de saída Saídas de nível de linha Impedância da potência de saída Pre-Out (Saída do pré-amplificador) 80 - Tape (Gravador de cassetes) Source Z + 1k- Nível máximo da potência de saída Pre-Out (Saída do Pré-amplificador) >11 V Tape (Gravador de Cassetes) >10 V Comandos de controlo da tonalidade Agudos±5 dB a 10 kHz Graves±8 dB t 100 Hz Saída de disparo Resistência da potência de saída <120 - Corrente da potência de saída 100 mA Voltagem da potência de saída 12 V SECÇÃO DO AMPLIFICADOR DE POTÊNCIA Potência de saída contínua a 8 - 2 50 W (17 dBW) Distorção nominal (Distorção Harmónica Total de 20 Hz - 20 kHz) 0,02% Potência de limitação (potência contínua máxima por canal a 4 -e 8 -) 68 W Capacidade dinâmica de acordo com as normas do IHF 8 -+3,4 dB 4-+5,0 dB Potência dinâmica (potência máxima a curto prazo por canal) 8 -110 W (20,4 dBW) 4-160 W (22,0 dBW) 2-210 W (23,2 dBW) Factor de amortecimento (ref. 8 -, 1 kHz) >160 Impedância de entrada (R e C) 20 k-+ 470 pF Sensibilidade de entrada (saída nominal a 8 -) 730 mV Ganho de voltagem 29 dB Resposta de frequência de 20 Hz - 20 kHz <0,2 dB Rácio de Sinal / Ruído, com a escala de medição A ref. 1 W 100 dB ref. 50 W 117 dB Distorção Harmónica Total + Ruído 3 <0,02% Intermodulação de acordo com as normas do SMPTE 4 <0,01% Intermodulação de acordo com as normas do IHF 5 <0,01% Impedância de saída dos auscultadores 68 - ESPECIFICAÇÕES FÍSICAS Dimensões (C x A x P) 6 Líquido 435 x 100 x 290mm Bruto 6 435 x 117 x 342mm Peso líquido 8kg Peso de envio 9kg 1Da entrada de CD para a saída dos altifalantes, regulação do volume para entrada de 500 mV e saída de 8 -1 W 2Potência mínima por canal, 20 Hz - 20 kHz, com ambos os canais accionados com um nível de distorção não superior à distorção nominal. 3Distorção Harmónica Total, 20 Hz - 20 kHz de 250 mW para a saída nominal 4Distorção de intermodulação, 60 Hz - 7 kHz, de 250 mW para a saída nominal 5Distorção de intermodulação de acordo com as normas do CCIF, 19 + 20 kHz de saída nominal 6As dimensões brutas incluem os pés de apoio, o botão rotativo de controlo do volume e os terminais salientes dos altifalantes. As especificações estão sujeitas a alteração sem necessidade de aviso prévio. Para obter a documentação e as características actualizadas queira, por favor, ligar-se à página www.nadelectronics.com onde obterá as informações mais recentes relativas ao seu C325BEE.

Page 78

9 ENGLISH FRANÇAIS DEUTSCH NEDERLANDS ESPAÑOL ITALIANO PORTUGUÊS SVENSKA PROBLEM ORSAK LÖSNING INGET LJUD - Nätkabeln ej ansluten eller apparaten ej påslagen- Kontrollera nätkabeln och att appatraten är påslagen - Tape 1 Monitor inkopplad - Koppla ur Tape 1 Monitor - Mute är inkopplat - Koppla ur Mute - Byglarna mellan för och slutsteg ej inkopplade - Installera byglar eller kablar - Hörlurar inkopplade - Koppla ur hörlurarna INGET LJUD I ENA KANALEN - Balansen inte inställd i mittläget - Centrera Balanskontrollen - Högtalarna inte korrekt anslutna eller trasiga - Kontrollera anslutningarna till högtalarna - En signalkabel är urkopplad eller skadad - Kontrollera kablar och kontakter SVAG BAS/DIFFUS STEREOBILD - Högtalarna är kopplade ur fas - Kontrollera alla högtalaranslutningarna FJÄRRKONTROLLEN FUNGERAR EJ - Batterierna slut eller felmonterade - Kontrollera eller byt batterier - IR sändaren eller mottagarförnstret är skymda- Flytta hindret - IR mottagaren i direkt solljus eller i skarp belysning- Flytta apparaten från solljuset eller dämpa belysningen LYSDIODEN FORTSÄTTER ATT LYSA RÖTT EFTER PÅSLAG - Förstärkaren ät överhettad - Stäng av förstärkaren och se till att ventilationshålen på ovan och undersidan inte blockeras. När förstärkaren har svalnat kan den sättas på igen. - Den totala impedansen är för låg - Se till att impedansen inte understiger 4 ohm. FELSÖKNING TRYCK IN OCH LYFT FLIKEN FÖR ATT TA BORT BATTERILUCKAN PLACERA BATTERIERNA I FACKET. SE TILL ATT DE POLVÄNDS RÄTT SÄTT TILLBAKA BATTERILUCKAN MED DE TVÅ TAPPARNA INPASSADE I HÅLEN. TRYCK FAST BATTERILUCKAN TILLS DU HÖR ETT KLICK