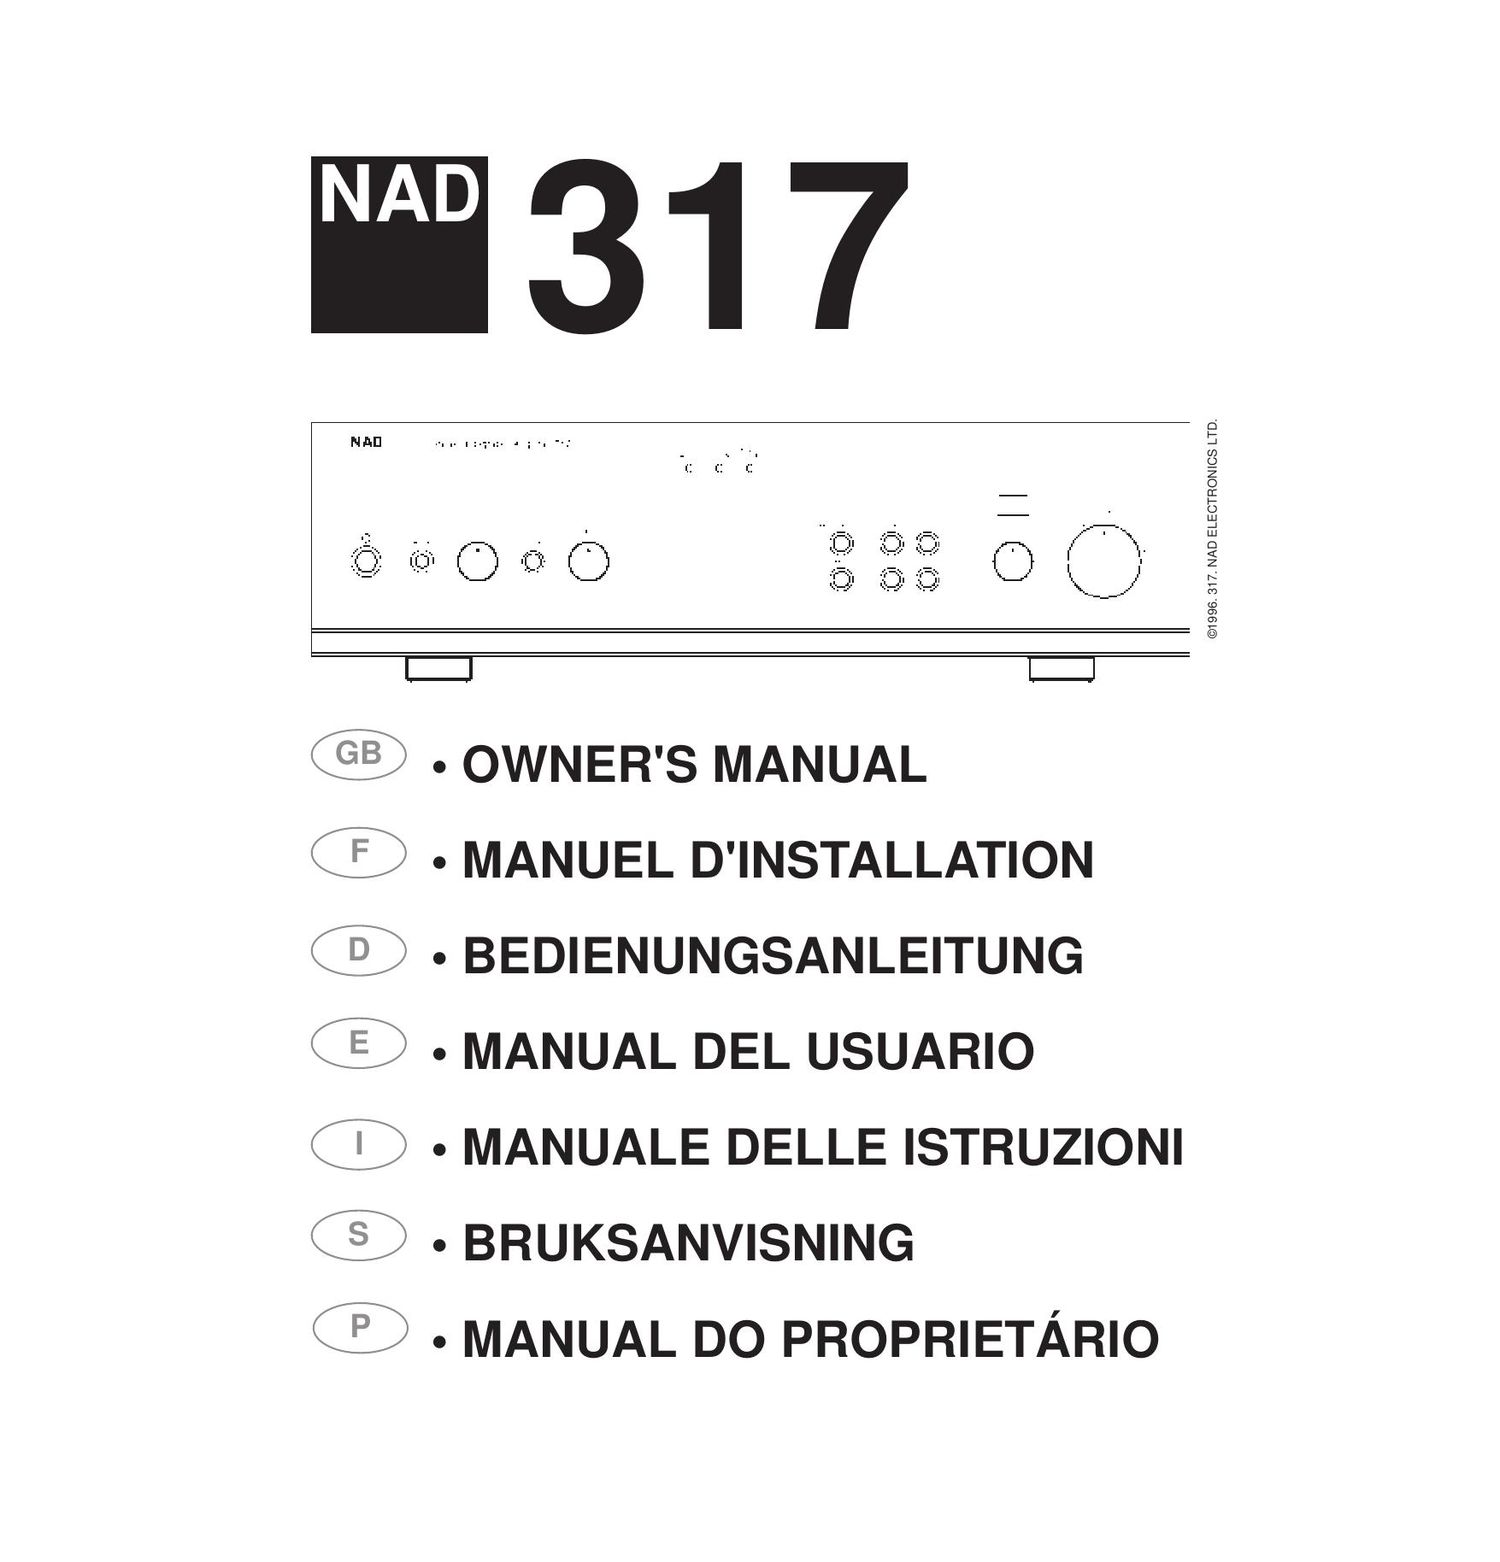
Nad 317 Owners Manual

This is the 38 pages manual for Nad 317 Owners Manual.
Read or download the pdf for free. If you want to contribute, please mail your pdfs to info@audioservicemanuals.com.

Page: 1 / 38
left right
Nad 317 Owners Manual

Extracted text from Nad 317 Owners Manual (Ocr-read)


Page 1

Warning: To reduce the risk of fire or electric shock, do not expose this unit to rain or moisture. The lightning flash with an arrowhead symbol within an equilateral trian- gle is intended to alert the user to the presence of uninsulated Òdanger- ous voltageÓ within the productÕs enclosure that may be of sufficient magnitude to constitute a risk of electric shcok to persons. The exclamation point within an equilateral triangle is intended to alert the user to the presence of important operating and maintenance (servicing) instructions in the literature accompanying the product. Do not place this unit on an unstable cart, stand or tripod, bracket or table. The unit may fall, causing serious injury to a child or adult and serious damage to the unit. Use only with a cart, stand, tripod, bracket or table recommended by the man- ufacturer or sold with the unit. Any mounting of the device on a wall or ceiling should follow the maufacturerÕs instructions and should use a mounting accessory recommended by the manu- facturer. An appliance and cart combination should be moved with care. Quick stops, excessive force and uneven surfaces may cause the appliance and cart combi- nation to overturn. Read and follow all the safety and operating instructions before connecting or using this unit. Retain this notice and the ownerÕs manual for future reference. All warnings on the unit and in itÕs operating instructions should be adhered to. Do not use this unit near water; for example, near a bath tub, washbowl, kitchen sink, laundry tub, in a wet basement or near a swimming pool. The unit should be installed so that its location or position does not interfere with its proper ventilation. For example, it should not be situated on a bed, sofa, rug or similar surface that may block the ventilation openings; or placed in a built-in installation, such as a bookcase or cabinet, that may impede the flow of air through its ventilation openings. The unit should be situated from heat sources such as radiators, heat registers, stoves or other devices (including amplifiers) that produce heat. The unit should be connected to a power supply outlet only of the voltage and frequency marked on its rear panel. The power supply cord should be routed so that it is not likely to be walked on or pinched, especially near the plug, convenience receptacles, or where the cord exits from the unit. Unplug the unit from the wall outlet before cleaning. Never use benzine, thinner or other solvents for cleaning. Use only a soft damp cloth. The power supply cord of the unit should be unplugged from the wall outlet when it is to be unused for a long period of time. Care should be taken so that objects do not fall, and liquids are not spilled into the enclosure through any openings. This unit should be serviced by qualified service personnel when: A. The power cord or the plug has been damaged; or B. Objects have fallen, or liquid has been spilled into the unit; or C. The unit has been exposed to rain or liquids of any kind; or D. The unit does not appear to operate normally or exhibits a marked change in performance; or E. The device has been dropped or the enclosure damaged. Upon completion of any servicing or repairs, request the service shopÕs assur- ance that only Factory Authorized Replacement Parts with the same characteris- tics as the original parts have been used, and that the routine safety checks have been performed to guarantee that the equipment is in safe operating condi- tion. REPLACEMENT WITH UNAUTHORIZED PARTS MAY RESULT IN FIRE, ELECTRIC SHOCK OR OTHER HAZARDS. ATTENTION POUR ƒVITER LES CHOC ELECTRIQUES, INTRODUIRE LA LAME LA PLUS LARGE DE LA FICHE DANS LA BORNE CORRESPON- DANTE DE LA PRISE ET POUSSER JUSQUÕAU FOND. CAUTION TO PREVENT ELECTRIC SHOCK MATCH WIDE BLADE OF PLUG TO WIDE SLOT FULLY INSERT. If an indoor antenna is used (either built into the set or installed separately), never allow any part of the antenna to touch the metal parts of other electrical appliances such as a lamp, TV set etc. CAUTION POWER LINES Any outdoor antenna must be located away from all power lines. OUTDOOR ANTENNA GROUNDING If an outside antenna is connected to your tuner or tuner-preamplifier, be sure the antenna system is grounded so as to provide some protection against volt- age surges and built-up static charges. Section 810 of the National Electrical Code, ANSI/NFPA No. 70-1984, provides information with respect to proper grounding of the mast and supporting structure, grounding of the lead-in wire to an antenna discharge unit, size of grounding conductors, location of antenna dis- charge unit, connection to grounding electrodes and requirements for the grounding electrode. a. Use No. 10 AWG (5.3mm2) copper, No. 8 AWG (8.4mm2) aluminium, No. 17 AWG (1.0mm2) copper-clad steel or bronze wire, or larger, as a ground wire. b. Secure antenna lead-in and ground wires to house with stand-off insulators spaced from 4-6 feet (1.22 - 1.83 m) apart. c. Mount antenna discharge unit as close as possible to where lead-in enters house. d. Use jumper wire not smaller than No.6 AWG (13.3mm2) copper, or the equiva- lent, when a separate antenna-grounding electrode is used. see NEC Section 810-21 (j). EXAMPLE OF ANTENNA GROUNDING AS PER NATIONAL ELECTRICAL CODE INSTRUCTIONS CONTAINED IN ARTICLE 810 - RADIO AND TELEVI- SION EQUIPMENT. NOTE TO CATV SYSTEM INSTALLER:This reminder is provided to call the CATV system installerÕs attention to Article 820-22 of the National Electrical Code that provides guidelines for proper grounding and, in particular, specifies that the ground cable ground shall be con- nected to the grounding system of the building, as close to the point of cable entry as practical. NA D 2 CAUTION RISK OF ELECTRIC SHOCK DO NOT OPEN ATTENTION:RISQUE DE CHOC ELECTRIQUE NE PAS OUVRIR CAUTION:TO REDUCE THE RISK OF ELECTRIC SHOCK, DO NOT REMOVE COVER (OR BACK). NO USER SERVICEABLE PARTS INSIDE. REFER SERVICING TO QUALIFIER SERVICE PERSONNEL IMPORTANT SAFETY INSTRUCTIONS

Page 2

NA D 3 REAR PANEL CONNECTIONS FRONT PANEL CONTROLS ©1996. 317. NAD ELECTRONICS LTD. ©1996. 317. NAD ELECTRONICS LTD. STANDBYMUTE LD VCR 1 AUX PHONO CD AM FM TAPE 2 TAPE 1 BANK PRESETTUNE SEARCH TUNER DISCCDMASTER VOLUME A B / | | || / | | System remote NAD REMOTE CONTROL NL Batterij niet weg- goolen maar inlev- eren als KCA 13

Page 29

I intryckt lÅ ge gÅ’r signalen fÅ¡rbi tonkontrollerna. Om knappen Å r uttryckt passerar signalen tonkon- trollerna och kan regleras. INGNGSV-‚¬LJARE. 5. INGNGSV-‚¬LJARE. Dessa knapparna anvÅ nds fÅ¡r att vÅ lja vilken sig- nalkÅ lla som skall sÅ ndas till Tape och Preout utgÅ’n- garna. En lysdiod i varje knapp visar vilken kÅ lla som valts. TUNER: VÅ ljer radiodelen (eller annan kÅ lla pÅ’ lin- jenivÅ’) som kopplats pÅ’ Tuner ingÅ’ngen som aktiv ingÅ’ng. AUX: VÅ ljer den kÅ lla pÅ’ linjenivÅ’ som kopplats pÅ’ AUXingÅ’ngen som aktiv ingÅ’ng. CD: VÅ ljer CDspelare (eller annan kÅ lla pÅ’ lin- jenivÅ’) som kopplats pÅ’ CDingÅ’ngen som aktiv ingÅ’ng. VIDEO: VÅ ljer den videoljudkÅ lla (eller annan kÅ lla pÅ’ linjenivÅ’) som kopplats pÅ’ VCR ingÅ’ngen som aktiv ingÅ’ng. TAPE FUNKTIONER 6. TAPE 1. VÅ ljer utgÅ’ngen pÅ’ den bandspelare som anslutits och lÅ’ter dig hÅ¡ra signalen frÅ’n bandspelaren ansluten till TAPE 1. Tryck in knappen fÅ¡r att koppla in TAPE 1, tryck en gÅ’ng till fÅ¡r att koppla ur. TAPE 1 Å r en monitorfunktion som inte stÅ¡r annan vald ingÅ’ngskÅ lla. Exempel: Om CD valts och TAPE 1 trycks in kommer signalen fortfarande att finnas pÅ’ TAPE 1 och 2 utgÅ’ngarna. Men ljudet ut i hÅ¡gtalarna Å r det som finns pÅ’ TAPE 1 ingÅ’ngarna. FÅ¡r att visa vilken ingÅ’ng som Å r aktiv i monitorlÅ ge fortsÅ tter lysdioden fÅ¡r signalkÅ llan att lysa. TAPE 2 VÅ ljer TAPE 2 som aktiv ingÅ’ng F-¦R ATT G-¦RA EN INSPELNING. NÅ r nÅ’gon kÅ lla valts sÅ nds dess signal Å ven till de bandspelare som anslutits till TAPE 1 och 2 utgÅ’n- garna fÅ¡r inspelning. BANDKOPIERING. Man kan kopiera band mellan tvÅ’ bandspelare anslutna till NAD 317. SÅ tt i kÅ ll-kassetten i band- spelaren anluten till TAPE 2 och ett tomt band i band- spelaren anluten till TAPE 1. Genom att vÅ lja TAPE 2 ingÅ’ngen kan man nu kopiera TAPE 2 till TAPE 1 och lyssna pÅ’ signalen frÅ’n orginalbandet. Man kan ocksÅ’ anvÅ nda TAPE 1 som kÅ lla och kopiera till TAPE 2, men dÅ’ mÅ’ste TAPE 1 vara intryckt under hela inspelningen. VARNING! N-‚¬R TAPE 2 -‚¬R AKTIV FR BARA EN BANDSPELARE S-‚¬TTAS I INSPELNINGSL-‚¬GE. OM BDA S-‚¬TTS I INSPELNINGSL-‚¬GE MED TAPE 2 AKTIVT, KOMMER RUNDGNG ATT UPPST. DET RESULTERANDE TJUTANDE LJUDET KAN SKADA EFFEKTF-¦RST-‚¬RKAREN OCH H-¦GTALARNA. BALANS OCH VOLYMKONTROLL. 7. BALANSKONTROLL. Balanskontrollen justerar den relativa nivÅ’n mellen hÅ¡ger och vÅ nster kanal. MittlÅ get (Ã’klockan 12Ó) ger lika nivÅ’ i hÅ¡ger och vÅ nster kanal. Ett klickmÅ rke visar vad som Å r mit- tlÅ ge. FÅ¡r att reglera balansen, vrid kontrollet Å’t det hÅ’llet Å¡kad styrka Å¡nskas. Balanskontrollen pÅ’verkar inte inspelningar men pÅ’verkar signalen ut pÅ’ fÅ¡r- fÅ¡rstÅ rkarutgÅ’ngen (PRE OUT). 8. VOLUME. Volymkontrollen justerar styrkan pÅ’ den signal som matas till effektfÅ¡rstÅ rkaren. Den Å r ocksÅ’ motordriv- en och kan styras frÅ’n fjÅ rrkontrollen. Den pÅ’verkar inte inspelningar som gÅ¡rs via TAPE utgÅ’ngarna men pÅ’verkar signalen ut pÅ’ fÅ¡rfÅ¡rstÅ rkarutgÅ’ngen (PRE OUT). INDIKATORER OCH FJ-‚¬RRKONTROLLMOTTAGARE. 9. POWER. Powerindikatorn lyser grÅ¡nt nÅ r fÅ¡rstÅ rkaren Å r pÅ’s- lagen och rÅ¡tt nÅ r fÅ¡rstÅ rkaren Å r i standbylÅ ge. 10. SOFT CLIPPING. Visar att soft clipping Å r pÅ’slaget. 11.BRIDGE. Visar att fÅ¡rstÅ rkaren Å r bryggkopplad. 12.SENSOR Sensorn tar emot de infrarÅ¡da signalerna frÅ’n fjÅ r- rkontrollen. En lysdiod i POWER knappen lyser nÅ r en signal tas emot frÅ’n fjÅ rrkontrollen. FJ-‚¬RRKONTROLLEN. FjÅ rrkontrollen till 317 styr apparatens alla viktiga funktioner samt styr Å ven fjÅ rrkontrollfunktioner pÅ’ NAD kassettdÅ ck och CDspelare. FjÅ rrkontrollen nÅ’r cirka 5m. Batterifacket pÅ’ baksidan av fjÅ rrkontrollen rymmer tvÅ’ batterier av typ R6 (AA). Vi rekommenderar att du anvÅ nder Alkaliska batterier fÅ¡r att de har den lÅ ngsta livstiden och att de inte lÅ cker. NÅ r du byter batterier sÅ’ fÅ¡rsÅ kra dig om att de sÅ tts i Å’t rÅ tt hÅ’ll sÅ’ som visas i botten pÅ’ batterifacket. FÅ¡r en beskrivning av funktionerna nedan hÅ nvisar vi till de tidigare avsnitten i brusanvisningen. Notera att den fjÅ rrkontroll som medfÅ¡ljer NAD 317 Å r en NAD universell fjÅ rrkontroll och kan anvÅ ndas till alla fjÅ rrkontrollerbara NAD produkter. SÅ’ledes finns det Å ven knappar fÅ¡r funktioner som ej finns pÅ’ denna apparaten. STANDBYSlÅ’r om NAD 317 mellan P och stand- bylÅ ge. Eftersom apparaten inte Å r helt avslagen i standbylÅ ge bÅ¡r apparaten slÅ ckas med knappen pÅ’ frontpanelen nÅ r den inte skall anvÅ nds en lÅ ngre tid. MUTETryck pÅ’ muteknappen om du vill stÅ nga av ljudet till effektfÅ¡rstÅ rkaren och hÅ¡rlurarna temporÅ rt. NA D 30 S

Page 36

P NA D 37 LOCALIZA-šÃŒO E RESOLU-šÃŒO DE PROBLEMAS AUSæNCIA DE SOM Cabo de alimenta-¹o CA desligado ou alimenta-¹o Verifique cabo CA. cortada. Tape 1 seleccionado. Des-seleccione o modo Monitor. Modo Mute (Silenciamento) ligado. Desligue Mute. Liga-ºes do PrŽ-amplificador/amplificador de potncia Ajuste liga-ºes Traseiras incorrectamente seguras Fusvel interno fundido. Consulte revendedor. NENHUM SOM DE UM CANAL Comando Balance (Balano) descentrado. Centre comando Balance (Balano). Altifalante incorrectamente ligado ou danificado. Verifique liga-ºes e altifalantes. Cabos de entrada desligados ou danificados. Verifique cabos e liga-ºes. GRAVES FRACOS/ IMAGEM ESTEREOFîNICA DIFUSA Altifalantes ligados ao amplificador de potncia n-¹o Verifique liga-ºes a todos os altifalantes no est-¹o ligados em fase. sistema. Modo de Liga-¹o em Ponte regulado com altifalantes ligados Desligue o 317 do modo de Liga-¹o em Ponte. para funcionamento em estereofonia. TELECOMANDO NÃŒO FUNCIONA Pilhas sem carga ou inseridas incorrectamente. Verifique ou substitua as pilhas. Janela receptora ou transmissor IR obstrudo. Remover obstru-¹o. COMANDOS DO LEITOR DE DISCOS COM- PACTOS (para utilizar com Leitor de Discos Compactos NAD) || Pause (Pausa) Stop (Paragem) Play (Leitura) |Track skip (Ignorar faixa). Carregue uma vez para voltar ao incio da faixa, carregue diversas vezes para saltar para tr-¡s para faixas anteriores. | Skip to next track (Passar para faixa seguinte) DISC (DISCO)Passar para o disco seguinte (para Alternadores de CD NAD). COMANDOS DO GRAVADOR DE CASSETES (para utilizar com Gravador de Cassetes NAD de uma (A) ou duas cintas (A e B)) Forward Play (Bobinagem Leitura) ou Reverse Play (Leitura Invertida). /|| Record Pause (Grava-¹o Pausa). Carregue para regular o gravador de cassetes para grava-¹o- pausa. Carregue no bot-¹o Play (Leitura) para iniciar a grava-¹o. Interrompe a Reprodu-¹o ou Grava-¹o. Rewind (Rebobinagem) Fast Forward (Bobinagem R-¡pida).