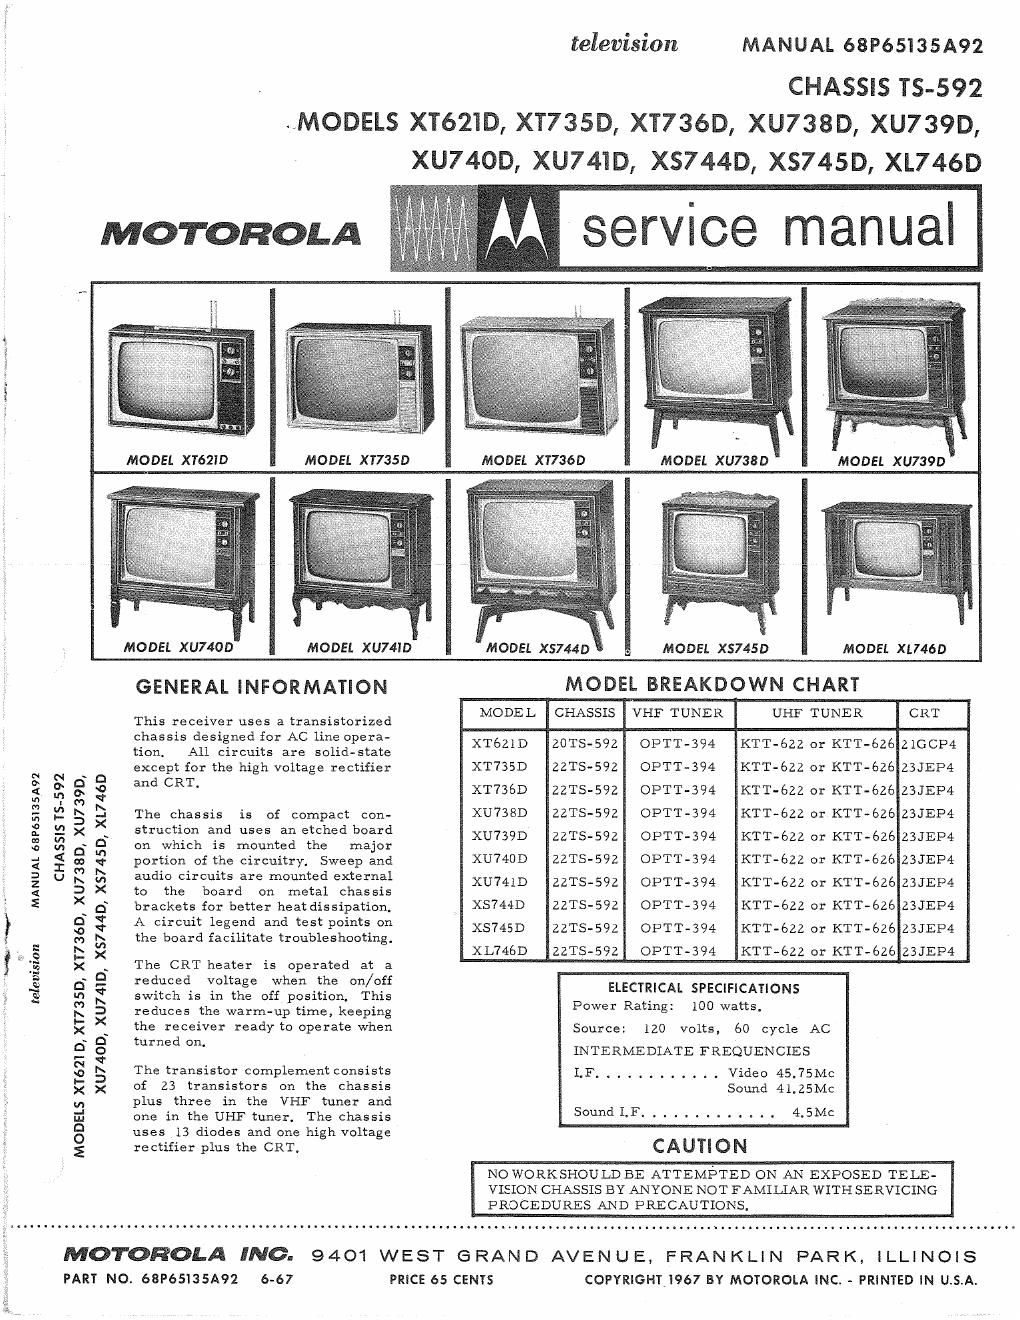
Motorola xt 621 d service manual

This is the 24 pages manual for motorola xt 621 d service manual.
Read or download the pdf for free. If you want to contribute, please mail your pdfs to info@audioservicemanuals.com.

Page: 1 / 24
left right
motorola xt 621 d service manual

Extracted text from motorola xt 621 d service manual (Ocr-read)


Page 2

TABLE OF CONTENTS

Description Page Description Page

ADJUSTMENTS
CHASSIS ALIGNMENT PROCEDURE . . .. 8

UHF TUNER ALIGNMENT (KTT-SZZ). . . lb
Ul-EF TUNER ALIGNMENT (KTT-626). . . 18

CHASSIS PARTS LOCATION . . . . . . . 4,5, 6 UHF TUNER SCHEMATIC DIAGRAM
CHASSIS SCHEMATIC DIAGRAM. . . . . . 24 (Km-632) .. . - . . ~ ~ - - . . . . ..... 17
GENERAL INFORMATION . . ' . . _ _ _ . 1 UHF TUNER SCHEMATIC DIAGRAM

(KTT-ezé) . . ..

VHF TUNER ALIGNMENT
(OPTT-394) . ll

VHF TUNER SCHEMATIC DIAGRAM

REPLACEMENT PARTS LIST. . . . . . . . 20
SERVICENOTES................ Z
TRANSISTOR LOCATION . . . . . . . . . ~ -

TRANSISTOR SPECIFICATIONS . . . . . .

SERVICE NOTES
ETCHED BOARD CIRCUIT TRACING

The top (component side) of the
chassis board contains a complete
legend of the chassis circuit that
appears on the bottom and identifi-
cation of all components by refer-
ence numbers that are related to
the reference numbers on the sche-
matic diagram. The circuit may be
traced from the top of the chassis
board and all components can be
identified eliminating the need -of
making any reference to the bottom
of the chassis board.

The circuit side (bottom) of the
chassis board also contains a com-
plete legend which includes compo-
nent reference numbers, transistor
identification, coil terminals and
the wiring (jumper wires) is traced
in to provide easy circuit tracing
of the wiring that appears on the top
side of the chassis board.

The transistors are identified by
their function as well as the refer-
ence number. The transistor ele-
ments are identified as follows:
E - emitter, B - base and C - col-
lector.

Breaks appear in the wire tracing
to facilitate the identification of
component location. Each wire
trace begins and ends with an arrow.

To further facilitate circuit tracing
of the etched chassis board, aphoto-
graph of the chassis board with the
pertinent test points identified and
related to the schematic diagram is
included in this manual.

The test points on the schematic
diagram are identified descriptively
and/or by numbers and are blocked
in or circled for easy identification.
These test points are also shown on
the chassis board photographs and
serve to pinpoint the physical loca-
tion of the electrical junction or test
point of interest,

All other test points may be easily
located by circuit tracing from a
transistor, coil, etc. or any point
that is readily identified.

CHASSIS SERVICING

The bottom of the chassis may be
completely exposed for servicing on
the 20TS-59Z by removing the fibre~
board cover from the bottom of the
receiVer.

CHASSIS REMOVAL (20TS-592)

Twelve (12) screws secure the
chassis to the cabinet. They are
located as follows. Two (2) on the
tuner mounting bracket, one (I) at
the upper left-hand corner. one (1)
at the middle right side and seven
(7) on the bottom of the cabinet.

One screw must also be removed
from the upper forward corner of
the tuner to release the ground
strap.

CHASSIS REMOVAL (2213-592)

Ten (10) screws secure the chassis
and tuner assembly to the cabinet.
Four (4) screws fasten the tuner
assembly to the bezel. Five (5)
screws are used on the bottom of
the cabinet and one (1) screw on the
right side.

COMPONENT REMOVAL

Removing components from the
etched board is facilitated by the
fact that the circuitry (plating) ap-
pears on one side of the board only
and the component leads are in-
serted straight throughthe holes and
are not bent or crimped.

It is recommended that a solder ex-
tracing gun be used to aid in com-
ponent removal. An iron with a
temperature controlled heating ele-

26 (OPTT-394).. ..... ..........l4

ment would be desirable since it
would reduce the possibility of dam-
aging the board due to over-heating.

The nozzle of the soldering gun is
inserted directly over the compo-
nent lead and when sufficiently
heated, the solder is drawn away
leaving the leadfree fromthe copper
plating. This methodis particularly
suitable in removing multi-terminal
components.

COIL SHIELD REMOVAL

The shields on the IF input assem-
bly (L-IOO, L-lOl, L-lOZ and
L-103), the video detector trans~
former (L-107 and L-108) and the
ratio detector transformer (T-30l)
are mounted to the board with spring
clips for ease of removal. The
shields may be removed by care-
fully rocking the shield while pulling
upward. It may be necessary to
pry up shield slightly to start it.
Avoid excessive bending of the
plated board while removing shield.

PICTURE TUBE REPLACEMENT

Use extreme care in handling the
picture tube as rough handling may
cause it to implode due to atmos-
pheric pressure. Do not nick or
scratch glass or subject it to any
undue pressure in removal or in-
stallation. Use goggles and heavy
gloves for protection.

CRT REMOVAL

CRT is removed from the rear of
cabinet,

To remove picture tube, remove
chassis as previously described,
then remove corner screws securing
picture tube to cabinet.