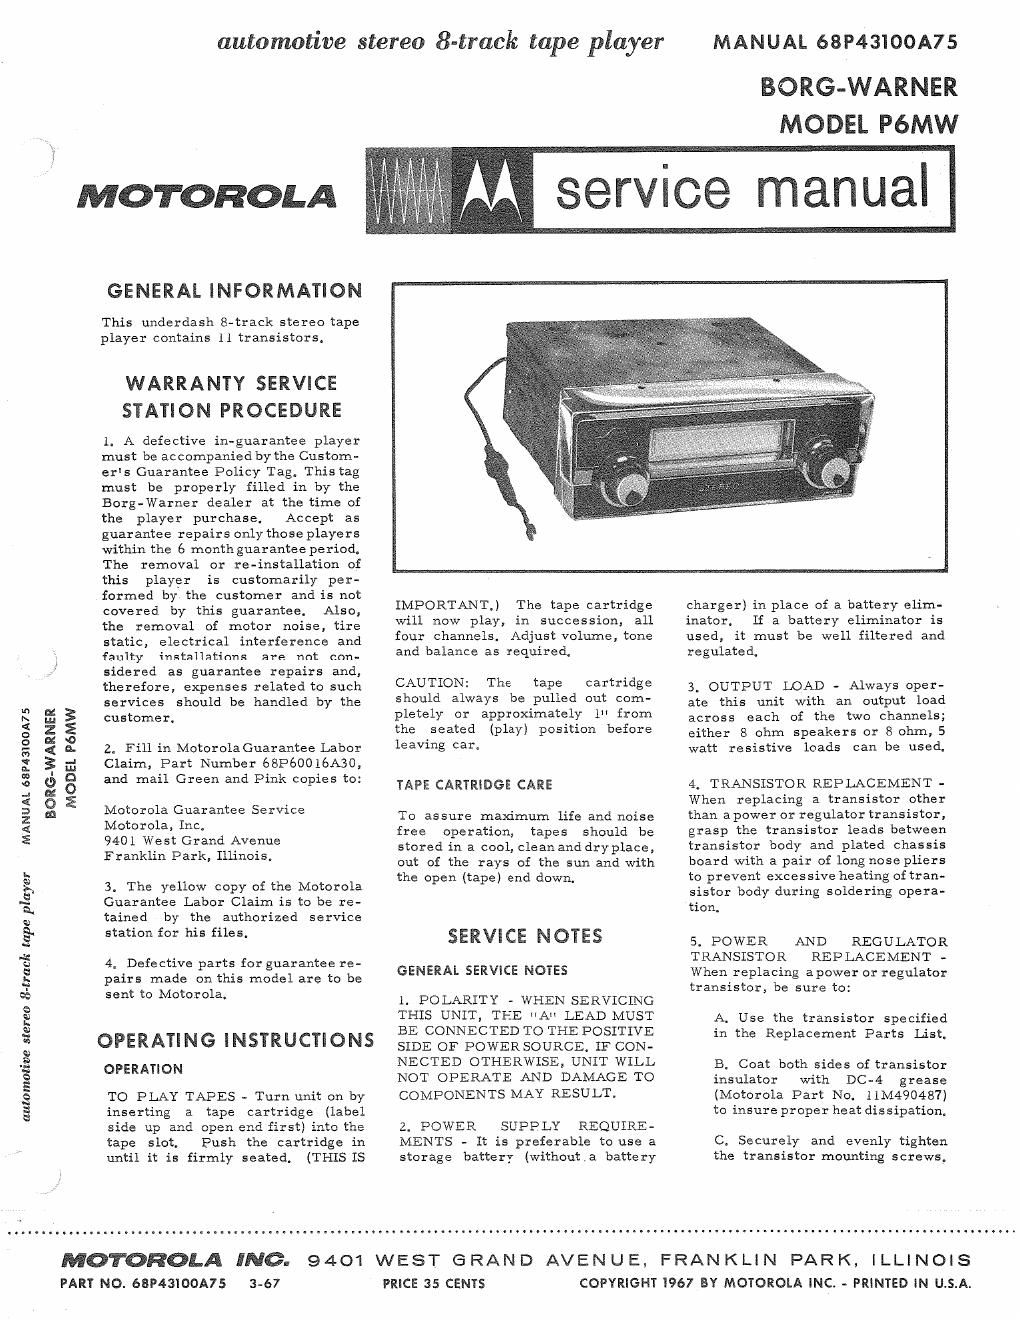
Motorola p 6 mw service manual

This is the 16 pages manual for motorola p 6 mw service manual.
Read or download the pdf for free. If you want to contribute, please mail your pdfs to info@audioservicemanuals.com.

Page: 1 / 16
left right
motorola p 6 mw service manual

Extracted text from motorola p 6 mw service manual (Ocr-read)


Page 2

6. GAINING ACCESS TO THE
PLATED BOARDS - Remove top and
bottom covers and refer to photo.

Tape Pre-Amp Plated Board - To
remove this board for servicing,
merely unsolder the chassis ground
lead (see photo), bend the copper
retaining clip and lift up the chassis
to a more serviceable position.

Audio Amplifier Plated Board - To
gain access to the bottom side of
this board, remove the two (2)
screws at the front side of the radio
(see photo). To remove the board
for servicing, remove the screw
from the mounting bracket, unsolder
the tabs, straighten the tabs, then
remove the mounting bracket.

7. OUTPUT TRANSFORMER AND
FILTER CHOKE REPLACEMENT -
Remove 4 screws, 2 at front side
and 2 at rear (see photo); also un-
solder control ground leads from
Wraparound and pull out wraparound
far enough to remove transformer
or filter choke.

8. TAPE CARTRIDGES - Before
servicing the tape player portion of
this unit, always check for the pos-
sibility of a defective pre-recorded
tape cartridge, particularily if one
is returned with the unit. This
should be done by substituting the
tape cartridge with one that is known
to be good.

9_ TAPE HEAD AND CAPSTAN
CLEANING - One major cause of
improper tape player operation is
oxide build-up on the head and cap-
stan. During normal operation,
some iron oxide particules are
loosened from the tape and build up.
This accumulation of oxide can cause
poor playback and up and down tape
travel. The head and capstan should
be cleaned whenever the unit is ser-
viced and this can be done either in
the car or on the service bench, To
clean the head and capstan, use a
cotton swab moistened with head
cleaner or isopropyl alcohol, then
wipe dry.

(CAUTION should be exercised when
cleaning playback head to prevent
getting cleaner on anyplasticparts.)

10, HEAD DEMAGNETIZING - Do
not use magnetized screwdrivers
and wrenches near the head since
these can magnetize the head. The
head may also, after a long period
of time, acquire some residual mag-
netism, A head that is magnetized
will show a definite loss of high
frequency response and an increase
in noise level. Use a commercially
available head demagnetizer, fol»
lowing instructions included with the
unit to demagnetize the head.


MOUNTING
SCREW

MOUNTING
BRACKET

TABS

AUDIO AMP
CHASSIS REMOVAL

UNSOLDER
2 LEADS

RETAINING

CHASSIS I PRE-AMP REMOVE 4 SCREWS
GROUND PLATED BOARD CLIP
LEAD

FILTER CHOKE 8:
TRANSFORMER REMOVAL

PRE-AMP CHASSIS REMOVAL

GAINING ACCESS TO PLATED BOARDS, FILTER CHOKE
AND OUTPUT TRANSFORMERS

TAPE HEAD ERASER END OF PENCIL

CAPSIAN SHAFT

INIIIII/////////////////X// /////?// ,

TA PE CARTRIDGE
SLOT

USE COTTON SWAB
MOESTENED WITH
ISOPROPYL (RUBENS) ALCOHOL

DEPRESS MOTOR SWITCH
WITH ERASER END OF
DO NOT USE CARBON TETRACHLORIDE PENCIL

TAPE HEAD 8: CAPSTAN CLEANING

ll. HEAD REPLACEMENT - The bly, that is, remove the defective

location of the tape head with respect
to its mounting bracket is very
critical; for this reason, replace-
ment heads are supplied already
secured to their mounting bracket
and positioned correctly at the fac-
tory. When replacing a head, re-
member to replace it as an assem-

head and bracket and replace itwith
the new head and bracket assembly.

If for some reason the location of
the head has changed (due to aloose
mounting screw, etc.), Position it as
shown in Head Positioning Adjust-
ment".