Motorola lk 730 c service manual

This is the 8 pages manual for motorola lk 730 c service manual.
Read or download the pdf for free. If you want to contribute, please mail your pdfs to info@audioservicemanuals.com.

Page: 1 / 8
left right
motorola lk 730 c service manual

Extracted text from motorola lk 730 c service manual (Ocr-read)


Page 1

i
3


MANUAL 68P65135A7B
CHASSIS 22TS-918A

MODELS LK73OC, 73IC, 732C

telev

mum

SUPPLEMENT No.1

TO TS-9IB SERVICE MANUAL,
PART NO. 68P65135A77

MOTOROLA

television

MANUAL 68P65135A78
CHASSIS 22TS-918A
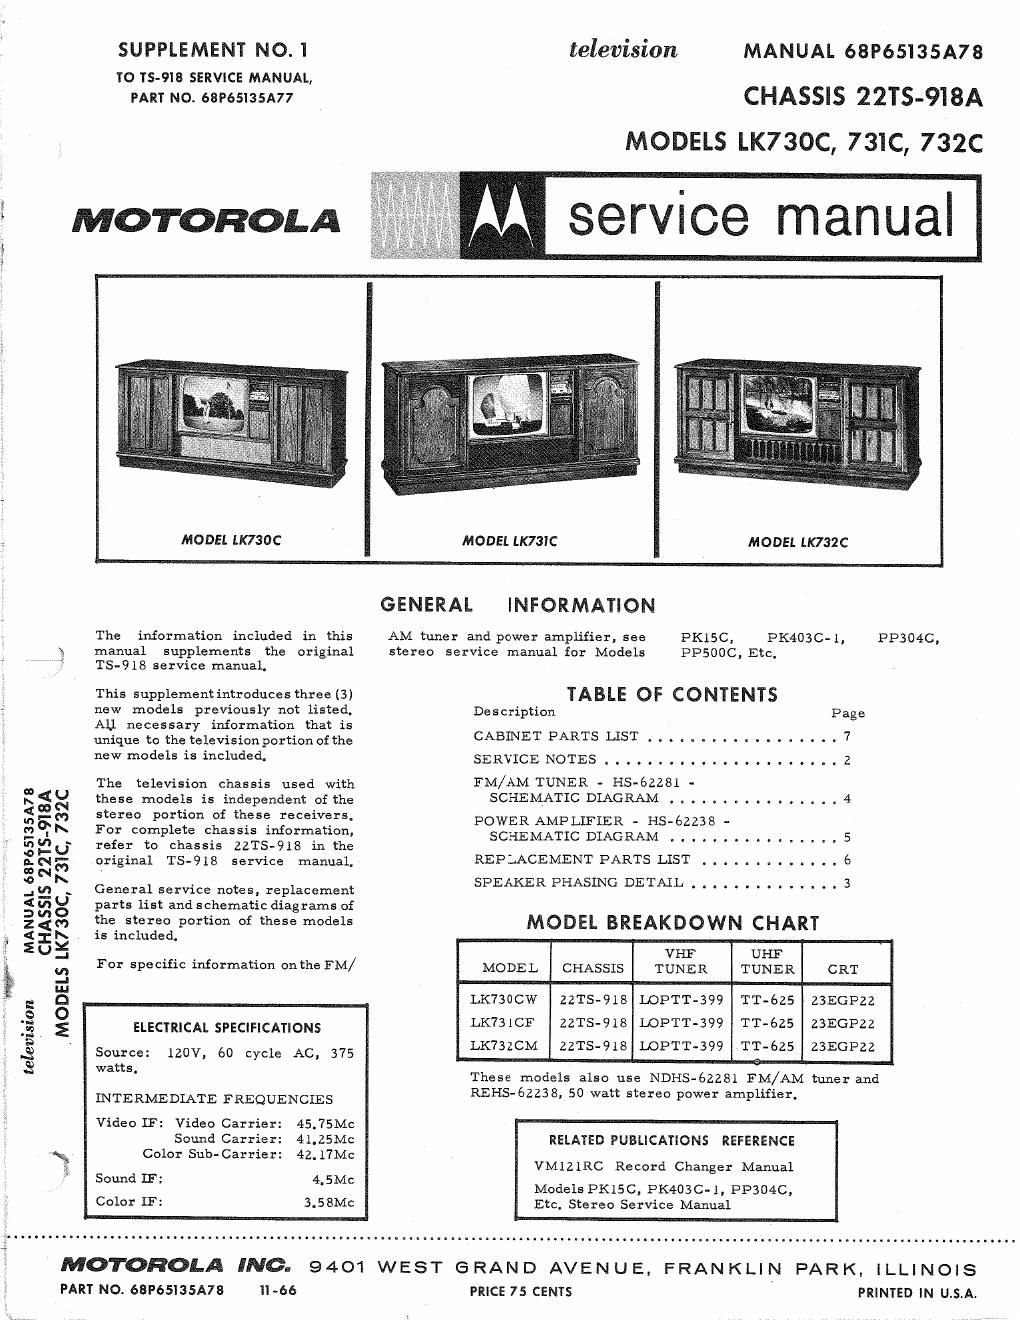
MODELS LK73OC, 731C, 732C

MODEL LK730C

MODEL LK73IC MODEL LK732C

The information included in this
x manual supplements the original
TS-9 18 service manual.

This supplement introduces three (3)
new models previously not listed.
All necessary information that is
unique to the television portion of the
new models is included.

The television chassis used with
these models is independent of the
stereo portion of these receivers.
For complete chassis information,
refer to chassis ZZTS-918 in the
original TS-918 service manual.

General service notes, replacement
parts list and schematic diagrams of
the stereo portion of these models
is included.

For specific information onthe FM/

ELECTRICAL SPECIFICATIONS

Source: 120V, 60 cycle AC, 375

watt 5 .

INTERMEDIATE FREQUENCIES

Video IF: Video Carrier: 45.75Mc

Sound Carrier: 41.25Mc

x? Color Sub-Carrier: 42. 17Mc
5 Sound IF; 4.5M:
Color IF: 3.58Mc

GENERAL INFORMATION

AM tuner and power amplifier, see
stereo service manual for Models

PKlSC, PK403C-l,
PPSOOC, Etc,

PP304C,

TABLE OF CONTENTS

Description Page
CABINETPARTSLIST..................7
SERVICENOTES......................2

FM/AM TUNER - PIS-62281 -
SCHEMATICDIAGRAM ..............4

POWER AMPLIFIER - PIS-62238 -
SCHEMATIC DIAGRAM . . . . . . i . . . .

REPLACEMENT PARTS LIST . . . . . . . . . . . . 6
SPEAKER PHASING DETAIL _ _ . . . . .

MODEL BREAKDOWN CHART

VHF UHF
MODEL CHASSIS TUNER TUNER CRT
LK730CW 22TS-918 .LIOPTT-399 TT-6ZS 23EGP22
LK731CF ZZTS-918 LOPTT-399 TT-625 23EGP22
LK73ZCM 22TS-9lS LOPTT-399 _TT-625 ZSEGPZZ

These models also use NDHS-SZZBI FM/AM tuner and
REHS-6223 8, 50 watt stereo power amplifier,

RELATED PUBLICATIONS REFERENCE

VMLZlRC Record Changer Manual

Models PKISC, PK403C- 1, PPSIMC,
Etc. Stereo Service Manual

MOTOROLA INC. 9401 WEST GRAND AVENUE, FRANKLIN PARK, ILLINOIS

PART NO. 63P65135A78 "-66

PRICE 75 CENTS PRINTED IN USA

Page 2

SERVICE NOTES

LINE CORD REVERSAL - For mini-
mum hum, insert line cord plug in
both positions. Leave in the position
that provides minimum hum.

OPERATING AMPLIFIER WITH
LOAD - Always operate the ampli-
fier with an output load (either the
speakers or resistive load) across
each channel.

Resistive load: Chassis PIS-62.238 -
16 ohm. 25 watts.

SPEAKER PHASING - Refer to the
schematic diagram.

EXTENSION SPEAKER TERMINALS

EXTENSION SPEAKER TERMINALS
RIGHT LEFT
CHAN CHAN

15 OHM 16 OH"
/\ A
GUT CW OUT COM
\ RED RED "
SLEEVE SLEEVE
EXTENSION SPKRS

It is not desirable to leave both
speaker switches in the off position
since this may cause damage to the
amplifier, External speakers can
be easily connected to the speaker
terminals on the back of the console
as shown above.

CHASSIS REMOVAL

Tuner and Power Amplifier
(Chassis REHS-EZZSB and NDHS-
62281)

1. Remove line cord from AC outlet
and remove back covers.

2. Disconnect leads from AM anten-
na at rear of cabinet,

3. Disconnect FM antenna and re-
move two (2) screws holding FM
antenna connector strip to cabinet.

4. Unplug power and audio plugs
from record changer.

5, Disconnect red, white and blue
speaker leads from terminaltstrip
located on bottom edge of power
amplifier.

6. Unplug power plug located near
power transformer,

7. Remove pilot light from hole in
block located on front of cabinet
near bottom shelf.

8. Remove two (2) 5/16 nuts holding
chassis bottom to chassis mounting
brackets located at front andback of
chassis.

9. Lift tuner and amplifier chassis
up through top of cabinet.

STYLUS REPLACEMENT
To Remove Stylus

1. Position tone arm restriction clip
to the open position; see illustra
tion.

2. Lift tone arm to a vertical posi-
tion and rotate the stylus selector
to the 78 RPM position,

3. Grasp stylus with fingers and
with a gentle motion, twist stylus
up so the tip and raises and the
rear portion snaps out from under
the retaining Clip,

To Replace Stylus

1. Check tone arm restriction clip,
It should be inthe openposition; hen
lift tone arm to a vertical position.

2. Holding new stylus in position
with fingers, snap rear portion of
stylus under the retaining clip.

3, Be sure stylus rests in "V" of
cartridge; then return tone arm to
normal position and place restric-
tion clip in closed position.

REPLACEMENT STYLUS IS
AVAILABLE UNDER THE
FOLLOWING PART NUMBER:
9 2 - 8 IZDS.

CARTRIDGE REPLACEMENT

The cartridge used in these models
is a plug-in type. To remove cart-
ridge, grasp cartridge housing and

IESIIIBTIII cur
II El "SIT!"

IESTIIITIII CLIP

5: V
min II M I mm:
5mm All

"3 IITITEI
T. "I" "SHIII

[ETAIEIHE ELI!

carefully pull out from tone arm.
The cartridge is not removable
from its housing.

DIAL POI I-UZ'
PROM RIGHT 5|?le
DIAL BACKGROUND

DIAL STRINGING DETAIL - HS~622BI