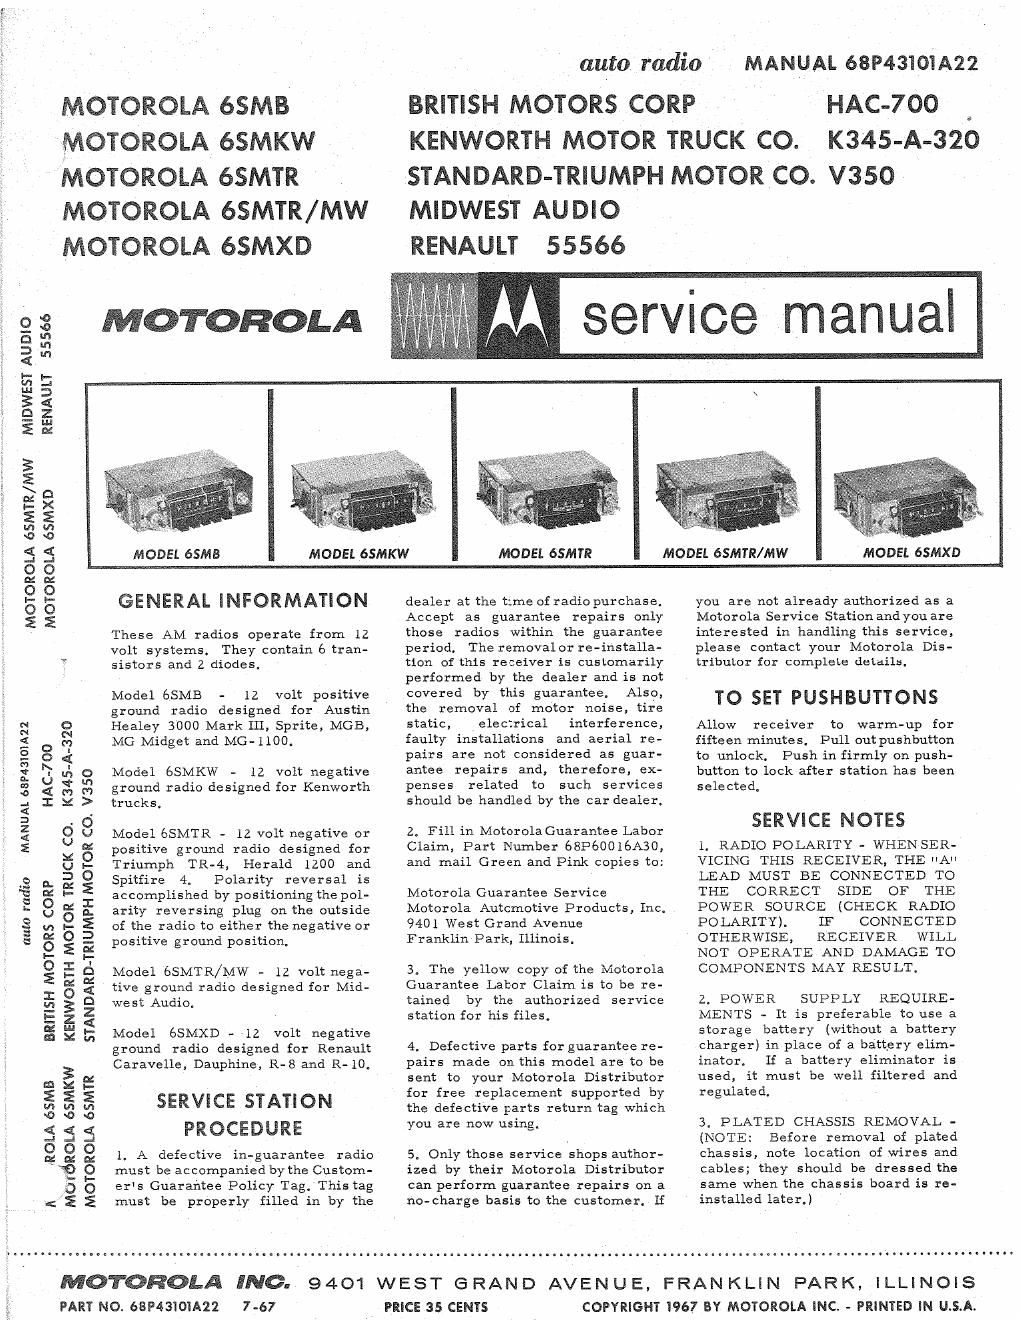
Motorola 6 smb smkw smtr mw smtr smxd service manual

This is the 12 pages manual for motorola 6 smb smkw smtr mw smtr smxd service manual.
Read or download the pdf for free. If you want to contribute, please mail your pdfs to info@audioservicemanuals.com.

Page: 1 / 12
left right
motorola 6 smb smkw smtr mw smtr smxd service manual

Extracted text from motorola 6 smb smkw smtr mw smtr smxd service manual (Ocr-read)


Page 1

auto radio MANUAL 68P43101A22

BRITISH MOTORS CORP HAC-700 é
KENWORTH MOTOR TRUCK CO. K345-A-320
STANDARD-TRIUMPH MOTOR CO. V350
MIDWEST AUDIO

RENAULT 55566

MOTOROLA 65MB
MOTOROLA OSMKW
MOTOROLA 6$MTR
MOTOROLA OSMTR/MW
MOTOROLA 6$MXD


4

HAC-700

KENWORTH MOTOR TRUCK CO. K345-A-320

MANUAL sap/3310mm
STANDARD-TRIUMPH MOTOR CO. V350

auto radio

BRITISH MOTORS CORP

« rROLA 65MB
MOTOROLA bSMKW
MOTOROLA 65M1R

A

These AM radios Operate from 12
volt systems. They contain 6 tran-
sistors and Z diodes.

Model 65MB - l2 volt positive
ground radio designed for Austin
Healey 3000 Mark III, Sprite, MOB,
MG Midget and MG-IIOO,

Model OSMKW - 12 volt negative
ground radio designed for Kenworth
trucks.

Model OSMTR - 12 volt negative or
positive ground radio designed for
Triumph TR-4, Herald 1200 and
Spitfire 4. Polarity reversal is
accomplished by positioning the pol-
arity reversing plug on the outside
of the radio to either the negative or
positive ground position.

Model BSMTR/MW - 12 volt nega-
tive ground radio designed for Mid-
west Audio.

Model 6$MXD - 12 volt negative
ground radio designed for Renault
Caravelle, Dauphine, R-8 and R- 10,

SERVICE STATION
PROCEDURE

1. A defective in-guarantee radio
must be accompanied by the Custom-
er's Guarantee Policy Tag. This tag
must be properly filled in by the

those radios within the guarantee
period. The removalor re-installa-
tion Of this receiver is customarily
performed by the dealer and is not
covered by this guarantee. Also,
the removal of motor noise, tire
static, electrical interference,
faulty installations and aerial re-
pairs are not considered as guar-
antee repairs and, therefore, ex-
penses related to such services
should be handled by the car dealer.

2. Fill in Motorola Guarantee Labor
Claim, Part Number 68P60016A30,
and mail Green and Pink copies to:

Motorola Guarantee Service
Motorola Automotive Products, Inc.
9401 West Grand Avenue

Franklin Park, Illinois.

3. The yellow copy of the Motorola
Guarantee Labor Claim is to be re-
tained by the authorized service
station for his files.

4. Defective parts for guarantee re-
pairs made on this model are to be
sent to your Motorola Distributor
for free replacement supported by
the defective parts return tag which
you are now using.

5, Only those service shops author-
ized by their Motorola Distributor
can perform guarantee repairs on a
no-charge basis to the customer. If

u
'0
33 MOTOROLA M SGIVICe manual
In
a m --
s
3 <
e s
E z
i
E
D
E ><
2 2
U! W
0 0 A
S 5 MODEL 65MB MODEL 6$MKW MODEL 6$MTR MODEL 65MTR/MW MODEL 6$MXD
§ §
'5 8 GENERAL INFORMATION dealer at the time 01 radio purchase. you are not already authorized as a
E 2 Accept as guarantee repairs only Motorola Service Stationandyouare

interested in handling this service,
please contact your Motorola Dis-
tributor for complete details.

TO SET PUSHBUTTONS

Allow receiver to warm-up for
fifteen minutes. Pull out pushbutton
to unlock. Push in firmly on push-
button to lock after station has been
selected.

SERVICE NOTES

1. RADIO POLARITY - WHEN SER-
VICING THIS RECEIVER, THE A"
LEAD MUST BE CONNECTED TO
THE CORRECT SIDE OF THE
POWER SOURCE (CHECK RADIO
POLARITY). IF CONNECTED
OTHERWISE, RECEIVER WILL
NOT OPERATE AND DAMAGE TO
COMPONENTS MAY RESULT.

2. POWER SUPPLY REQUIRE-
MENTS - It is preferable to use a
storage battery (without a battery
charger) in place of a battery elim-
inator. If a battery eliminator is
used, it must be well filtered and
regulated.

3. PLATED CHASSIS REMOVAL -
(NOTE: Before removal of plated
chassis, note location of wires and
cables; they should be dressed the
same when the chassis board is re-
installed later.)

9401 WEST GRAND AVENUE, FRANKLIN PARK, ILLINOIS
PRICE 35 CENTS COPYRIGHT I967 BY MOTOROLA INC, - PRINTED IN U.$.A.

MOTOROLA INC.
PART NO. 68P4310IA22 7-67

Page 2

To remove the plated chassis for
servicing, unsolder the plated
chassis mounting bracket (see photo
on Page 2); bend the ears straight,
then spread the housing so that the
bracket ears will be free of the hous-
ing, Lift chassis and bracket to a
more serviceable position.

NOTE: Since the bracket serves as
a ground, an external wire must be

T0 LUGS
5 K: 6 ON
TUNER

PARTS LOCATION -
10F CHASSIS VIEW

T0 LUGS
7 c: 8 ON
'EUNER

connected from the bracketrto the
radio housing.

After servicing is performed, re;
install plated chassis board and
bracket, then bend the bracket
mounting ears over and solder to
housing.

4. When replacing a power output
transistor, remember to use the

PLATED CHASSIS
MOUNTING BRACKET

02 T1 03 T2

T3 L055
3 & 4 ON TUNER 01

transistor specified inthe parts list;
coat both sides of the transistor in-
sulator with DC-4 grease (Motorola
Part No. 11M490487) and securely
tighten the transistor j mounting,
screws. When replacing all other
transistors, use long nose pliers as
a heat sink, i.e., grasp transistor
leads close to transistor base with
the pliers to dissipate heat while
soldering.

PARTS LOCATION
REAR VIEW


TO VOL