Page 1
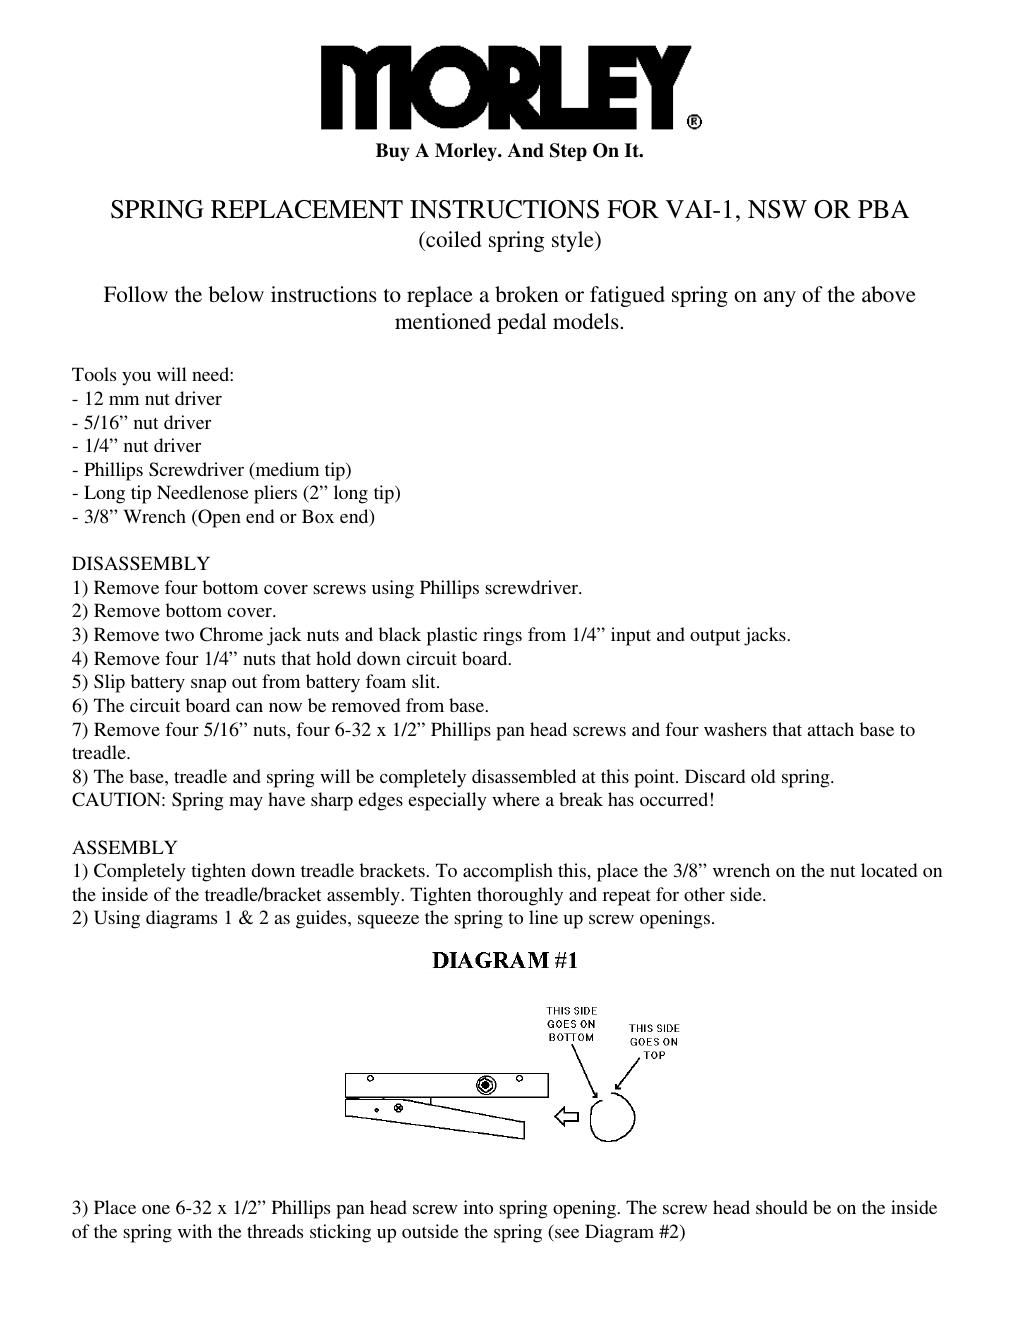
4) Place spring into position (see Diagram #3).
5) Place base into treadle allowing screw to locate in position (shown in Diagram #3). Replace washer and
5/16 nut. Do not completely tighten yet.
6) Using the needlenose pliers, hold a 6-32 x 1/2 Phillips pan head screw by the head and insert from
underside of treadle bracket. (The thread should stick up in the inside of the pedal base) Replace washer and
5/16 nut. Repeat for two remaining mounting locations and do not tighten completely.
7) Align and center treadle to base. This can be accomplished by setting the pedal assembly on its heel end (to
push treadle as far toward the toe end as possible) and visually centering the treadle (so it is not cocked right
or left). This is important so the shutter is located properly between the optics.
8) Tighten the four 5/16 nuts thoroughly.
9) Completely tighten down treadle brackets. To accomplish this, place the 3/8 wrench on the nut located on
the inside of the treadle/bracket assembly. Tighten thoroughly and repeat for other side.
10) Replace circuit board, four 1/4 nuts, two black plastic rings & two chrome jack nuts.
11) Insert battery snap through the slit in battery foam.
12) Perform sound test to verify wah setting.
13) Replace bottom cover and bottom cover screws.
