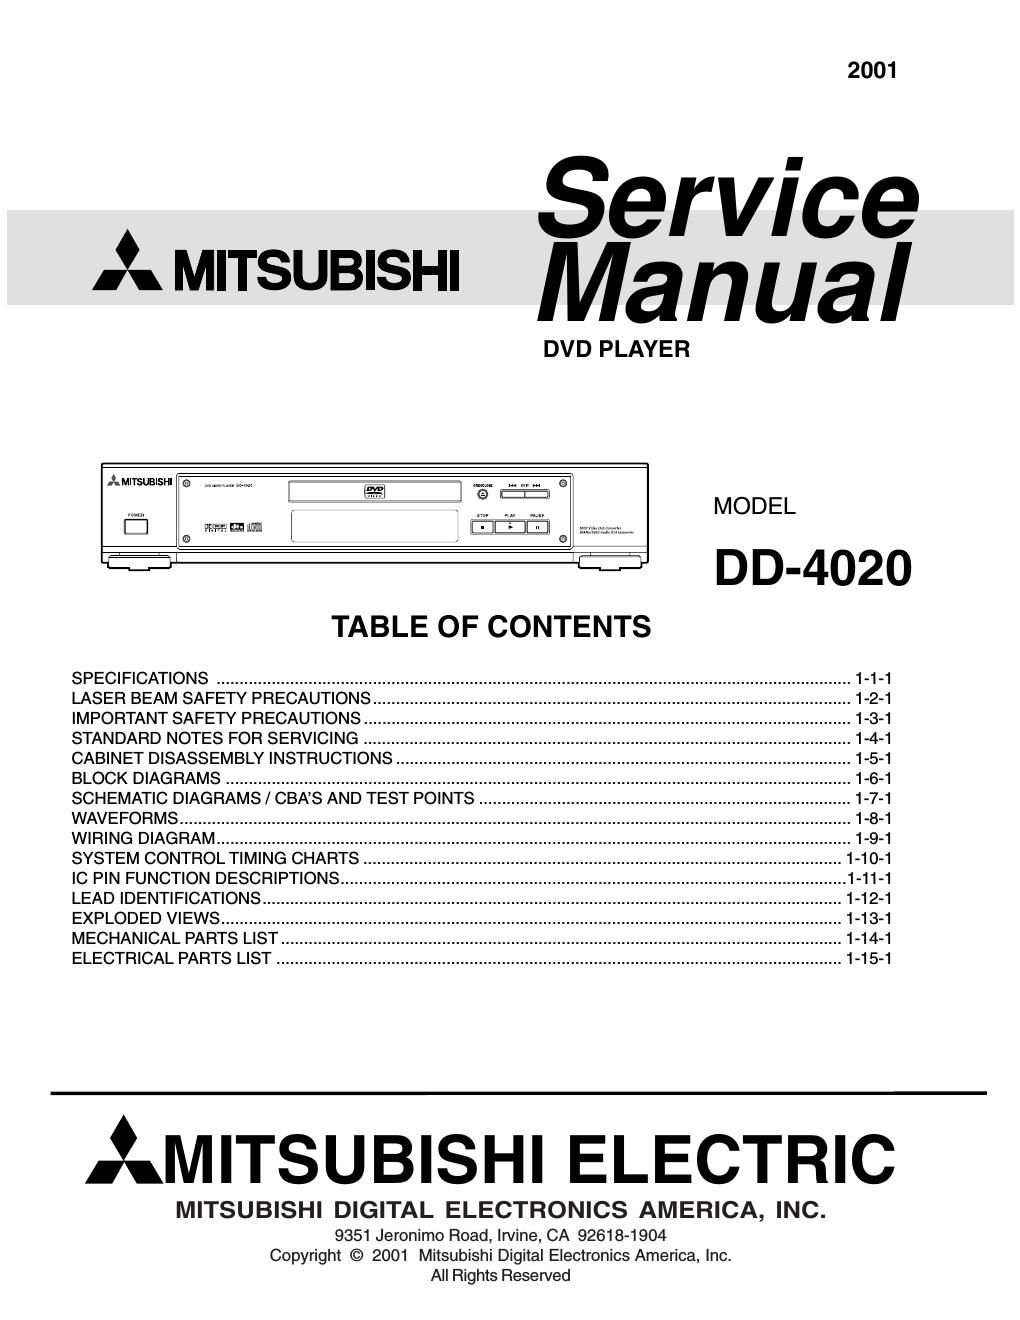
Mitsubishi dd 4010 service manual

This is the 46 pages manual for mitsubishi dd 4010 service manual.
Read or download the pdf for free. If you want to contribute, please mail your pdfs to info@audioservicemanuals.com.

Page: 1 / 46
left right
mitsubishi dd 4010 service manual

Extracted text from mitsubishi dd 4010 service manual (Ocr-read)


Page 1

2001

Service
A MITSUBISHI Ma "3 I

DVD PLAYER
AMITsUBIsHI (c) IT LIL] «9 MODEL
[:| @ unEmfliZ I IHwILllill <5
SE ~=- DD-4020

TABLE OF CONTENTS

SPECIFICATIONS ......................................
LASER BEAM SAFETY PRECAUTIONS
IMPORTANT SAFETY PRECAUTIONS ..
STANDARD NOTES FOR SERVICING ..
CABINET DISASSEMBLY INSTRUCTIONS ..
BLOCK DIAGRAMS .......................................
SCHEMATIC DIAGRAMS / CBAS AND TEST POINTS
WAVEFORMS ............
WIRING DIAGRAM....
SYSTEM CONTROL TIMING CHARTS
|C PIN FUNCTION DESCRIPTIONS.
LEAD IDENTIFICATIONS....
EXPLODED VIEWS ..........
MECHANICAL PARTS LIST...
ELECTRICAL PARTS LIST ........................................................................................................................... 1-15-1


AMITSUBISHI ELECTRIC

MITSUBISHI DIGITAL ELECTRONICS AMERICA, INC.
9351 Jeronimo Road, Irvine, CA 92618-1904
Copyright © 2001 Mitsubishi Digital Electronics America, Inc,
All Rights Reserved

Page 2

HOW TO INITIALIZE THE SETUP MENU

Afterturning the power ON, without a disc in the tray, press the "1 "2, "3," "4," "DISPLAY" and "ENTER" buttons
on the remote control unit in this order. Then, after turning the power OFF temporarily, turn the power ON again
to intialize the Setup Menu.

HOW TO CLEAR THE PASSWORD PROTECTION
(In case of forgetting the password of Parental Lock)

To release the parental lock, initialize the DVD player in the same way above.

HOW TO SET OR CLEAR THE TRAY LOCK

To set the tray lock mode to on, follow the procedures below:
1. With loading a disc, set the DVD player to the stop mode.
Press the "SETUP" button to display the SETUP menu.
Press the "TITLE" button.

Press the "3" button.

Press the "AUDIO" button.

Press the "0" button.

Press the SETUP" button. Tray Lock mode is set to ON and "Tray Lock On" is displayed on the top right of
the screen.

NQFPPN

While the Tray Lock mode is on, the operation of opening or closing the tray is being canceled. Other operatins
are available.

To release the Tray Lock mode, perform the above procedures again. Tray Lock mode is set to OFF and "Tray
Lock Off" is displayed on the top right of the screen.

HOW TO MANUAL EJECT

Remove the Top Case.

2. Insert the eject-bar (length = approximately 3 mm,
diameter: approximately 8 mm) into the manual eject
hole on the PCB Holder. Then, press it until the tray
is ejected.

3. Pull out the tray.

Manual
Eject Hole

PCB Holder / \

Eject-Bar (Length : approximately 80 mm, Diameter : approximately 3 mm)\

Manufatured under license from Dolby Laboratories. "Dolby" and the double-D symbol are trademarks of Dolby
Laboratories. Confidential Unpublished Works.
(©1992-1997 Dolby Laboratories, Inc. All rights reserved.)

"DTS" and "DTS Digital Out" are trademarks of Digital Theater Systems inc.