This is the 8 pages manual for meridian audio dvp 1510 owners manual. Read or download the pdf for free.
If you want to contribute, please mail your pdfs to info@audioservicemanuals.com.
Page: 1 / 8
Extracted text from meridian audio dvp 1510 owners manual (Ocr-read)
Page 1
DVP1510 FAQs REV 10.04.04-a
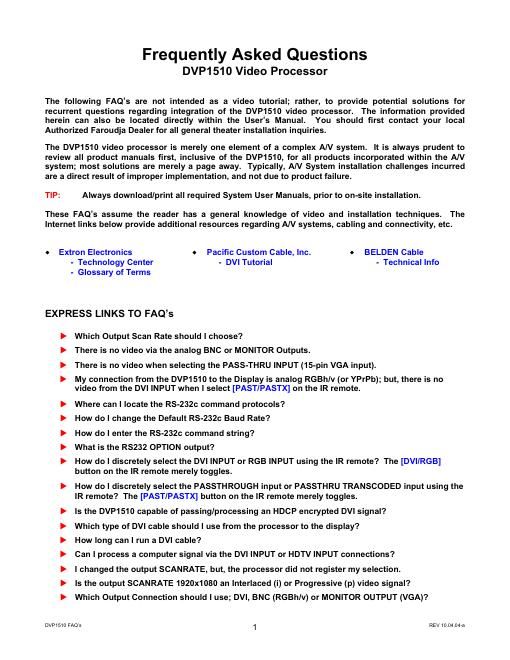
2 �X When SETUP: ACTIVE OUTPUT / ANALOG is selected, which OUTPUT FORMAT should I use?
�X How do I Store a Profile?
�X There is Dark Banding/Streaking throughout the video image; how do I fix this?
�X My picture is Magenta or Pink in color.
�X My picture is Green.
Which Output Scan Rate should I Choose?
The appropriate Output Scan Rate to select is typically determined by the actual native Pixel Density of a
Digital Display Device, or, the physical CRT Size
of an Analog Display Device (7, 8 or 9 CRT).
Each display device will have individual video/computer input capabilities, so, there may be exceptions. All
display devices will post their specific video/computer input capabilities within the Users Manual and are
typically listed under Specifications, or, within a Table of Supported Resolutions.
The following represents basic examples of possible Output Scan Rate selections:
Display Type Plasma TV Digital Projector CRT Front Projection CRT Rear Screen
Display Resolution 1366 x 768 1280 x 720 7 CRT 8 CRT 9 CRT 1080i
DVP1510 Scan Rate 1366 x 768 1280 x 720 1920 x 540
or
1280 x 720 1280 x 720
or
1440 x 960 1440 x 960
or
1920 x 1080 1920 x 540
Notice: Occasionally a Digital Display Device may not accept its actual Native Pixel density, such as,
some Digital Rear Screen TVs and some Entry-Level Plasma/LCD Displays. In this instance, a
standard DTV signal should be chosen (1280x720 or 1920x540).
There is no video from the analog BNC or MONITOR Outputs.
The Default SETUP: ACTIVE OUTPUT setting is DIGITAL (DVI), not Analog (BNC or MONITOR). You can
either choose DIGITAL or ANALOG out from the DVP1510; however, not both simultaneously.
- Enter the SETUP MENU by selecting the [SETUP] button on the front panel of the DVP1510
- Press the [-��] button two times, or, until the LCD Display indicates SETUP: ACTIVE OUTPUT / DIGITAL
- Press the [-��] or [-��] button to change SETUP: ACTIVE OUTPUT / DIGITAL to the ANALOG setting
- Exit the SETUP MENU by selecting the [RETURN] button.
Notice: When both an Analog (RGBh/v) and a Digital (DVI) cable are installed, selecting the
[PAST/PASX] from Page 1 of the IR Remote LCD window button will output the Pass-Through
signal, regardless of which Active Output has been selected within the Setup Menu. Select the
corresponding input on the display device to view source.
There is no video when selecting the PASS-THRU INPUT (15-pin VGA input).
The 15-pin PASS-THRU INPUT connection will only route incoming RGBh/v or Component pass-through
video to the Analog Outputs of the DVP1510 (Analog IN = Analog OUT). It is always recommended to install
both an RGBh/v cable and a DVI cable to the display device for system expandability. These connections will
also enable the ability to connect a computer source to the display device (if capable).
To connect a Component (YPrPb) HDTV source, and your output cable run is either 5-wire (RGBh/v) or
MONITOR OUT (VGA), select [PAST/PASTX] on the IR remote twice, or, select [PAST/PASTX], then [1] for
direct PASSTHRU TRANSCODED access.
Page 2
DVP1510 FAQs REV 10.04.04-a
3 If your display does not have an RGBh/v or D-15 (VGA) input connection, install a 3-wire Component analog
cable to the display device. Do not select PASSTHRU TRANSCODED or your video will be Magenta.
My connection from the DVP1510 to the display is Analog RGBh/v (or YPrPb); but, there is no
video from the DVI INPUT when I select [PAST/PASTX] on the IR remote.
The DVI INPUT connection will only route incoming DVI pass-through video to the DVI Digital Output of the
DVP1510 (Digital IN = Digital OUT). It is always recommended to install both an RGBh/v cable and a DVI
cable to the display device. This connection will also enable the ability to connect a computer source to the
display device (if capable).
If the DVI INPUT originates from an HDTV source, you can opt to Process the incoming signal by selecting
[DVI/RGB], then [0]. The DVP1510 will then process the incoming video signal to the selected Output Scan
Rate under SETUP: SCANRATE within the Setup Menu. The output will be either Digital (non-HDCP), or
Analog, depending upon the selection under SETUP: ACTIVE OUTPUT.
Where can I locate the RS-232c command protocols?
Refer to your DVP1510 Installation and Operations Manual
- The RS-232c command protocols can be found on Pages 9 through 13 of the DVP1510 Users Manual.
This manual is also available for download via this website.
How do I change the Default RS-232c Baud Rate?
The DVP1510 additionally allows the ability to change the default baud rate of 19200 within the Setup Menu.
- Enter the SETUP MENU by selecting the [SETUP] button on the front panel of the DVP1510
- Press the [-��] button four times, or, until the LCD Display indicates SETUP: BAUD RATE / 19200
- Press either the [-��] or [-��] arrow button to toggle to the appropriate baud rate for your control system:
o SETUP: BAUD RATE / 9600
o SETUP: BAUD RATE / 57600
o SETUP: BAUD RATE / 19200
- You are not required to press [ENTER] to engage the desired baud rate selection
- Exit the SETUP MENU by selecting the [RETURN] button
How do I enter the RS-232c command string?
The DVP Header, followed by a comma (no space), is used to delimit the Header from the Command . The
following is an example, using Windows HyperTerminal, for Power On using a standard Modem Cable:
- dvp,on[-�� Enter] ([-�� Enter] denotes a carriage return, or rather, pressing [-�� Enter] on the keyboard)
You may also issue simultaneous commands by adding a comma to delimit each Function Command prior to
issuing the Carriage Return Command.
- dvp,on,x,a2,srn4[-�� Enter] (Control Syntax = Header, Power ON, YCrCb (Component Input), Anamorphic, Scan
Rate 1280x720[carriage return])
Personal Computer (PC Control)
- Use the standard Windows HyperTerminal program to control the DVP1510. Select the options listed
below and utilize a standard 9-pin Modem Cable (not a null-modem cable). Once connection has been
established: TYPE
dvp,help and then press [-�� Enter]. The OPERATION COMMANDS available will
then be echoed back to your personal computer.