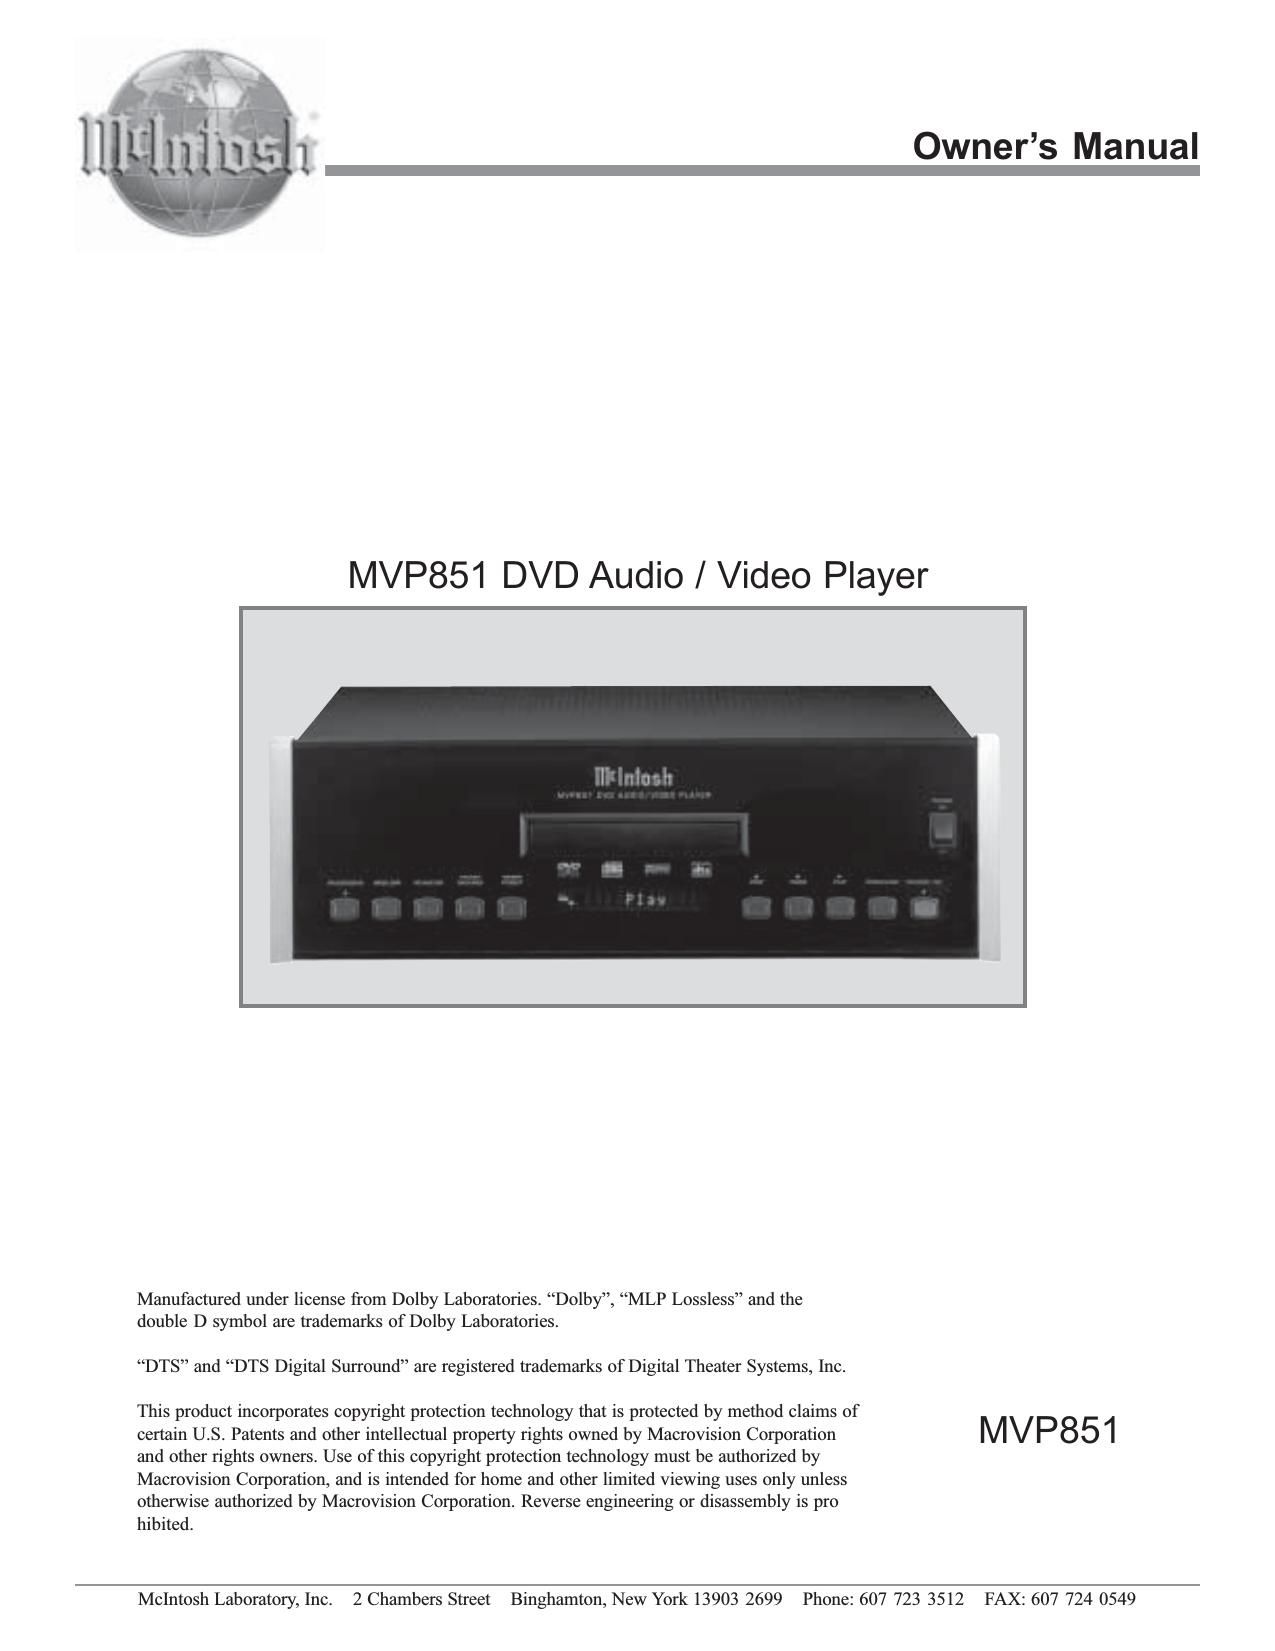
McIntosh MVP 851 Owners Manual

This is the 48 pages manual for McIntosh MVP 851 Owners Manual.
Read or download the pdf for free. If you want to contribute, please mail your pdfs to info@audioservicemanuals.com.

Page: 1 / 48
left right
McIntosh MVP 851 Owners Manual

Extracted text from McIntosh MVP 851 Owners Manual (Ocr-read)


Page 1

2 WARNING - TO REDUCE RISK OF FIRE OR ELECTRICAL SHOCK, DO NOT EXPOSE THIS EQUIPMENT TO RAIN OR MOISTURE. The lightning flash with arrowhead, within an equilateral triangle, is intended to alert the user to the presence of uninsulated dangerous voltage within the products enclosure that may be of sufficient magnitude to constitute a risk of electric shock to persons. NO USER-SERVICEABLE PARTS INSIDE. REFER SERVICING TO QUALIFIED PERSONNEL. To prevent the risk of electric shock, do not remove cover or back. No user serviceable parts inside. The exclamation point within an equi- lateral triangle is intended to alert the user to the presence of important operating and maintenance (servic- ing) instructions in the literature ac- companying the appliance. This product incorporates an embedded CLASS 2 Laser (CFR). CAUTION - Invisible Laser Radiation when open. DO NOT stare into the beam or view directly with optical instruments. Use of controls or adjustment or performance of proce- dures other than those specified in the Owners Manual may result in Hazardous Radiation Exposure. LUOKAN 1 LASERLAITE KLASS 1 LASER APPARAT VAROITUS! Laitteen kayttaminen muulla kuin tassa kayttoohjeessa mainitulla tavalla saattaa altistaa kayttajan turvallisuusluokan 1 ylittavalle nakymattomalle lasersateiiylle. VARNING! Om apparaten anvands pa annat satt an i denna bruksanvisning specificerats, kan anvandaren utsattas for osynbg laserstraining, som overskrider gransen for laserklass 1.

Page 2

3 IMPOR T ANT SAFETY INSTRUCTIONS! PLEASE READ THEM BEFORE OPERATING THIS EQUIPMENT. General: 1. Read these instructions. 2. Keep these instructions. 3. Heed all warnings. 4. Follow all instructions. 5. Warning: To reduce risk of fire or electrical shock, do not expose this equipment to rain or moisture. This unit is capable of producing high sound pres- sure levels. Continued exposure to high sound pres- sure levels can cause permanent hearing impair- ment or loss. User caution is advised and ear protec- tion is recommended when playing at high volumes. 6. Caution: to prevent electrical shock do not use this (polarized) plug with an extension cord, receptacle or other outlet unless the blades can be fully in- serted to prevent blade exposure. Attention: pour pevenir les chocs elecriques pas utiliser cette fiche polarisee avec un prolongateur, une prise de courant ou un autre sortie de courant, sauf si les lames peuvent etre inserees afond ans en laisser aucune partie a decouvert. 7. Unplug this equipment during lightning storms or when unused for long periods of time. 8. Only use attachments/accessories specified by the manufacturer. Installation: 9. The equipment shall be installed near the AC Socket Outlet and the disconnect device shall be easily acces- sible. 10. Do not block any ventilation openings. Install in accor- dance with the manufacturers instructions. 11. Do not install near any heat sources such as radiators, heat registers, stoves, or other equipment (including amplifiers) that produce heat. 12. Do not use this equipment near water. 13. Do not expose this equipment to dripping or splashing and ensure that no objects filled with liquids, such as vases, are placed on the equipment. 14. Use only with the cart, stand, tripod, bracket, or table specified by the manufacturer, or sold with the equipment. When a cart is used, use caution when moving the cart/equip- ment combination to avoid injury from tip-over. Connection: 15. Connect this equipment only to the type of AC power source as marked on the unit. 16. Protect the power cord from being walked on or pinched particularly at plugs, convenience receptacles, and the point where they exit from the equipment. 17. Do not defeat the safety purpose of the polarized or grounding-type plug. A polarized plug has two blades with one wider than the other. A grounding type plug has two blades and a third grounding prong. The wide blade or the third prong are provided for your safety. If the provided plug does not fit into your outlet, consult an electrician for replacement of the obsolete outlet. 18. Do not overload wall outlets, extension cords or inte- gral convenience receptacles as this can result in a risk of fire or electric shock. 19. To completely disconnect this equipment from the AC Mains, disconnect the power supply cord plug from the AC receptacle. Care of Equipment: 20. Clean only with a dry cloth. 21. Do not permit objects or liquids of any kind to be pushed, spilled and/or fall into the equipment through enclosure openings. 22. Unplug the power cord from the AC power outlet when left unused for a long period of time. Repair of Equipment: 23. Refer all servicing to qualified service personnel. Ser- vicing is required when the equipment has been dam- aged in any way, such as power-supply cord or plug is damaged, liquid has been spilled or objects have fallen into the equipment, the equipment has been exposed to rain or moisture, does not operate normally, or has been dropped. 24. Do not attempt to service beyond that described in the operating instructions. All other service should be re- ferred to qualified service personnel. 25. When replacement parts are required, be sure the ser- vice technician has used replacement parts specified by McIntosh or have the same characteristics as the origi- nal part. Unauthorized substitutions may result in fire, electric shock, or other hazards. 26. Upon completion of any service or repairs to this prod- uct, ask the service technician to perform safety checks to determine that the product is in proper operating condition.

Page 31

32 SETUP, cont How to Set the Other Settings Demo This allows viewing of the various On-Screen Operation Icons that will be seen when the DISPLAY Push-button is pressed during disc playback. 1. Press the SETUP Push-button on the Remote Control to access the Setup Disc Menu. Refer to figure 4 on page 18 and figure 8 on page 19. 2. Use the Right or Left directional Push-buttons to select the Others Menu Icon Tab. Refer to figure 43B. 3. Press the SELECT Push-button. Refer to figure 44. 4. Use the Up or Down directional Push-buttons to select the On Button Icon followed by the SELECT Push-button. This will start the On-Screen Demo. 5. To stop the On-Screen Demo press the SELECT Push- button. The MVP851 will return to normal operation. Figure 44 Figure 43B

Page 32

33 How to Operate the MVP851 Your McIntosh MVP851 has been configured for default operating settings that will allow you to immediately enjoy superb video and high fidelity audio from a DVD or CD disc. If you wish to make changes to the default settings, a Setup feature is provided to customize the operating set- tings using On Screen Icon Menus (refer to the Setup in- structions elsewhere in this manual). Most operations that can be performed with the front panel push-buttons can also be performed with the Remote Control. Note: Some of the MVP851 operating functions such as DiscLanguages, Video Angle or Menu Language are active only if the function is supported by data encoded on the disc. Power On Press the POWER switch to ON. The Red LED above the STANDBY/ON switch lights to indicate the MVP851 is in Standby Mode. To turn ON the MVP851, press the STANDBY/ON Push-button. Refer to figure 45. Notes: 1. The POWER Switch is only intended to be switched OFF when the MVP851 is not used for extended periods of time. During normal operation, the POWER Switch should stay in the ON position. Press the STANDBY/ON Push button for switching the MVP851 ON and OFF. When the Power Control Cable is connected to a McIntosh Control Center, A/V Multi zone System Controller or Preamplifier, the MVP851 will automatically switch ON and OFF. 2. The MVP851 will Automatically power down to the Standby Mode 30 minutes after disc playback has stopped. Power to the MVP851 may be restored by pressing the PLAY Push button on the Front Panel or on the Remote Control. How to Load a DVD/CD Disc 1. Press the OPEN/CLOSE Push-button. The disc tray will slide out allowing a disc to be loaded. Refer to fig- ures 45, 46 and 47. How to Operate the MVP851 Note: When the player is in Standby Mode, the MVP851 Power will automatically Switch On when the OPEN/CLOSE Push button is pressed. 2. Press the OPEN/CLOSE Push-button and the disc traywill close. If the tray contains a DVD disc, it will start to play without pressing the PLAY Push-button. When a CD disc is in the tray, the discs table of contents (number of tracks and total playing time) will be indicated on the Front Panel Alpha- numeric Display. Press the PLAY Push-button for playback of a CD. Refer to figures 48, 49, 50 and 51. Note: If a CD is placed in the tray and the PLAY Push button is pressed, instead of the OPEN/CLOSE Push button, the tray will close and the disc will start playing the first track. Figure 46 Figure 51 Figure 50 Figure 49 Figure 47 Figure 48 Figure 45

Page 36

37 How to Operate the MVP851, cont Figure 69 Note: Press the Right directional Push button to highlight the Second Icon from the left, indicating the Elapsed Track Time. Use the Up  or Down  directional Push buttons to select the remaining track or disc time. Access a Specific Time location on a DVD The MVP851 Front Panel and the On-Screen Displays in- dicate the Elapsed Time of the disc. A specific time on the disc may be accessed at any time by performing the fol- lowing steps. Refer to figures 65 and 68. 1. Press the DISPLAY Push-button to access the DVD- Video or DVD-Audio On Screen Icons. 2. Press the Right  directional Push-button to highlight the Third Icon from the left (Clock), which indicates the elapsed time. 3. Using the Numbered Push-buttons enter the desired time, then press the SELECT Push-button. Note: The MVP851 Front Panel and On Screen Icon will display first the entered desired time and then the elapsed time from the beginning of the track with a DVD Audio Disc. How to Set and Activate Markers This feature allows establishing up to five different starting places on a disc where playback can start, other than at the beginning of the disc. Refer to figures 68 and 69.1. Press the DISPLAY Push-button twice to select the second On- Screen Icon. 2. Press the Right  directional Push- button to high- light the Fifth Icon from the left (Tack), which indi- cates the selected markers. 3. While a disc is playing, press the MARKER Push-but- ton at the time on the disc where you wish play to start, other than at the beginning of the disc. The first aster- isk on the left of the On-Screen Icon will change to the number 1. 4. Press the SELECT push-button to place Marker No. 1 in memory. 5. Repeat steps 3 and 4 to enter any additional Markers. Up to five Markers can be stored in memory. Note: If you wish to erase a MARKER, use the Left  or Right  directional Push buttons to select the desired Active Marker and press the CLEAR push button. To start playback from a desired Marker Location perform the following steps: 1. Press the DISPLAY Push-button twice to select the second On-Screen Icon, if not already displayed On- Screen. 2. Press the Right  directional Push-button to highlight the Fifth Icon from the left (Tack), which indicates the selected markers. 3. Using the Left  or Right  directional Push-buttons to select the desired Active Marker Location, then press the SELECT Push-button. 4. Press the DISPLAY Push-button twice to exit the On- Screen Icon. DVD-Video Repeat This allows repeating a DVD Chapter or the entire movie on a continuous basis. Refer to figures 68 and 69. 1. Press the DISPLAY Push-button twice to access the second On Screen Icon. 2. Press the Right  directional Push-button to highlight the Third Icon from the left (Loop). 3. Press the Up  or Down  directional Push-buttons to select the desired Repeat Mode C (Chapter Repeat) or T (Title Repeat). Note: A scrolling text message of the repeat mode status will appear on the Front Panel Alphanumeric Display. 4. Press the DISPLAY Push-button twice to exit the On-Screen Icon. Note: An optional method to activate the Repeat Mode is to press the REPEAT MODE Push button on the Remote Control. DVD-Audio Repeat This allows repeating a DVD Track or Tracks on a continu- ous basis. Refer to figures 68 and 69.1. Press the DISPLAY Push-button twice to access the second On Screen Icon. 2. Press the Right  directional Push-button to highlight the Third Icon from the left (Loop). 3. Press the Up  or Down  directional Push-buttons to select the desired Repeat Mode G (Group Repeat) or T (Title Repeat). Note: A scrolling text message of the repeat mode status will appear on the Front Panel Alphanumeric Display. 4. Press the DISPLAY Push-button twice to exit the On-Screen Icon. Note: An optional method to activate the Repeat Mode is to press the REPEAT MODE Push button on the Remote Control. CD Repeat This feature allows the repeating of a specfic CD Track or

Page 40

41 How to Operate the MVP851, cont Figure 79 Figure 80 11. In a similar manner enter any selection additions tothe remaining six Program Lines. Refer to figure 80. 12. Start the Program Play Mode by pressing the Right  directional Push-button to highlight the PLAY Button Icon and press the SELECT Push- button to start the Program Playback. Note: An entire Playback Program may be Cleared from memory. First press the Right directional Push button followed by pressing the Down  directional Push button and select the highlighted CLEAR ALL Button Icon, then press the SELECT Push button. Pressing the Leftt directional Push button will return to a Program Entry Line. The Playback Program is also Cleared when the disc is removed from the MVP851. 13. To cancel the Program Playback, press the STOP  Push-button twice followed by pressing the PLAY MODE Push-button twice. Then press the Right  directional Push-button followed by pressing the Down  directional Push-button and select the highlighted CLEAR ALL Button Icon. Finally, press the SELECT Push-button. 14. To exit the Program Play Mode press the PLAY MODE Push-button twice. CD Disc Play Mode This feature allows programming the playback of specific Tracks on a CD Disc. It also allows for the random play- back of all Tracks. Note: The Programming of a CD Disc is very similar to the Programing of a DVD Audio Disc; refer to the previous pages. Program Playback of a Specific Track(s): 1. Press the PLAY MODE Push-button once to access the Program Play Mode. Refer to figure 81 on the next page. Note: The Front Panel Alphanumeric Display will indicate P and a flashing 1. 2. Press the SELECT Push-button and the ProgramLine 1 Track Column will be highlighted with a flashing 1 and arrows above/below it. 3. Press the Up  or Down  directional Push-buttons or use the Numbered Push-buttons to select the de- sired Track Number on the disc. Note: One of the choices for the Track Number is All, which would include all the Tracks on a disc. If an undesired choice has been made it can be Cleared from memory. First press the Right directional Push button followed by pressing the Down  directional Push button Figure 78