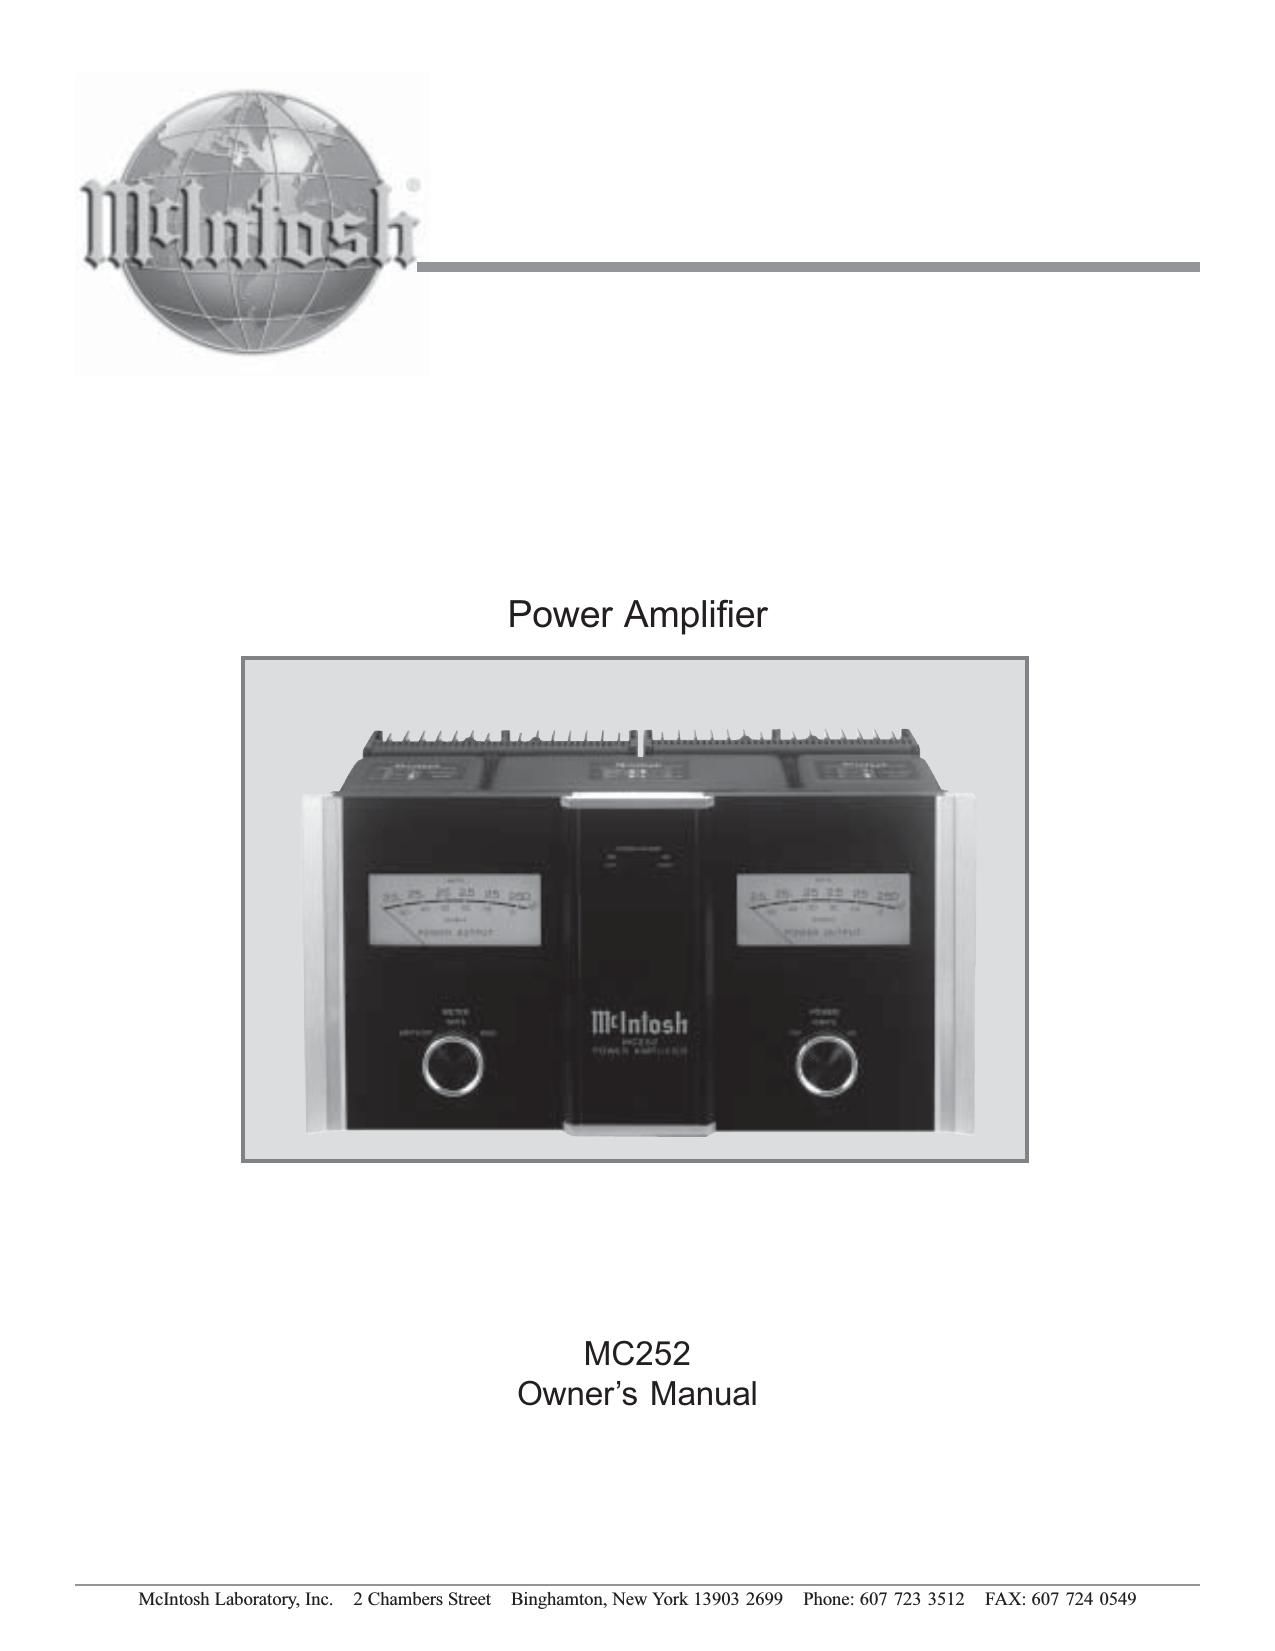
McIntosh MC 252 Owners Manual

This is the 24 pages manual for McIntosh MC 252 Owners Manual.
Read or download the pdf for free. If you want to contribute, please mail your pdfs to info@audioservicemanuals.com.

Page: 1 / 24
left right
McIntosh MC 252 Owners Manual

Extracted text from McIntosh MC 252 Owners Manual (Ocr-read)


Page 1

2 IMPOR T ANT SAFETY INSTRUCTIONS! PLEASE READ THEM BEFORE OPERATING THIS EQUIPMENT. WARNING - TO REDUCE RISK OF FIRE OR ELECTRICAL SHOCK, DO NOT EXPOSE THIS EQUIPMENT TO RAIN OR MOISTURE. The lightning flash with arrowhead, within an equilateral triangle, is intended to alert the user to the presence of uninsulated dangerous voltage within the products enclosure that may be of sufficient magnitude to constitute a risk of electric shock to persons. NO USER-SERVICEABLE PARTS INSIDE. REFER SERVICING TO QUALIFIED PERSONNEL. To prevent the risk of electric shock, do not remove cover or back. No user serviceable parts inside. The exclamation point within an equi- lateral triangle is intended to alert the user to the presence of important operating and maintenance (servic- ing) instructions in the literature ac- companying the appliance. 1. Read these instructions. 2. Keep these instructions. 3. Heed all warnings. 4. Follow all instructions. 5. Do not use this apparatus near water. 6. Clean only with a dry cloth. 7. Do not block any ventilation openings. Install in accordance with the manufacturers instructions. 8. Do not install near any heat sources such as radiators, heat registers, stoves, or other apparatus (including amplifiers) that produce heat. 9. Do not defeat the safety purpose of the polarized or grounding-type plug. A polarized plug has two blades with one wider than the other. A grounding type plug has two blades and a third grounding prong. The wide blade or the third prong are provided for your safety. If the provided plug does not fit into your outlet, consult an electrician for replacement of the obsolete outlet. 10. Protect the power cord from being walked on or pinched particularly at plugs, convenience receptacles, and the point where they exit from the apparatus.11. Only use attachments/accessories specified by the manufacturer. 12. Use only with the cart, stand, tripod, bracket, or table specified by the manufacturer, or sold with the apparatus. When a cart is used, use caution when moving the cart/apparatus combination to avoid injury from tip-over. 13. Unplug this apparatus during lightning storms or when unused for long periods of time. 14. Refer all servicing to qualified service personnel. Servicing is required when the apparatus has been damaged in any way, such as power-supply cord or plug is damaged, liquid has been spilled or objects have fallen into the apparatus, the apparatus has been exposed to rain or moisture, does not operate normally, or has been dropped. 15. Do not expose this equipment to dripping or splashing and ensure that no objects filled with liquids, such as vases, are placed on the equipment. 16. To completely disconnect this equipment from the a.c. mains, disconnect the power supply cord plug from the a.c. receptacle. 17. The mains plug of the power supply cord shall remain readily operable.

Page 2

3 Customer Service Technical Assistance Please Take A Moment Thank You Copyright 2003  by McIntosh Laboratory, Inc. The serial number, purchase date and McIntosh Dealer name are important to you for possible insurance claim or future service. The spaces below have been provided for you to record that information: Your decision to own this McIntosh MC252 Power Ampli- fier ranks you at the very top among discriminating music listeners. You now have The Best. The McIntosh dedica- tion to Quality, is assurance that you will receive many years of musical enjoyment from this unit. Please take a short time to read the information in this manual. We want you to be as familiar as possible with all the features and functions of your new McIntosh. Serial Number: Purchase Date: Dealer Name: If it is determined that your McIntosh product is in need of repair, you can return it to your Dealer. You can also return it to the McIntosh Laboratory Service Department. For as- sistance on factory repair return procedure, contact the McIntosh Service Department at: McIntosh Laboratory, Inc. 2 Chambers Street Binghamton, New York 13903 Phone: 607-723-3515 Fax: 607-723-1917 If at any time you have questions about your McIntosh product, contact your McIntosh Dealer who is familiar with your McIntosh equipment and any other brands that may be part of your system. If you or your Dealer wish addi- tional help concerning a suspected problem, you can re- ceive technical assistance for all McIntosh products at: McIntosh Laboratory, Inc. 2 Chambers Street Binghamton, New York 13903 Phone: 607-723-1545 Fax: 607-723-3636 Table of Contents Important Information Caution: The MC252 Amplifier weight is 94.5 pounds (42.87 kilograms). It requires two or more persons to safely handle when moving the amplifier. 1. The following Connecting Cable is available from the McIntosh Parts Department: Power Control Cable Part No. 170-202 Six foot, 2 conductor shielded, with two 1/8 inch stereo mini phone plugs. 2. For additional connection information, refer to the owner s manual(s) for any component(s) connected to the MC252. 3. The MC252 mutes the speaker outputs for approximately two seconds when first turned on. 4. It is very important that loudspeaker cables of adequate size be used, so that there will be no power loss. The size is specified in Gauge Numbers or AWG, (American Wire Gauge). The smaller the Gauge number, the larger the wire size: If your loudspeaker cables are 50 feet (38.1m) or less, use at least 14 Gauge. If your loudspeaker cables are 100 feet (76.2m) or less, use at least 12 Gauge. 5. In the event the MC252 over heats, due to improper ventilation and/or high ambient temperature, the protection circuits will activate. The Power Guard LED will stay ON and the audio will be muted. When the MC252 has returned to a safe operating temperature, normal operation will resume. Safety Instructions............................................................ 2 Thank You and Please Take a Moment............................. 3 Technical Assistance and Customer Service.................... 3 Table of Contents and Important Information .................. 3 Connector Information..................................................... 4 Introduction ...................................................................... 4 Performance Features....................................................... 4 Dimensions ....................................................................... 5 Installation ........................................................................ 6 Top Panel Connections and Switch .................................. 7 How to Connect in Stereo ................................................. 8 How to Connect in Mono Bridged Mode....................... 10 How to Connect in Mono Bi-Amp (Parallel) ................. 12 Front Panel Displays and Controls ................................. 14 How to Operate............................................................... 15 Technical Description..................................................... 16 Notes ............................................................................... 20 Specifications ................................................................. 22 Packing Instruction ......................................................... 23

Page 11

12 Caution: The supplied AC Power Cord should not be connected to the Rear Panel of the MC252 Amplifier until after the Loudspeaker Connections have been made and the supplied protective Terminal Connection Covers have been installed. Failure to observe this could result in Electric Shock. There are two different ways of operating the MC252 mon- aurally, Mono Bridged Mode and Mono Bi-Amp (Parallel) Mode. The Mono Bridge Mode allows for Loudspeakers of 4S (ohm), 8S (ohm) or 16S (ohm) impedance to be con- nected to the MC252. The Mono Bi-Amp (Parallel) Mode allows for Loudspeakers of 1S (ohm), 2S (ohm) or 4S (ohm) impedance to be connected to the MC252. Choose the appropriate Mono Mode determined by the impedance of your Loudspeakers. If the Mono Bridge Mode is appropriate for the Loudspeakers, proceed to page 10 for proper connections. 1. For Remote Power Control, connect a power control cable from the Control Center or Preamplifier Power Control Out to the MC252 Power Control In. 2. Connect cables from the Unbalanced Output of a McIn- tosh Preamplifier or Control Center to the MC252 R/MONO Unbalanced Input. Note: An optional hookup is to use balanced cables. 3. The MC252 Mono Bi-Amp (Parallel) Mode of Opera- tion requires a Hookup Cable and jumper wires for con- nection to the Power Amplifier Output Terminals; two 22 inch (55.88 cm) Jumper wires, and one Loudspeaker Hookup Cable cut to the desired length. Prepare the cable and wires by choosing one of the methods below: Bare wire cable ends: Carefully remove suffi- cient insulation from the cable/wire ends, refer to figures 1, 2 & 3. If the cable/wire is stranded, carefully twist the strands together as tightly as possible. Note: If desired, the twisted ends can be tinned with solder to keep the strands together, or attach spade lug and/or banana connector. Spade lug or prepared wire connection: Insert the spade lug connector or prepared section of the cable/wire end into the termi- nal side access hole, and tighten the termi- nal cap until the cable/wire is firmly clamped into the terminal so they cannot slip out. Refer to figures 4, 5 & 6. Banana plug connection: Insert the banana plug into the hole at the top of the terminal. Tighten the top portion of the terminal post and the set screw to secure the banana plug in place. Refer to figures 7 and 8. Note: The use of Banana Plugs is for use in the United States and Canada only. 4. Refer to the Mono Bi-Amp (Parallel) Hookup Con- nections Chart on the next page for making the fol- lowing connections. 5. Insert the Loudspeaker Hookup Cable Ends through the opening of both supplied Terminal Connection Covers and connect the one of prepared Jumper Wire between the two - Output Terminals and the other Jumper Wire between the two appropriate Impedance + Output Terminals. Connect the Loudspeaker hookup cable to appropriate output terminals based on the im- pedance of the Loudspeaker (1S [ohm], 2S [ohm] or 4S [ohm]), being careful to observe the correct polari- ties. If the Loudspeakers impedance is in-between the available connections, use the nearest lower impedance connection. WARNING: Loudspeaker terminals are hazardous live and present a risk of electric shock. For Terminal Connection Covers Cover Mounting Screw LocationsCable Openings Figure 9 Cover Mounting Screw Location How to Connect in Mono Bi-Amp (Parallel) Mode