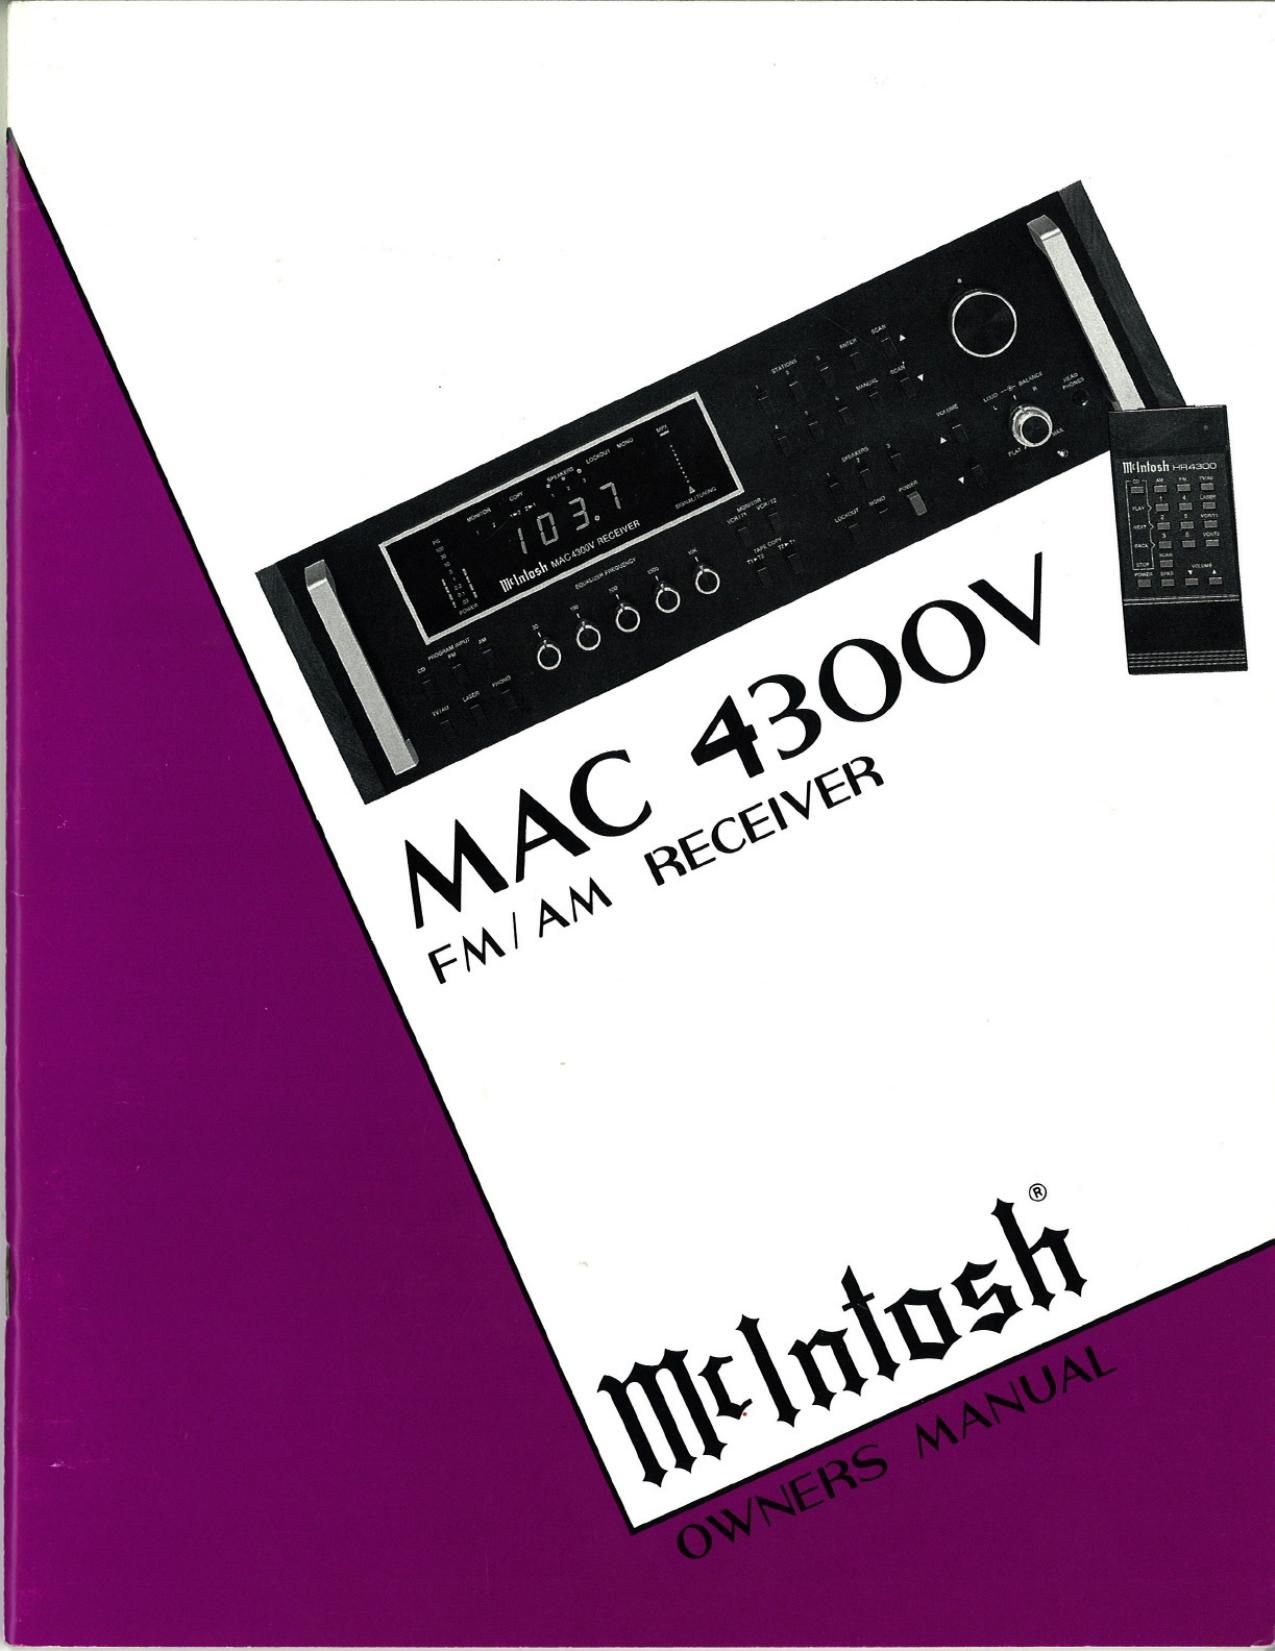
McIntosh MAC 4300V Owners Manual

This is the 31 pages manual for McIntosh MAC 4300V Owners Manual.
Read or download the pdf for free. If you want to contribute, please mail your pdfs to info@audioservicemanuals.com.

Page: 1 / 31
left right
McIntosh MAC 4300V Owners Manual

Extracted text from McIntosh MAC 4300V Owners Manual (Ocr-read)


Page 2

THESE INSTRUCTIONS ARE TO PRO-
TECT YOU AND THE McINTOSH IN-
STRUMENT. BE SURE TO FAMILIARIZE
YOURSELF WITH THEM.

1. Read all instructions - Read the safety and oper-
ating instructions before operating the instrument.

2. Retain Instructions - Retain the safety and oper-
ating instructions for future reference.

3. Heed warnings - Adhere to warnings and oper-
ating instructions.

4. Follow Instructions - Follow all operating and use
instructions.

WARNING: TO REDUCE RISK OF FIRE OR ELEC-
TRICAL SHOCK, DO NOT EXPOSE THIS INSTRU-
MENT TO RAIN OR MOISTURE.

5. Power Sources - Connect the power supply only to
the type described in the operating instructions or
as marked on the unit.

6. Power-Cord Protection - Route power-supply cords
so that they are not likely to be walked on or pin-
ched by items placed upon or against them, pay-
ing particular attention to cords at plugs, conve-
nience receptacles, and the point where they exit
from the instrument.

7. Ventilation - Locate the instrument for proper ven-
tilation. For example, the instrument should not be
placed on a bed, sofa, rug, or similar surface that
may block ventilation openings; or, placed in a
built-in installation, such as a bookcase or cabinet,
that may impede the flow of air through the ven-
tilation openings.

8. Heat - Locate the instrument away from heat
sources such as radiators, heat registers, stoves, or
other appliance (including amplifiers) that produce
heat.

9. Wall or Cabinet Mounting - Mount the instrument
in a wall or cabinet only as described in the
owners manual.

10. Water and Moisture - Do not use the instrument
near water - for example, near a bathtub,
washbowl, kitchen sink, laundry tub, in a wet
basement, or near a swimming pool, etc.

11. Cleaning - Clean the instrument by dusting with a
dry cloth. Clean the panel with a cloth moistened
with a window cleaner.

12. Object and Liquid Entry - Do not permit objects to
fall and liquids to spill into the instrument through
enclosure openings.

SERVICE ENTRANCE
EoulquNr

Down «We:
ORMNDIIR EuCVlDD! tum
mg, Inuml mul um pip.)

13.

14.

IMPORTANT SAFETY INSTRUCTIONS


rowan nus:

:EIvlc:
sumac:
CONWETIDI. .

AND-O
msuumn

ANTENNA
Lun IN writ:

vo llTllNAL manna
woman 0! uonucv

clown
anouun "*5


_ANV!NMA
alumnae umr

onouun
writ:

"h
- MWND
' r CLAW:

«lawman summon:
IONDING :|._ DIWIN I rent: um
JUMPER ,. mo m: utml IF

u Quinn Iv

u LOOAL can: see
Nlc IlcTION "on

Power Lines - Locate any outdoor antenna away
from power lines.

Outdoor Antenna Grounding - If an outdoor
antenna is connected to the antenna terminal, be
sure the antenna system is grounded to provide
some protection against voltage surges and built
up static charge.

in the U.S.A., section 810 of the National Electrical
Code, ANSI/NFPA No. 70-1987, provides informa-
tion on the proper ground for the mast and sup-
porting structure, ground for the lead-in wire to an
antenna discharge unit, and size of ground con-
ductors, location of antenna-discharge unit, con-
nection to grounding electrodes, and requirements
for the grounding electrode.

For ground wire:

a) Use No. 10 AWG (5.3 mm?) copper No. 8 AWG
(8.4 mm) aluminum, No. 17 AWG (1.0 mm)
copper-clad steel, bronze wire, or larger as ground
wire.

b) Secure antenna lead-in and ground wires to
house with stand-off insulators spaced from 4 feet
(1.22 meters) to 6 feet (1.83 meters) apart.

c) Mount antenna discharge unit as closely as
possible to where lead-in enters house.

d) Use jumper wire not smaller than No. 6 AWG
(13.3 mmz) copper or equivalent when separate
antenna grounding electrode is used.

Page 27

Following the PLL MPX decoder a dual LC tuned
notch filter is used to prevent bias interference to
tape recorders. It is terminated to provide the
necessary filter input and output impedances for the
best phase response.

AM TUNER

Push terminals are provided for the AM antenna.
Due to the unusual design of the AM RF input sec-
tion, almost any type of antenna can be used.

The first element in the AM input section is band-
pass filter. It passes all the AM broadcast stations
and rejects others. A J FET-Transistor cascode
amplifier follows. This amplifier, with its J FET input
stage, provides excellent sensitivity and spurious
response rejection. It also has a delayed AGC system
that does not degrade the overload performance
margin.

Two varactor tuned circuits and a double balanced
mixer are next. This type of mixer has excellent im»
age and IF rejections.

The mixer's 455kHz output feeds a matching
transformer for the following wide band linear phase
piezoelectric 4 element lattice filter, then the IF
amplifier, another transformer, and finally the AM
detector, filter and muting circuits. The AM also has
a quadrature detector to derive the zero crossing
signal for the tuning controller.

ANTENNA INPUTS

FM - The MAC4300V is provided with a 75 ohm
coaxial antenna input. It is a standard F" connector
that mates with most common antenna and cable
service feedlines. This type of input combines low
loss with interference-rejecting shielding.

A matched dipole antenna is provided for average
reception. However, optimum performance is obtain-
ed with an outdoor highly directional beam antenna
and rotator.

Although a 75 ohm coaxial feedline offers the best
noise and multipath rejection, many antennas use
300 ohn twinlead. If this is the case, a matching
transformer (balum) can be used. They are inexpen-
sive and readily available.

AM - The AM antenna input on the MAC4300V is
unusual in that it will accept almost any type of
antenna. In a location of moderate signal strangth
and little interference (few flourescent lights, motors,
TV sets, etc.) a piece of wire 6 feet long will give
good performance. In a rural area an outdoor long-
wire might be desirable. However, the best overall

26 TECHNICAL DESCRIPTION

preformance can be obtained by using a shielded
loop antenna.

To construct a shielded loop antenna, use single
conductor shielded wire, microphone cable, coaxial
cable, etc., and arrange it in a loop. The loop may be
attached around the frame of a window under the
curtain or on the back of the equipment cabinet or a
table. Signal strength is proportional to the area of
the loop. The larger the loop the stronger the signal.
The center conductor (wire) and the shield are strip-
ped of insulation, tied together at one end, and con-
nected to the GROUND push connector. At the
other end of the loop, the insulation is removed and
ONLY the center conductor is connected to the
antenna push terminal. The shield must NOT be con-
nected to anything at this end.

The shielded loop is a bi-directional antenna. Its
maximum signal pickup occurs when the stations
transmitting antenna lies in the same plane as the
loop. Minimum signal pickup is perpendicular to the
plane of the loop. This characteristic can be used to
advantage by arranging the loop so that an un-
wanted signal, noise or interfering station, is in the
loop null.

AUDIO INPUT SWITCHING

The MAC4300V has electronic input switches. This
low noise system employs cascaded FETs at the input
jacks to select program sources. This keeps input
leads short to provide better source isolation, less
hum and noise pickup and freedom from stray RF
interference.

PHONO AMPLIFIER

The phono amplifier uses a high technology in-
tegrated Circuits operational amplifier. Its differential
input stage has been optimized for low noise and
low distoriton performance. The integrated circuits
open loop gain is 100,000. With high open loop gain
a large amount of negative feedback can be used
around the phono amplifier to further reduce noise
and distortion. The feedback network, provides in
addition, RlAA frequency compensation. Com-
ponents in the network are 1% metal film resistors
and 5% polypropylene film capacitors.

The phono amplifier has a very wide dynamic
range. At 1000Hz the phono input circuit will accept
90 millivolts. This is a voltage far greater than the
output of any currently used magnetic phono car-
tridge, assuring protection from overload. 10
millivolts at the phono input at 1000Hz will produce