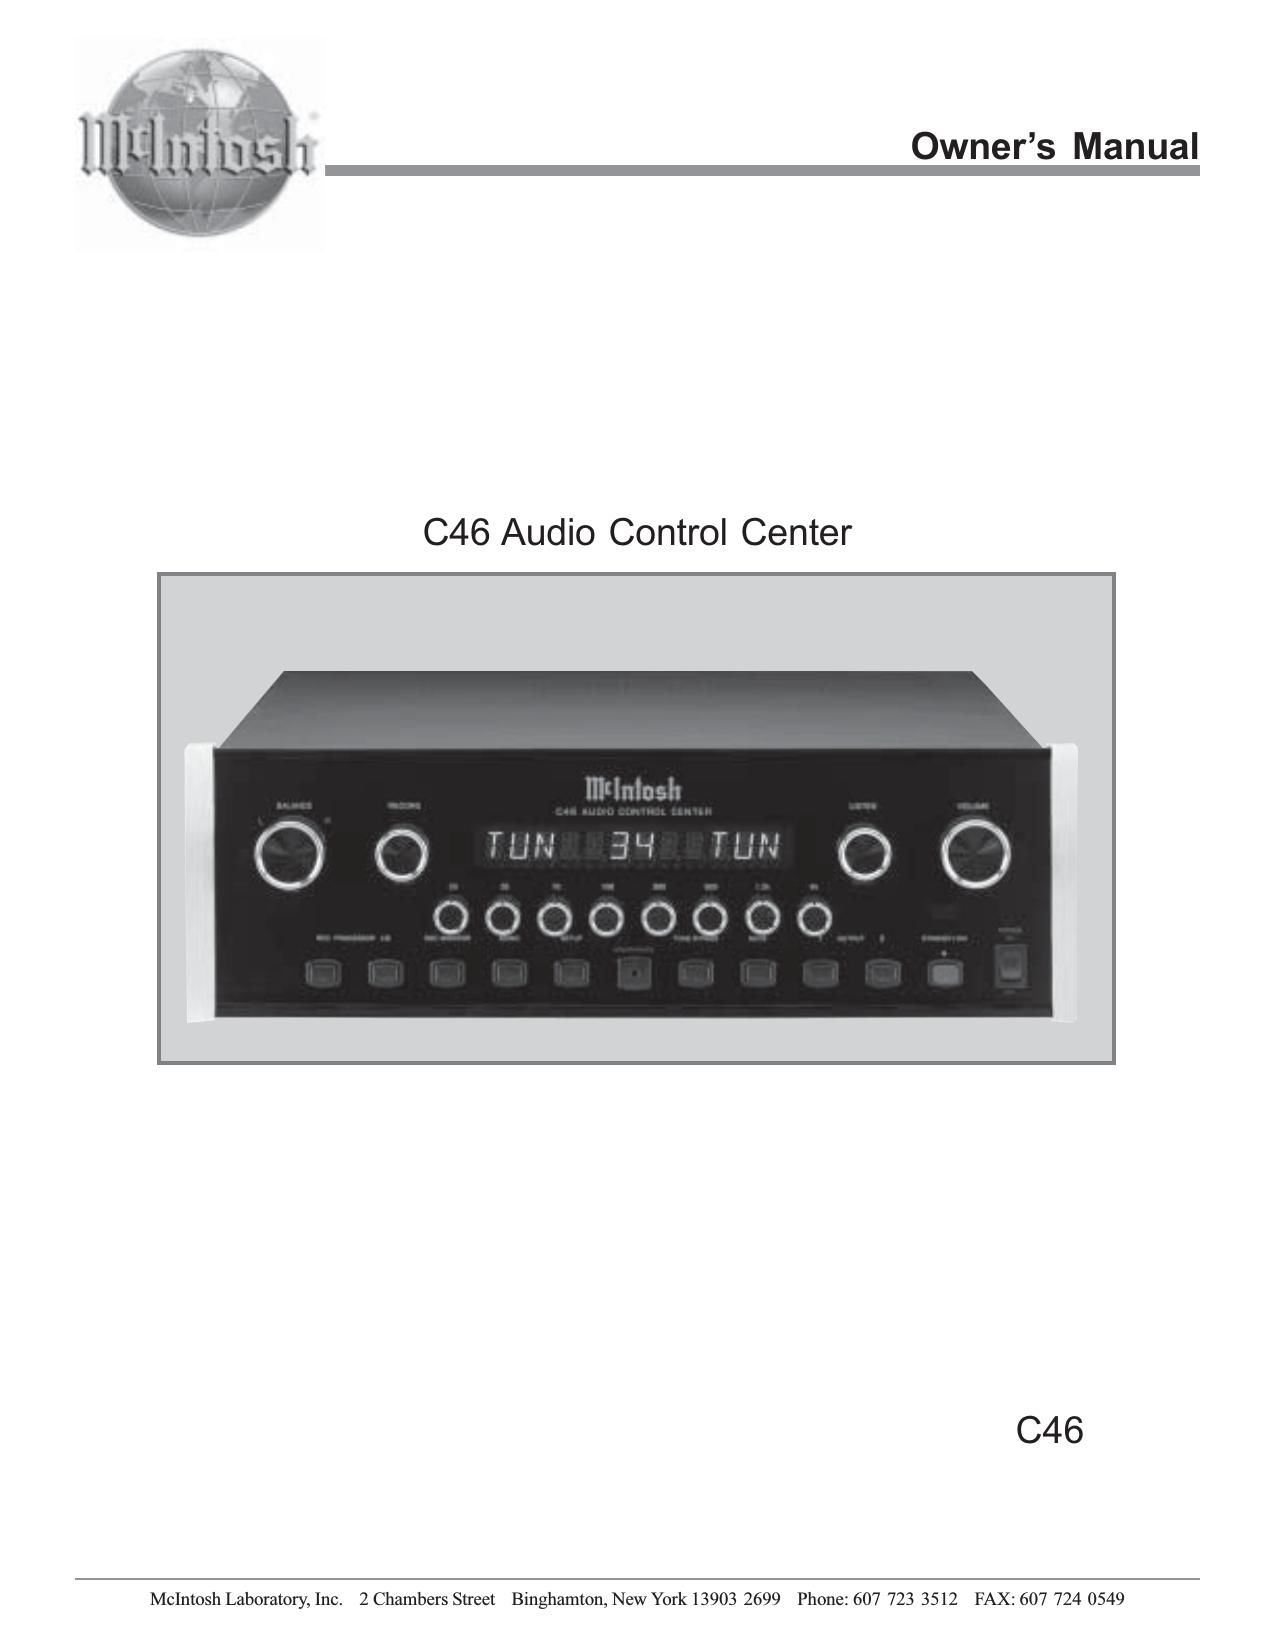
McIntosh C 46 Owners Manual

This is the 24 pages manual for McIntosh C 46 Owners Manual.
Read or download the pdf for free. If you want to contribute, please mail your pdfs to info@audioservicemanuals.com.

Page: 1 / 24
left right
McIntosh C 46 Owners Manual

Extracted text from McIntosh C 46 Owners Manual (Ocr-read)


Page 1

2 IMPOR T ANT SAFETY INSTRUCTIONS! PLEASE READ THEM BEFORE OPERATING THIS EQUIPMENT. WARNING - TO REDUCE RISK OF FIRE OR ELECTRICAL SHOCK, DO NOT EXPOSE THIS EQUIPMENT TO RAIN OR MOISTURE. The lightning flash with arrowhead, within an equ lateral triangle, is intended to alert the user to the presence of uninsulated dangerous voltage within the products enclosure that may be of sufficient mag- nitude to constitute a risk of electric shock to persons. NO USER-SERVICEABLE PARTSINSIDE. REFER SERVICING TO QUALIFIED PERSONNEL. To prevent the risk of electric shock, do not remove cover or back. No user serviceable parts inside. The exclamation point within an equi- lateral triangle is intended to alert the user to the presence of important op- erating and maintenance (servicing) instructions in the literature accompa- nying the appliance. General:1. Read these instructions. 2. Keep these instructions. 3. Heed all warnings. 4. Follow all instructions. 5. Warning: To reduce risk of fire or electrical shock, do not expose this equipment to rain or moisture. This unit is capable of producing high sound pres- sure levels. Continued exposure to high sound pres- sure levels can cause permanent hearing impairment or loss. User caution is advised and ear protection is recommended when playing at high volumes. 6. Caution: to prevent electrical shock do not use this (polarized) plug with an extension cord, receptacle or other outlet unless the blades can be fully inserted to prevent blade exposure. Attention: pour pevenir les chocs elecriques pas utiliser cette fiche polarisee avec un prolongateur, une prise de courant ou un autre sortie de courant, sauf si les lames peuvent etre inserees afond ans en laisser aucune partie a decouvert. 7. Unplug this equipment during lightning storms or when unused for long periods of time. 8. Only use attachments/accessories specified by the manufacturer. Installation:9. The equipment shall be installed near the AC Socket Outlet and the disconnect device shall be easily acces- sible. 10. Do not block any ventilation openings. Install in accor- dance with the manufacturers instructions. 11. Do not install near any heat sources such as radiators, heat registers, stoves, or other equipment (including am- plifiers) that produce heat. 12. Do not use this equipment near water. 13. Do not expose this equipment to dripping or splashing and ensure that no objects filled with liquids, such as vases, are placed on the equipment. 14. Use only with the cart, stand, tripod, bracket, or table specified by the manu- facturer, or sold with the equipment. When a cart is used, use caution when moving the cart/equipment combination to avoid injury from tip-over. Connection: 15. Connect this equipment only to the type of AC power source as marked on the unit. 16. Protect the power cord from being walked on or pinched particularly at plugs, convenience receptacles, and the point where they exit from the equipment. 17. Do not defeat the safety purpose of the polarized or grounding-type plug.

Page 2

3 Customer Service Technical Assistance Please Take A Moment Thank You Copyright 2002  by McIntosh Laboratory, Inc. The serial number, purchase date and McIntosh Dealer name are important to you for possible insurance claim or future service. The spaces below have been provided for you to record that information: Your decision to own this McIntosh C46 Audio Control Center ranks you at the very top among discriminating mu- sic listeners. You now have The Best. The McIntosh dedi- cation to Quality, is assurance that you will receive many years of musical enjoyment from this unit. Please take a short time to read the information in this manual. We want you to be as familiar as possible with all the features and functions of your new McIntosh. Serial Number: Purchase Date: Dealer Name: If it is determined that your McIntosh product is in need of repair, you can return it to your Dealer. You can also return it to the McIntosh Laboratory Service Department. For as- sistance on factory repair return procedure, contact the McIntosh Service Department at: McIntosh Laboratory, Inc. 2 Chambers Street Binghamton, New York 13903 Phone: 607-723-3515 Fax: 607-723-1917 If at any time you have questions about your McIntosh product, contact your McIntosh Dealer who is familiar with your McIntosh equipment and any other brands that may be part of your system. If you or your Dealer wish additional help concerning a suspected problem, you can receive tech- nical assistance for all McIntosh products at: McIntosh Laboratory, Inc. 2 Chambers Street Binghamton, New York 13903 Phone: 607-723-1545 Fax: 607-723-3636 A polarized plug has two blades with one wider than the other. A grounding type plug has two blades and a third grounding prong. The wide blade or the third prong are provided for your safety. If the provided plug does not fit into your outlet, con- sult an electrician for replacement of the obsolete outlet. 18. Do not overload wall outlets, extension cords or inte- gral convenience receptacles as this can result in a risk of fire or electric shock. 19. To completely disconnect this equipment from the AC Mains, disconnect the power supply cord plug from the AC receptacle. Care of Equipment: 20. Clean only with a dry cloth. 21. Do not permit objects or liquids of any kind to be pushed, spilled and/or fall into the equipment through enclosure openings. 22. Unplug the power cord from the AC power outlet when left unused for a long period of time. Repair of Equipment: 23. Refer all servicing to qualified service personnel. Ser- vicing is required when the equipment has been dam- aged in any way, such as power-supply cord or plug is damaged, liquid has been spilled or objects have fallen into the equipment, the equipment has been exposed to rain or moisture, does not operate normally, or has been dropped. 24. Do not attempt to service beyond that described in the operating instructions. All other service should be re- ferred to qualified service personnel. 25. When replacement parts are required, be sure the ser- vice technician has used replacement parts specified by McIntosh or have the same characteristics as the origi- nal part. Unauthorized substitutions may result in fire, electric shock, or other hazards. 26. Upon completion of any service or repairs to this prod- uct, ask the service technician to perform safety checks to determine that the product is in proper operating con- dition.

Page 12

13 How to Operate the Setup Mode This McIntosh C46 has been factory configured for imme- diate use without the need for adjustments. Changes can be made to the default settings. A Setup Feature is provided to customize the operating settings using the Front Panel Al- phanumeric Display. Refer to page 12.1. Press the POWER Switch to ON, the Red LED above the STANDBY/ON Push-button lights to indicate the C46 is in Standby mode. To switch On the C46, press the STANDBY/ON Push-button. 2. Press the C46 Front Panel SETUP Push-button. The LED above the SETUP Push-button will illuminate and the Front Panel Alphanumeric Display will indicate DISPLAY 10. Refer to figure 1. Note: The Front Panel Display will indicate DISPLAY 10 the first time. After the first time, it will display whatever Setup Mode Menu Item was last accessed. 3. Rotate the Front Panel BALANCE (Menu) Control andnotice that the Setup Mode advances through different adjustment selections and one informational display. Note: The C46 Front Panel Controls used during setup may require clockwise or counterclockwise rotation to access all options. 4. To exit from a specific Setup Mode, press the SETUPPush-button. The LED above the SETUP Push-button will extinguish and the Front Panel Display will revert back to its normal display. Refer to figure 2. Default Settings Display Brightness How to Operate the Setup Mode Text Display Options There are two choices for displaying the Input Names on Front Panel Alphanumeric Display, TEXT FULL or TEXT SHORT. The TEXT FULL Mode displays the Volume Set- ting together with the name of the Listen Input Selected. Re- fer to figure 3. The TEXT SHORT Mode displays the name of Record Input Selected, the Volume Setting and the name of the Listen Input Selected. Refer to figure 4. 1. Press the SETUP Push-button to access the Setup Mode. 2. Rotate the BALANCE Control Knob until the words TEXT FULL appears. Refer to figure 5. 3. Rotate the LISTEN Switch Knob until the display indi- cates TEXT SHORT. Refer to figure 6. 4. Press the SETUP Push-button to exit the Setup Mode. The following listings indicate the default settings and the page number for instructions on how to change a setting. Setup Function Name Setting Page Number Alphanumeric Display Brightness 10 13 Text Length Full 13 Trim (Input Level) 00 14 Input: 14 Number Title 1 ........................ AUX 2 ........................ TUNER 3 ........................ CD 4 ........................ CD2 5 ........................ DVD 6 ........................ SAT 7 ........................ VCR 8 ........................ TAPE Volume Di splay Percentage 15 Auto Tone Off 15 Remote (Control Type) Normal 15 Version (C46 Firmware) . 15 The Front Panel Alphanumeric DISPLAY Brightness may be varied from 1 (Dim) to 15 (Bright). Follow the steps be- low for changing the brightness. Refer to figure 1. 1. Press the SETUP Push-button to access the Setup Mode. 2. Rotate the Front Panel BALANCE (Menu) Control un- til the word DISPLAY 10 appears. 3. Rotate the LISTEN Control until the desired Display Brightness is achieved. 4. Press the SETUP Push-button to exit the Setup Mode. Figure 2 Figure 1 Figure 4 Figure 5 Figure 6 Figure 3

Page 19

20 How To Make A Tape Recording The separate RECORD and LISTEN Controls allow you to make a tape recording from one program source while lis- tening to another. You can also listen (monitor) to the re- corded signal off the tape, a fraction of a second later, dur- ing recording when a three head tape recorder is used. You can also listen to the signal being fed to the tape recorder by pressing the REC MONITOR Push-button. Refer to figure 28. 1. Select the desired program source to record with the Front Panel RECORD Control. 2. Adjust the record level using the Recorder Volume Con- trol. 3. To listen to the signal being fed to the recorder, press the REC (Record) MONITOR Push-button. 4. To listen to the tape playback of the program source just recorded, rotate the LISTEN Control to the desired in- put. Note: The C46 RECORD OUTPUTS are not affected by the VOLUME or BALANCE controls. To listen to a different program source while recording, rotate the LISTEN Control to the desired source. The recording process will not be affected and will continue. Reset of Microprocessors In the event that the controls of the C46 stop functioning, switch the POWER Switch to the Off Position and wait Figure 28 about three minutes. Press the POWER Switch to the ON position and press the STANDBY/ON Push-button. This will reset the C46 microprocessors. Note: The above condition is usually caused by either interruptions in AC power and/or major changes in voltage. Default Settings To restore the C46 to Factory Default Settings perform the following. Press and hold the LISten Push-button together with the OUTPUTS 2 Push-button. Refer to figure 28. Ap- proximately 5 seconds after holding in the two Front Panel Push-buttons together, the Front Panel Alphanumeric Dis- play will indicate MASTER RESET. Refer to figure 29. Release both Push-buttons and the Front Panel Alphanu- meric Display will now indicate -- CLEARED - - and the C46 will switch Off. Refer to figure 30. Press the STANDBY/ON Push-button on the C46 and pro- ceed to the Setup on page 13 to re-enter the custom settings that have been previously made. How to Operate the C46, cont Figure 29 Figure 30