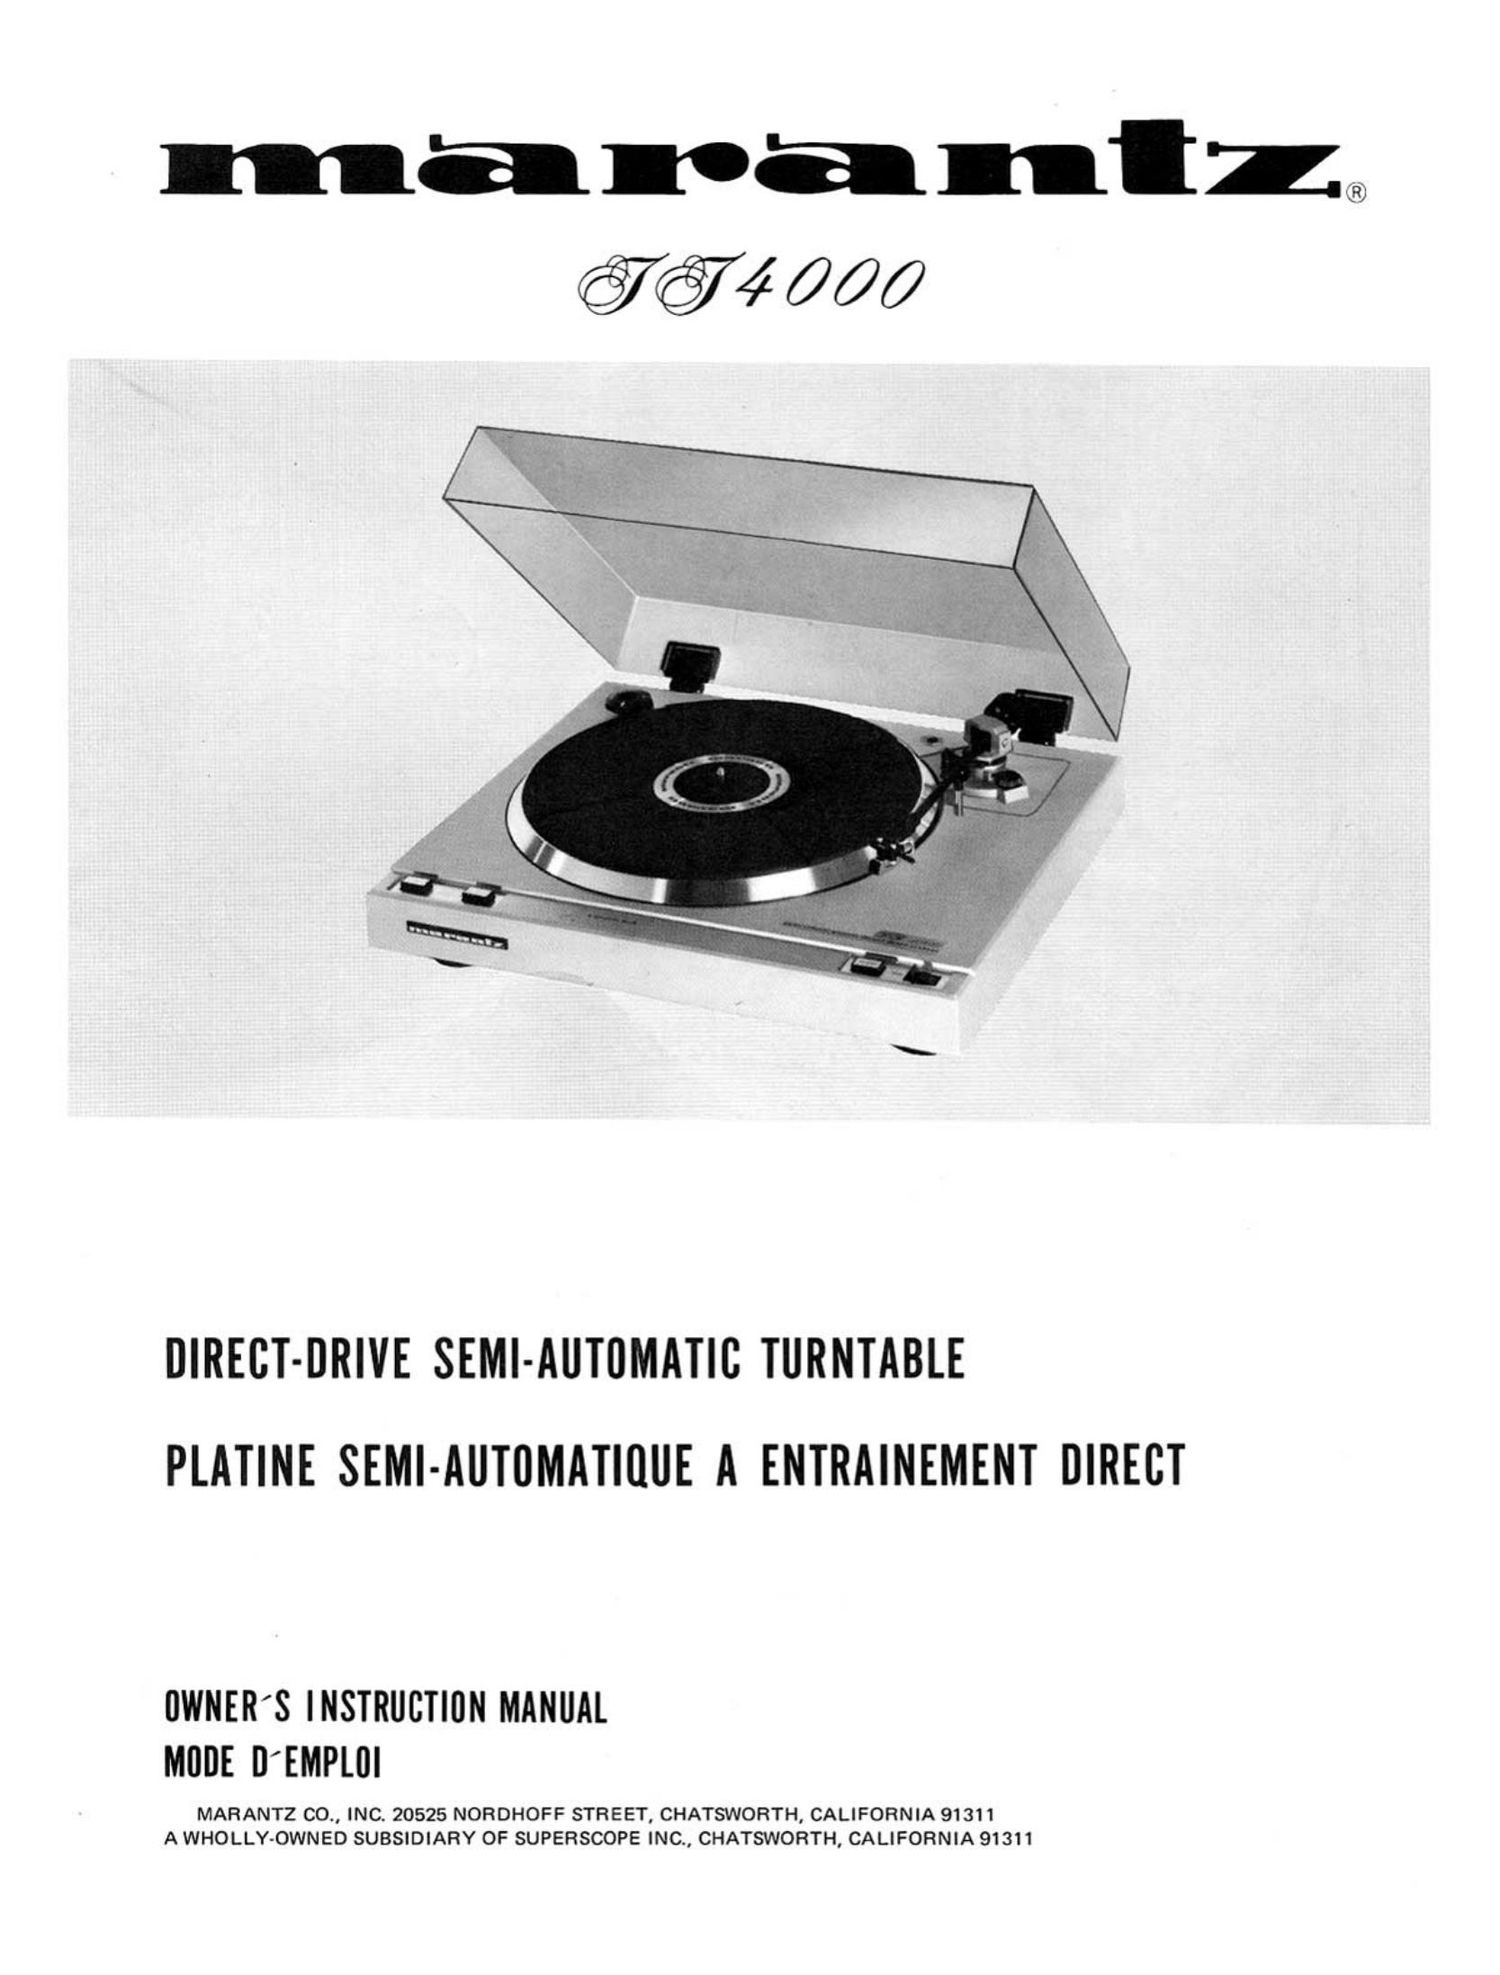
Marantz TT 4000 Owners Manual

This is the 8 pages manual for Marantz TT 4000 Owners Manual.
Read or download the pdf for free. If you want to contribute, please mail your pdfs to info@audioservicemanuals.com.

Page: 1 / 8
left right
Marantz TT 4000 Owners Manual

Extracted text from Marantz TT 4000 Owners Manual (Ocr-read)


Page 1

ma 10a nulls;

DIRECT-DRIVE SEMI-AUTUMATIC TURNTABLE
PLATINE SEMI-AUTIIMATIIIUE A ENTRAINEMENT DIRECT

flWNERS INSTRUCTION MANUAL
MODE DEMPLUI

MARANTZ CO., INC. 20525 NORDHOFF STREET, CHATSWORTH, CALIFORNIA 91311
A WHOLLY-OWNED SUBSIDIARY OF SUPERSCOPE |NC., CHATSWORTH, CALIFORNIA 91311

Page 2

INTRODUCTION

Please read this owner's manual thoroughly to ensure
correct setup and operation of your new turntable.

DESIGNATION OF PARTS

INTRODUCTION

Avant tout, lisez ce manuel avec attention. Vous serez ainsi
certain d'installer et d'utiliser correctement votre nouvelle

platine.

INDEX DE REFERENCE

1. Socket for Optional Extra 10. Reject Button
Headshell 1 1. Speed Selector Switches

2. Counterweight 12. Platter Mat

3. Counterweight Dial 13. Turntable Spindle

4. Anti-skate Control 14. Platter

5. Tonearm Rest & Lock 15. 45 RPM Adaptor

6. Tonearm

7. Headshell

8. Manual Arm Lifter

9. Cueing Lever

ASSEMBLY

1. Remove turntable, platter mat, counterweight, and
headshell from the package. These parts are packed
separately in the carton.

Attach dust cover and hinges at the rear of the cabinet.
Install the platter over the turntable spindle carefully.
Lay the platter mat evenly over the platter.

Insert the counterweight onto the rear of the tonearm
shaft and screw it inwards until it reaches mid position.

919.00!

WARNING:
TO PREVENT FIRE OR SHOCK HAZARD, DO NOT
EXPOSE THIS APPLIANCE TO RAIN OR MOISTURE.

PREVENTION OF ACOUSTIC FEEDBACK
Optimum performance will be obtained by placing the
turntable on a flat, level, vibration-free surface that is resist-
ant to accidental jarring or impact. It is considered standard
practice to avoid installing the turntable on or near speaker
enclosures.

If acoustic feedback is evident when playing records, and
it is not possible to place your turntable on a more solid
surface or further away from the speakers, try the follow-
mg.

Reverse the speaker cable wires for both speakers by chang-
ing the + wire to the "-" terminal and the --" wire to
the "+" terminal.

1. Receptacle pour coquil- 10. Bouton d'interruption
les de rechange (reject)

2. Contre poids 11. Commutateurde sélec-

3. Echelle du contre poids tion de vitesse

4. Controle danti skating 12. Plateau de caoutchouc

5. Support du bras et 13. Axe du plateau
sécurité 14. Plateau

6. Bras 15. Adaptateur 45 tours

7. Coquille

8. Lever manuel du bras

9. Léve bras

ASSEMBLAGE

1. Retirer de leur emballage la platine, Ie plateau de
caoutchouc, le contr poids et la coquille. Ces pieces
sont emballées séparément dans le carton.

2. Attachez le couvercle et les charniéres a larriére du

boitier.

Installez avec soin le plateau sur l'axe de l'appareil.

Installez le plateau de caoutchouc.

. Placez Ie contre poids a l'arriére du bras et vissez-le vers

l'avant jusqu'a une position médiane.

was»

IMPORTANT

Pour éviter tout risque dincendie ou de choc électrique,
nexposez pas cet appareil a la pluie ou a Ihumidité.

COMMENT EVITER LES PHENOMENES DE

RETROACTION ACOUSTIOUE

1. Isolez vos haut-parleurs du sol de telle maniére qu'il ne
recoive pas de vibrations de votre chaine.

2. Ne pas faire vibrer le sol sous votre platine.

3. Isolez votre rack de maniére qu'il ne recoive ni vibrations
ni contre coups de la pression acoustique.

4. Ne laissez pas les vibrations de votre rack passer dans
votre platine (double isolation).

5. Placez votre platine aussi loin que possible de vos
haut-parleurs.