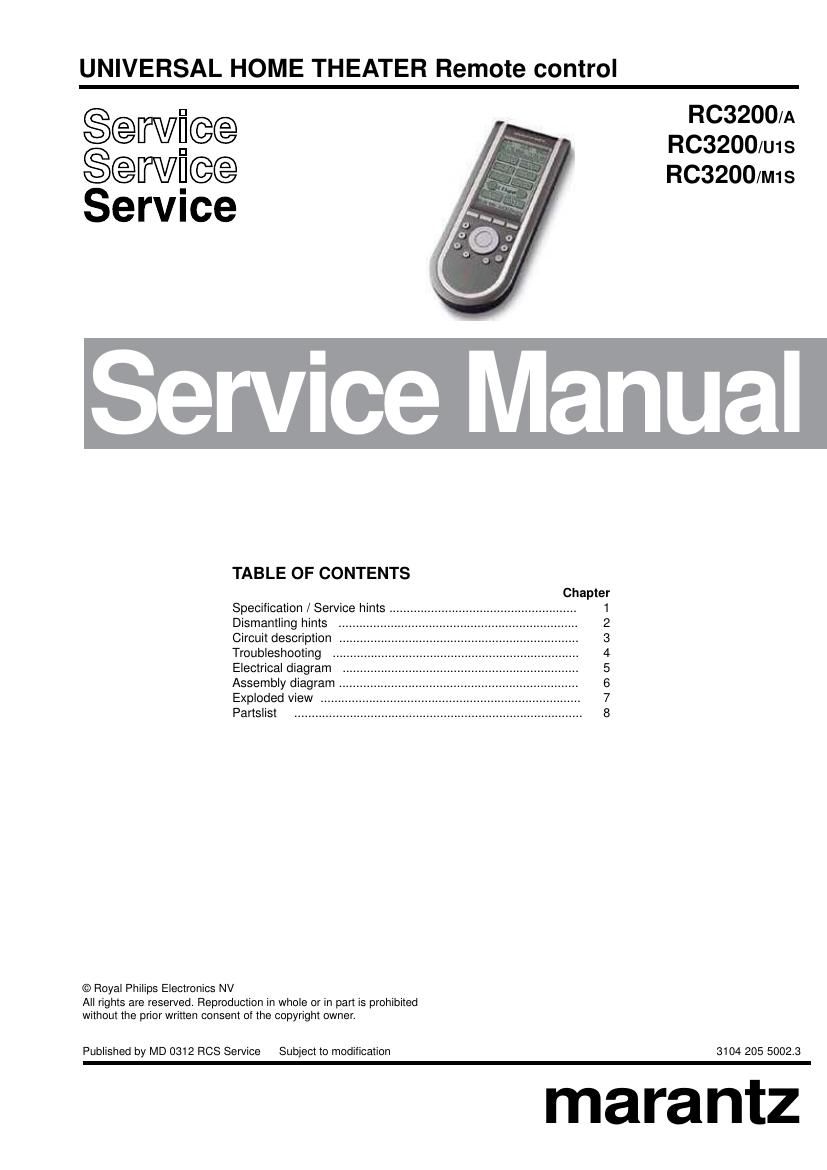
Marantz RC 3200 Service Manual

This is the 16 pages manual for Marantz RC 3200 Service Manual.
Read or download the pdf for free. If you want to contribute, please mail your pdfs to info@audioservicemanuals.com.

Page: 1 / 16
left right
Marantz RC 3200 Service Manual

Extracted text from Marantz RC 3200 Service Manual (Ocr-read)


Page 1

SPECIFICATIONS 1-1 DisplayMonochrome touch screen LCD with 4 gray levels and digital contrast control. Resolution: 160 x 100 pixels Blue EL backlighting for LCD and hard buttons Interface3-wire (RS232) serial port connector SoftwareBuilt-in Marantz RC codes Total number of devices limited only by memory Infrared (IR)Infrared sending LED and learning eye Operating distance of 33 feet (10 meters) Learning frequency up to 56 kHz and 455 kHz Learning distance 1 inch (2 cm) up to 4 inch (10 cm) 2-way communication with specific marantz equipment Memory1 MB non-volatile flash memory Batteries3 AA-batteries (3 x 1,5V): primary or rechargeable Power managementPower on by tapping the LCD touch screen or by pressing the Backlight button Power off automatically Dimensions7.8 inch x 3 inch x 1.3 inch (177mm x 74mm x 33mm) Operating temperature41°F to 113°F (5°C to 45°C) Accessoriesonly for RC3200/U1S/M1S only RS3200/A RS232 cable for PC connection None IFU RC3200 3 AA-batteries SERVICE HINTS - RC3200 information Press and hold the Mode button for 3 seconds -Tap SETUP - go to page3/3 with page up or page down button. This page contains following information: Free memory : Boot version : System version : Application version : Configuration file : -Cleaning RC3200 Use a soft, damp cloth to clean the RC3200 If the LCD touch screen is dirty, clean it with a soft cloth moistened with a diluted window-cleaning solution. After a repair please make the LCD touch screen always clean ! -Update the RC3200 Please check after each repair the RC300 application version. Check the version on the website. Is the version higher on the website, please download the new version from the Firmware. You can find this on the Marantz website http://www.marantz.com

Page 2

2-1 DISMANTLING HINTS 1. Remove battery lid 2. Remove label a little. see picture1 3. Remove 3 x screw as shown in picture 1 picture 1 4. Put a sharp knife between toppart and bottompart and use this as lever to separate the two parts. see picture 2 picture 2 2 x 8mm 2 x 8mm 2 x 8mm