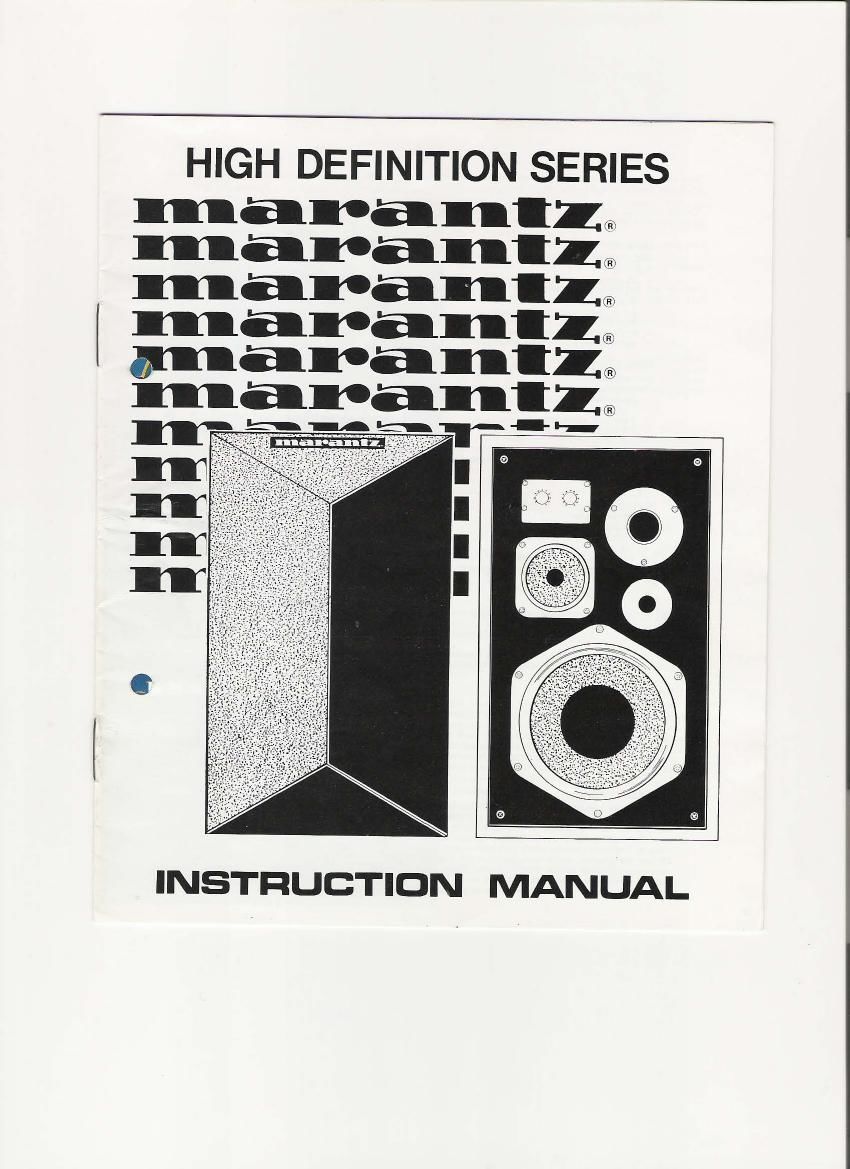
Marantz HD 770 Owners Manual

This is the 12 pages manual for Marantz HD 770 Owners Manual.
Read or download the pdf for free. If you want to contribute, please mail your pdfs to info@audioservicemanuals.com.

Page: 1 / 12
left right
Marantz HD 770 Owners Manual

Extracted text from Marantz HD 770 Owners Manual (Ocr-read)


Page 1

HIGH DEFINITION SERIES

marantl
maranilfiw
maranilfi
marantl@
marantl®
marantl®

INSTRUCTION MANUAL

Page 2

Vast improvements in amplifiers, tuners, turntables and tape equipment have placed demands on the loudspeakers
for lower distortion and higher definition than ever before.

The new Marantz High Definition Speaker Systems represent not simply a refinement over past designs, but a new

.generation of highly engineered precision reproducers.

Modal HD-SBO

4-way floorstanding system

featuring :

- 30 cm woofer

a 12,5 cm midrange

- 4 cm LPF dome tweeter

- 2,5 cm LPF dome super tweeter

- Vari-O

- front panel crossover controls

- warm toned walnut grain vinyl cabinet

Model HD-550

:5an system

featuring :

~ 20 cm woofer

e 12,5 cm midrange

- 4 Cm LPF dome tweeter

- Vari-Q V

- front panel crossover controls

- warm toned walnut grain vinyl cabinet

Model HD-MO
Model HD-770 3-way system
4-way system featuring :
featuring : - 20 cm woofer
- 30 cm woofer - 9 cm midrange
- 12,5 cm midrange - 9 cm tweeter
- 4 cm LFF dome tweeter - warm toned walnut grain vinyl cabinet.
- 2,5 cm LPF dome super tweeter
- Vari-Q

- front panel crossover controls
- warm toned walnut grain vinyl cabinet-

Modal HD-660

3way system

featuring :

- 25 cm woofer

- 12,5 cm midrange

- 4 cm LPF dome tweeter

- Vari-Q

- front panel crossover controls

- warm toned walnut grain vinyl cabinet

INSTALLING YOUR SPEAKER SYSTEM

Use Not 16 gauge wire (heavy duty two conductor lamp cord) to connect the speakers to the amplifier. If the
desired cord length for either speaker exceeds 30 feet, use No. 14 gauge wire or heavier.

After stripping about 1/2 inch of insulation from the ends of your speaker cable, firmly twist the fine copper
strands into a neat tight "rope". A stray strand of copper across the amplifier or speaker terminals can damage
Be particularly careful to protect the insulation if you staple or nail your speaker cables.
Connections to the terminal block on the back of the speaker may be made using bare wirei Simply depress the
button and insert the wire into the terminal. When the button is released, the wire will be clamped into the
terminal. It is a good plan to temporarily connect long lead Wires to the speaker so that you can move your
speaker in your listening room to find the optimum position for listening. (See section 4).

1. WIRE
Z. CONNECTION
your amplifier !
a SPEAKER PHASING

i

To assure the best stereo separation and frequency response, the speakers must be properly phased. Normally,
the positive terminal on each speaker should be connected to its respective (+l terminal on the amplifier, and
the negative terminal should be connected to its respective (-l terminal. Use the polarity markings on the wires
to aid in making identical connections to each speaker. The symmetry of connection (+ to +, etc.) is called
phasing. improper phasing won't hurt anything !

To test the phasing, temporarily position the speakers about six inches apart, face-to-face. Connect and listen
with your amplifier in the mono" mode. Then, turn off the power and reverse the connections on only one
speaker, and listen again. Your speakers are properly phased with the connection giving the most bass in the
mono mode. Return the amplifier to stereo and place the speakers in the desired iocations.