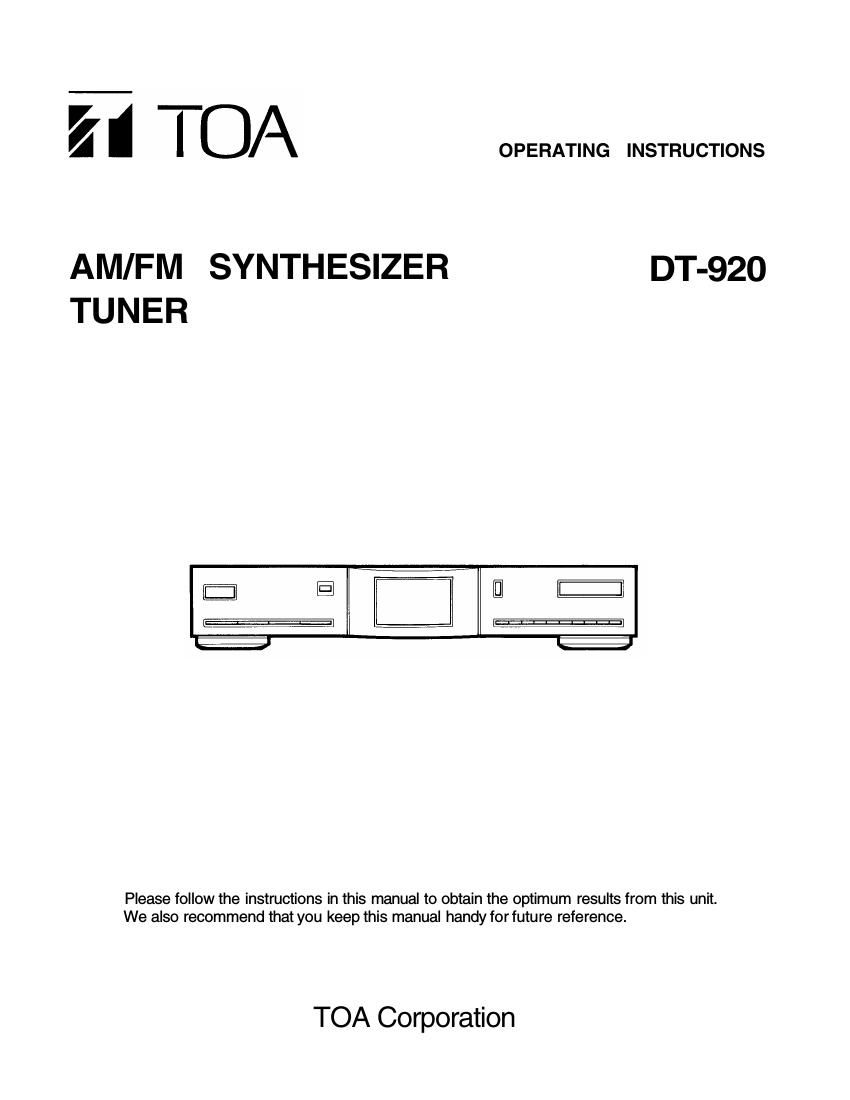
Marantz DT 920 Owners Manual

This is the 8 pages manual for Marantz DT 920 Owners Manual.
Read or download the pdf for free. If you want to contribute, please mail your pdfs to info@audioservicemanuals.com.

Page: 1 / 8
left right
Marantz DT 920 Owners Manual

Extracted text from Marantz DT 920 Owners Manual (Ocr-read)


Page 1

CONTENTS TO USE YOUR UNIT PROPERLY AND SAFELY ACCESSORIES CONNECTIONS CONTROLS LISTENING T O THE RADIO FREQUENCY UP/DOWN TUNING DIRECT TUNING AUTOMATIC OR MANUAL PRESET TUNING LISTENING TO PRESET STATIONS MAINTENANCE TROUBLESHOOTING GUIDE SPECIFICATIONS 1 1 2 3 3 3 4 4 5 6 6 6 TO USE YOUR UNIT PROPERLY AND SAFELY - Do not damage the power cord. - When not in use, disconnect the power cord from the outlet. Grasp the plug, not the cord, when disconnecting the unit. - If water should enter the unit, electrical shock or a malfunction may result. Use in an area where there is low humidity and little dust. - Do not disassemble or alter the unit in any way. CAUTION THIS UNIT SHOULD NOT BE ADJUSTED OR REPAIRED BY ANYONE EXCEPT PROPERLY QUALIFIED SERVICE PERSONNEL. WARNING! TO AVOID THE HAZARDS OF FIRE OR ELECTRICAL SHOCK, DO NOT EXPOSE THIS APPLIANCE TO RAIN OR OTHER MOISTURE. ACCESSORIES AM loop antennaPart No. 614 240 0845 FM indoor antennaPart No. 614 023 7481 RCA plug audio cablePart No. 645 005 0534 ATTENTION For your protection in the event of theft or loss of this product, please fill in the information below for your own personal records. DT-920 Model No. Date of Purchase Where Purchased Serial No.(Located on the back of the unit) Purchase Price -1-

Page 2

WARNING: TO PREVENT FIRE OR SHOCK HAZARD, DO NOT EXPOSE THIS APPLIANCE TO RAIN OR MOISTURE. RISK OF ELECTRIC SHOCK DO NOT OPEN These markings are located on the bottom, side or back of the unit. CAUTION: TO PREVENT THE RISK OF ELECTRIC SHOCK, DO NOT REMOVE COVER (OR BACK). NO USER- SERVICEABLE PARTS INSIDE. REFER SERVICING TO QUALIFIED SERVICE PERSONNEL. This symbol indicates that dangerous voltage constituting a risk of electric shock is present within this unit. This symbol indicates that there are important operating and maintenance instructions in the literature accompany- ing this unit. CONNECTIONS 1. Connect the FM and AM antennas as shown below. FM antenna The T-shaped indoor FM antenna (300-ohm) is sufficient to receive most local FM broadcasts and should be connected to the rear FM terminals on the DT-920. Infringe areas, or where reception is distorted or noisy, an FM outdoor antenna (not supplied) should be connected instead of the indoor antenna. The terminals will accept 300-ohm twin lead cable. AM antenna The AM loop antenna is sufficient to receive most local AM broadcasts. Assemble the loop antenna Unwind the antenna wires (about 3 turns), then connect them to the AM LOOP terminals. Place the loop antenna in a position which yields the best AM reception, or attach it to a wall or other surface as shown. NOTE: To minimize noise...- Keep the speaker wires, power cord and all other cables away fromthe antennas.- Do not place the antenna close to a TV or speaker. 2. Connect one end of a supplied audio cable to the OUTPUT (1 or 2) jack on the TUNER and the other end t o the AUX input jack (-20 t o 0dBV, 10k ) of the 900 series II amplifier. 3. After making all the connections, connect the AC power cord to 120V A C 60Hz outlet. This unit is equipped with a polarized plug. If you have difficulty inserting the plug, turn it over and reinsert it. If the unit will not be used for a long time, disconnect the AC plug from the AC outlet. CAUTION: TO PREVENT ELECTRIC SHOCK, MATCH WIDE BLADE OF PLUG TO WIDE SLOT, FULLY INSERT. ATTENTION: POUR ÉVITER LES CHOCS ÉLECTRIQUES, INTRODUIRE LA LAME LA PLUS LARGE DE LA FICHE DANS LA BORNE CORRESPONDANTE DE LA PRISE ET POUSSER JUSQU' AU FOND. CAUTION: Loose or incorrect connections will result in poor sound or improper operation. 900 SERIES II AMPLIFIER DT-920 -2-