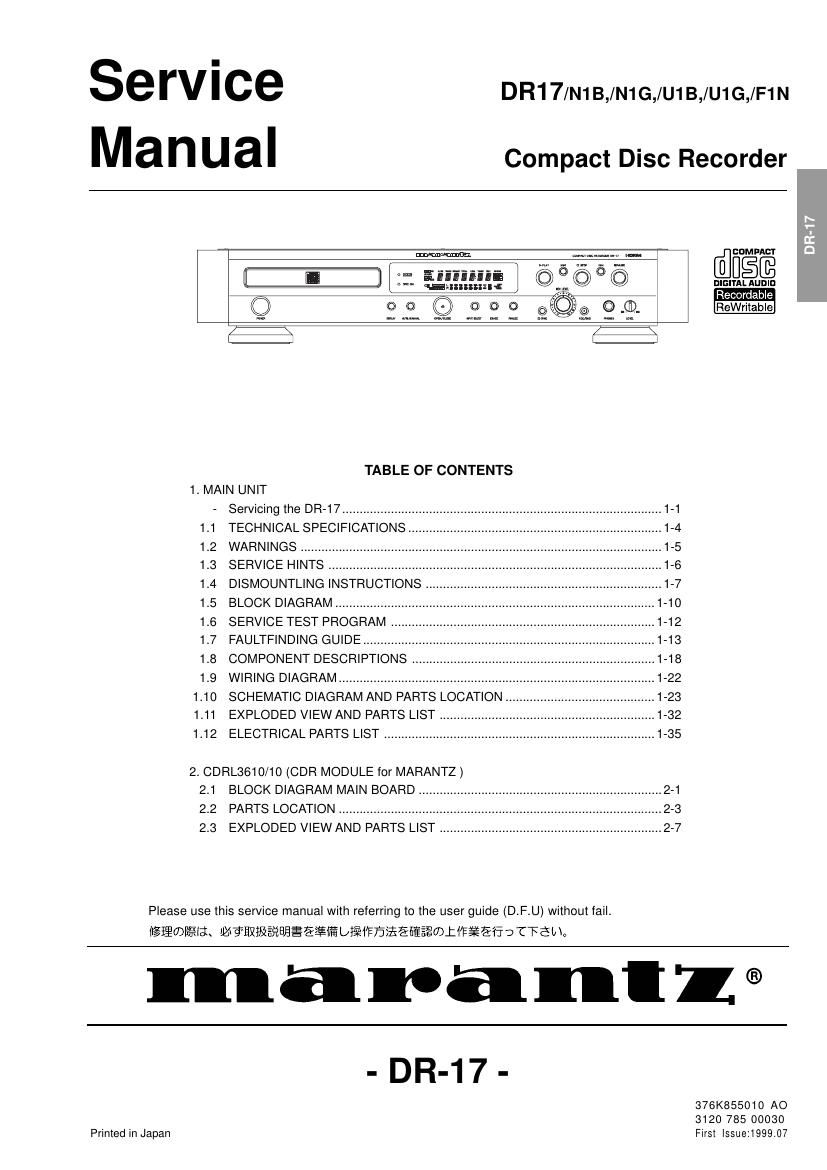
Marantz DR 17 Service Manual

This is the 46 pages manual for Marantz DR 17 Service Manual.
Read or download the pdf for free. If you want to contribute, please mail your pdfs to info@audioservicemanuals.com.

Page: 1 / 46
left right
Marantz DR 17 Service Manual

Extracted text from Marantz DR 17 Service Manual (Ocr-read)


Page 1

MARANTZ DESIGN AND SERVICE Using superior design and selected high grade components, MARANTZ company has created the ultimate in stereo sound. Only original MARANTZ parts can insure that your MARANTZ product will continue to perform to the specifications for which it is famous. Parts for your MARANTZ equipment are generally available to our National Marantz Subsidiary or Agent. ORDERING PARTS : Parts can be ordered either by mail or by Fax.. In both cases, the correct part number has to be specified. The following information must be supplied to eliminate delays in processing your order : 1. Complete address 2. Complete part numbers and quantities required 3. Description of parts 4. Model number for which part is required 5. Way of shipment 6. Signature : any order form or Fax. must be signed, otherwise such part order will be considered as null and void. SHOCK, FIRE HAZARD SERVICE TEST : CAUTION : After servicing this appliance and prior to returning to customer, measure the resistance between either primary AC cord connector pins ( with unit NOT connected to AC mains and its Power switch ON ), and the face or Front Panel of product and controls and chassis bottom. Any resistance measurement less than 1 Megohms should cause unit to be repaired or corrected before AC power is applied, and verified before it is return to the user/customer. Ref. UL Standard No. 1492. In case of difficulties, do not hesitate to contact the Technical Department at above mentioned address. 990521A.O USA MARANTZ AMERICA, INC MARANTZ AMERICA, INC. 440 MEDINAH ROAD ROSELLE, ILLINOIS 60172 USA PHONE : 630 - 307 - 3100 FAX : 630 - 307 - 2687 BRAZIL MARANTZ BRAZIL CAIXA POSTAL 21462 CEP 04698-970 SAO PAULO, SP, BRAZIL PHONE : 0800 - 123123 (Discagem Direta Gratuita) FAX : +55 11 534. 8988 JAPAN Technical MARANTZ JAPAN, INC. 35- 1, 7- CHOME, SAGAMIONO SAGAMIHARA - SHI, KANAGAWA JAPAN 228-8505 PHONE : +81 42 748 1013 FAX : +81 42 748 9190 EUROPE / TRADING MARANTZ EUROPE B.V. P.O.BOX 80002, BUILDING SFF2 5600 JB EINDHOVEN THE NETHERLANDS PHONE : +31 - 40 - 2732241 FAX : +31 - 40 - 2735578 CANADA LENBROOK INDUSTRIES LIMITED 633 GRANITE COURT, PICKERING, ONTARIO L1W 3K1 CANADA PHONE : 905 - 831 - 6333 FAX : 905 - 831 - 6936 NEW ZEALAND SCAN AUDIO PTY. LTD. 8C PIERMARK DRIVE, ALBANY. NORTH SHORE, AUCKLAND. NEW ZEALAND PHONE : +64 - 9444 - 4710 FAX : +64 - 9444 - 1346 AUSTRALIA SCAN AUDIO PTY. LTD. 52 CROWN STREET, RICHMOND 3121 VICTORIA AUSTRALIA PHONE : +61 - 3 - 9429 - 2199 FAX : +61 - 3 - 9429 - 9309 THAILAND MRZ STANDARD CO.,LTD 746 - 754 MAHACHAI ROAD., WANGBURAPAPIROM, PHRANAKORN, BANGKOK, 10200 THAILAND PHONE : +66 - 2 - 222 9181 FAX : +66 - 2 - 224 6795 TAIWAN PAI- YUING CO., LTD. 6 TH FL NO, 148 SUNG KIANG ROAD, TAIPEI, 10429, TAIWAN R.O.C. PHONE : +886 - 2 - 25221304 FAX : +886 - 2 - 25630415 MALAYSIA WO KEE HONG ELECTRONICS SDN. BHD. NO. 102 JALAN SS 21/35, DAMANSARA UTAMA, 47400 PETALING JAYA SELANGOR DARUL EHSAN, MALAYSIA PHONE : +60 3 - 7184666 FAX : +60 3 - 7173828 AMERICAS SUPERSCOPE TECHNOLOGIES, INC. MARANTZ PROFESSIONAL PRODUCTS 2640 WHITE OAK CIRCLE, SUITE A AURORA, ILLINOIS 60504 USA PHONE : 630 - 820 - 4800 FAX : 630 - 820 - 8103 KOREA MK ENTERPRISES LTD. ROOM 604/605, ELECTRO-OFFICETEL, 16-58, 3GA, HANGANG-RO, YONGSAN-KU, SEOUL KOREA PHONE : +822 - 3232 - 155 FAX : +822 - 3232 - 154 SINGAPORE WO KEE HONG (S) PTE LTD WO KEE HONG CENTRE NO.23, LORONG 8, TOA PAYOH SINGAPORE 319257 PHONE : +65 2544555 FAX : +65 2502213

Page 2

Servicing the DR-17 1. INTRODUCTION: The DR-17 is the consumer version of a CD recorder, this means that the SCMS (Serial Copy Management System) is included. The DR-17 can only record on the Audio CDRs (Consumer Use). The DR-17 is suitable for recording and playback of CD-RW discs (CD-Re Writable disc). 2. OPENING THE PRODUCT: The product can be opened by removing the top cover (8 screws). Once the product is opened one can have access to the several PCBÕs and the main module. To have access to the Display PCB, the Headphone PCB and the lever PCB first the front cover has to be removed (See dismantling instructions on page1-7). Below the several PCBÕs and it function and service policy will be discussed: Consumer : For Digital Audio Professional : For General use (Including PC) P : Playback R : Recording Playback & Recording and Disc Disc Player/RecorderCDCDRCD-RW SCMS Consumer DiscConsumer Disc Professional DiscProfessional Disc Finalized Finalized non Finalized non Finalized non Finalized non Finalized Finalized Finalized Audio CD Player Current products Ex:CD-17 Audio CD Player CD-RW playback Ex:CD-17MK II CD-RW Recorder For Professional Ex:CDR630/640 CD-RW Recorder For Consumer Ex:DR-17 PPnoP no no no no no - PPnoP no Pno Pno - P P P/R P P/R P/R P/R P/R P/R no P P P/R P noP/R P/Rno noYES CDR LOADER (CDL3610/01) POW ER SW BOARD Trans- former POW ER SUPPPLY and AUDIO BOARD DISPLAY BOARD ANALOG INPUT BOARD LEVEL BOARD HEAD PHONE BOARD MOTER BOARD 1-1

Page 8

1.4 DISMOUNTING INSTRUCTION 1. DISMOUNTING CDR LODER 1-7 1) Remove 8 screws (002D & 003D) from the top cover. 2) Remove the top cover (001D). 3) Disconnect connector cables from J801 and JH04. 4) Remove 4 screws (1-4), and remove the mains trans- former (L001). 5) Come out (Open) the CD tray by manually. 6) Remove the CD tray lid (050B+052B+062B). 7) Remove screw (5) from the bracket (004B). 8) Remove 4 screws (6-10). 9) Disconnect all cables from connectors (JF02, 1330, 1410, 1400, 1430 and 1440). 10) Disconnect cables from connectors (J891 and J892), and remove PCB P816. 11) Connect the cables from ÒTRAY MOTORÓ to the con- nector 1104. 12) Remove the cable shield (003X) from the top frame REMARK: When replace the CDR loader module CDRL3610Õ to the new one. It is necessary to cut left side of the top frame by the hand nibbler. (Height 2mm x Width 6mm) 5 6 7 8 9 10 Cable Shield 4 3 2 1