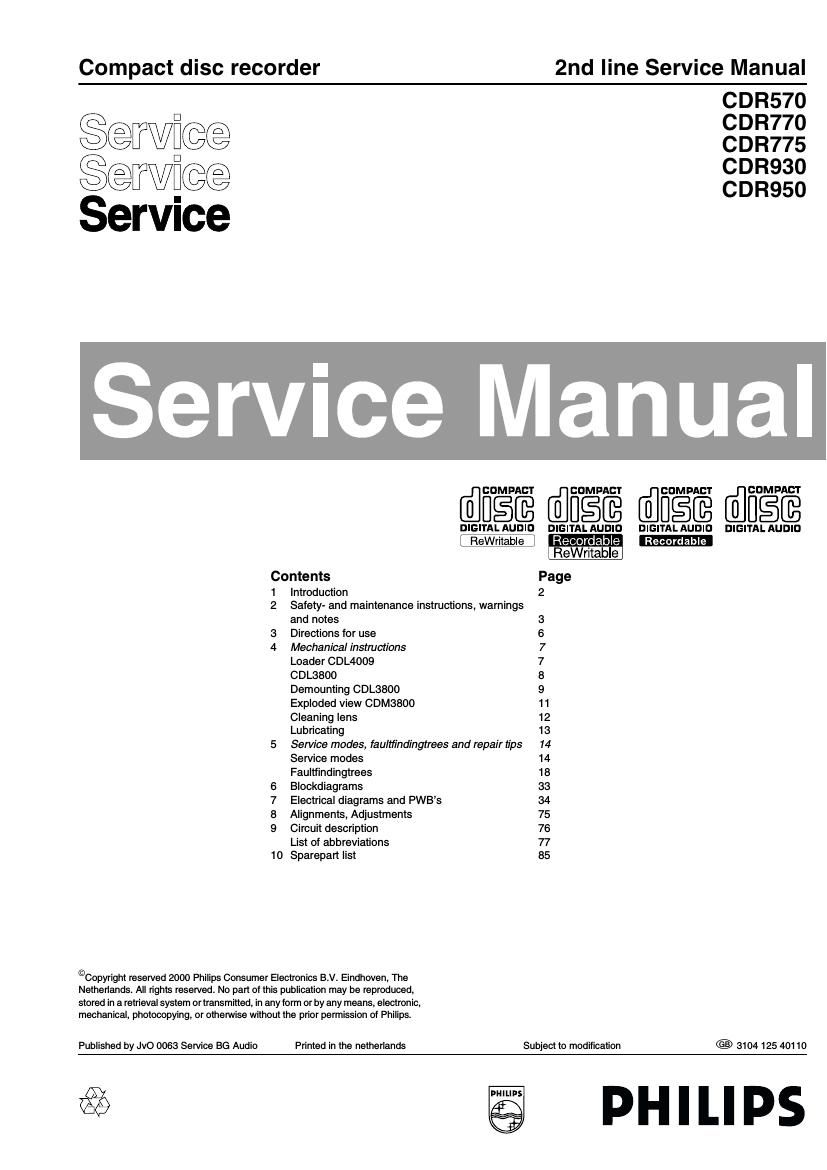
Marantz CDR 770 Philips Service Manual

This is the 98 pages manual for Marantz CDR 770 Philips Service Manual.
Read or download the pdf for free. If you want to contribute, please mail your pdfs to info@audioservicemanuals.com.

Page: 1 / 98
left right
Marantz CDR 770 Philips Service Manual

Extracted text from Marantz CDR 770 Philips Service Manual (Ocr-read)


Page 1

Compact disc recorder 2nd line Service Manual
CDR570

Service 832532
Service 832328
SerVIce

ervice Manua

[flfimfié [flfiéfi WEE @figfi

DIGITAL AUDID DIGITAL AUDIO DIGITAL AUDID DIGITAL AUDID

-
Contents Page
1 Introduction 2
2 Safety- and maintenance instructions, warnings
and notes 3
3 Directions for use 6
4 Mechanical instructions 7
Loader CDL4009 7
CDL3800 8
Demounting CDL38OO 9
Exploded view CDM3800 11
Cleaning lens 12
Lubricating 13
5 Service modes, faultfindingtrees and repair tips 14
Service modes 14
Faulltindingtrees 18
6 Blockdiagrams 33
7 Electrical diagrams and PWBs 34
8 Alignments, Adjustments 75
9 Circuit description 76
List of abbreviations 77
10 Sparepart list 85
©Copyright reserved 2000 Philips Consumer Electronics B.V. Eindhoven, The
Netherlands. All rights resewed. No part at this publication may be reproduced,
stored in a retrieval system or transmitted, in any form or by any means, electronic,
mechanical, photocopying, or othenivise without the prior permission 01 Philips.
Published by JvO 0063 Sen/ice BG Audio Printed in the netherlands Subject to modification ® 3104 125 40110

@ PHILIPS

Page 2

m n CDR 3rd gen. Technical Specifications/Introduction.

1.

Technical Specifications/lntroduction.

In this document the important issues for the mechanical and
electrical testing, adjusting, checking and diagnosing of the
Digital Audio CDR Module such as applied in so-called 3rd
generation CDR recorders is described.

In this first chapter is presented the introduction of the repair
manual for 2nd line repair workshops. In contains the repair
instructions of the CDFI Module CDL4009 + Mainboard 4228.
All modules consist of the same loader + CDM part, the
mounting of the components on the Mainboard deviates form
each other. For that reason a separate CDR-module has been
defined for each type/modelnumber.

On top of that: Each mainboard connected to another CDM has
to adjusted before that module can be used. To have this
module on component level repaired this second line service
(repair) manual has to used in combination with the "first" line
service manual of mentioned typenumber. As long as the
adjustment instructions can not be carried out, the module has
to be exchanged by an adjusted one from Service stock in case
of repairs concerning CDM and/or Servo circuits.

Chapter 2 contains the required safety instructions, in chapter
3 a referring to the directions for use, as published in the
typenumber Sen/ice Manual, is made.

In chapter 4 the mechanical exploded view of the complete
module, the loading part and the CDM3800 is presented. This
chapter also includes the mounting, demounting, cleaning and
greasing instruction.

In chapter 5 the internal selfdiagnostics without opening the set
and use of other tools is described in the service modes. The
faultfinding trees and repair suggestions like the power supply
voltages for proper functioning of the mainboard are indicated
there too. This chapter also contains initialising and reset,
concerned measuring points are highlighted. For proper
functioning of all le the clockfrequencies have to be tested
and the importance of derived clockfrequencies is shown. and
and how to operate with the menu driven diagnostics. Via a PC
connection (serial input socket RSZSZC) the Menu Driven
Diagnostics feature is started.

To improve the interactivity and communication with the set/
module the COMPAIR (the for service designed computer
aided repair) tool is supported too by this CDR generation.
Details to be defined soonest and will be published by a service
information bulletin later on.

Via blockdiagrams of applied boards the common issues of all
boards are shown and in short explained in chapter 6.

In chapter 7 the circuit diagrams and printed wiring boards with
important measuring points are shown.

The adjustment of the laser current (only one important and
necessary adjustment has to be carried out, the rest of the
adjustments are calcultated from that parameter onwards) will
be presented in chapter 8. The needed PC program is under
investigation now and with the implentation of COMPAIR this
adjustment action will be explained. The method how to align
the software, if needed, is indicated here.

In chapter 9 reference is made to existing 3rd generation circuit
description in which publication a lot of details about the
functioning of the set is explained.

Also the list of abbreviations is inserted here.

Finally a survey of applied components and corresponding
service ordering numbers is given in chapter 10.

As the Mainboard 4228 is designed to be applied for several
modelnumbers this board contains a lot of optional
components.

The most extended board Is modelnumber CDR775 where
double speed dubbing feature is applied too.