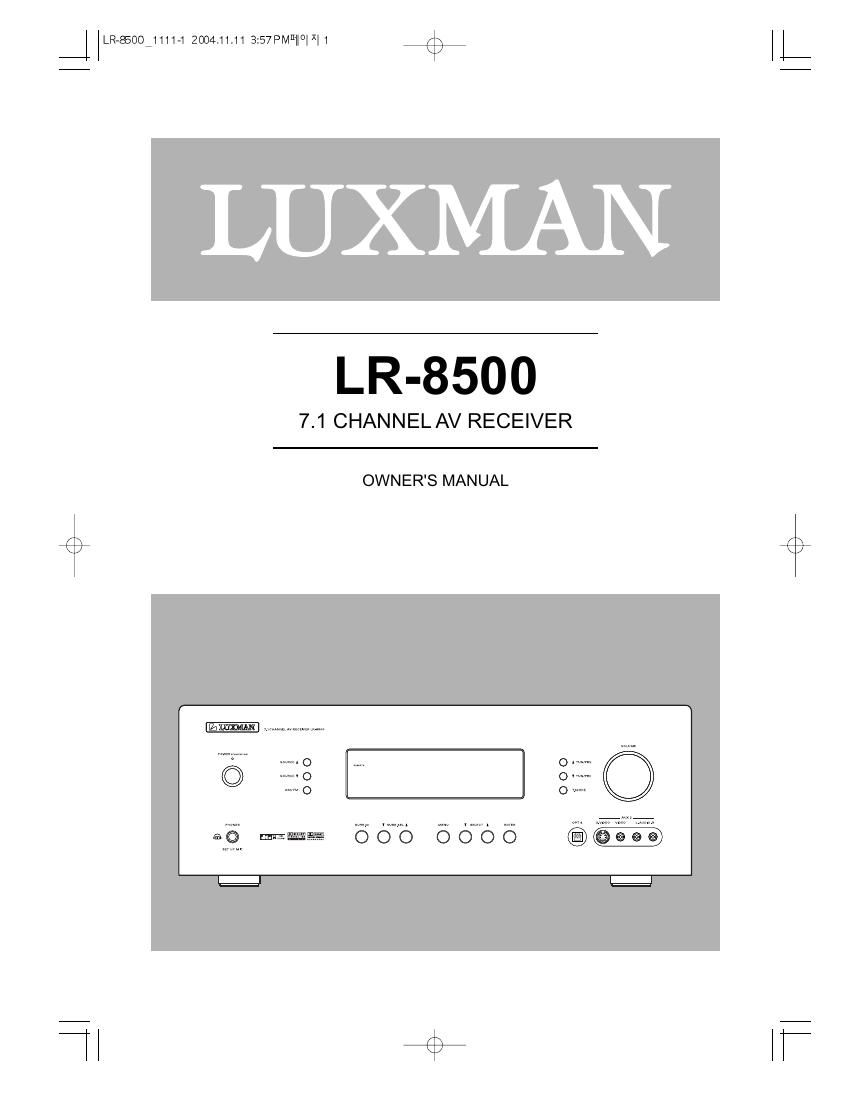
Luxman LR 8500 Owners Manual

This is the 41 pages manual for Luxman LR 8500 Owners Manual.
Read or download the pdf for free. If you want to contribute, please mail your pdfs to info@audioservicemanuals.com.

Page: 1 / 41
left right
Luxman LR 8500 Owners Manual

Extracted text from Luxman LR 8500 Owners Manual (Ocr-read)


Page 1

- 2 -Important Safety Instructions YThis symbol means that the product is double insulated and you do not need an earth con- nection This symbol means that this product keeps to the European safety and electrical interfer- ence directivesIMPORTANT(for U.K.Customers)DO NOT cut off the mains plug from this equipment. If the plug fitted is not suitable for the power points in your home or the cable is too short to reach a power point, then obtain an appropriate safety approved extension lead or consult your dealer. If nonetheless the mains plug is cut off, remove thefuseand dispose of the plugimmediately, to avoid a possible shock hazard by inadvertent connection to the mains supply. If this product is not provided with a mains plug, or one has to be fitted, then follow the instructions given below:IMPORTANT.DO NOT make any connection to the larger terminal which is marked with the letter E or by the safety earth symbol |or coloured GREEN or GREEN-and-YELLOW. The wires in the mains lead on this product are coloured in accordance with the following code: BLUE : NEUTRAL BROWN : LIVE As these colours may not correspond with the coloured markings identifying the terminals in your plug proceed as follows: The wire which is coloured BLUE must be connected to the terminal which is marked with the letter N or coloured BLACK. The wire which is coloured BROWN must be connect- ed to the terminal which is marked with the letter L or coloured RED. When replacing the fuse only a correctly ratedapproved type should be used and be sure to re-fit thefuse cover.IF IN DOUBT - CONSULT A COMPETENT ELECTRI- CIAN.CAUTIONThe product shall not be exposed to dripping or splashing and that no object filled with liquids, such as vases, shall be placed on the product. Do not install this equipment in a confined space such as a book case or similar unit.

Page 2

- 3 -Table of Contents Before Use ......................................................................4 Description......................................................................5 Connections ....................................................................6 - Speakers, PRE OUT, AC OUTLET, RS-232C .............8 - Audio Components ......................................................9 - Video Components ....................................................10 - Advanced Connecting ..............................................11 - Antennas.....................................................................12 Control Functions .........................................................13 Basic Operations .........................................................17 Surround Mode ............................................................19 Night Mode ...................................................................19 Zone II Operation .........................................................20 Speaker Configuration ................................................21 Tuner Operation ...........................................................23 RDS.................................................................................24 PTY .................................................................................24Video Operations .........................................................25 System Configuration ..................................................25 - Function Setup ...........................................................26 - Surround Setup..........................................................26 - Dolby Surround ..........................................................27 - Speaker Setup ...........................................................28 - Distance Adjust .........................................................29 - CH Level Adjust..........................................................29 - Preference Setup ......................................................29 - Zone II Setup ..............................................................30 - Room Auto Setup.......................................................30 Controlling other Components Connected to the LR-8500......................................................................33 Programming the Remote...........................................34 Troubleshooting ...........................................................39 Specifications...............................................................40Thanks for choosing LUXMAN. Read this manual carefully to get the best performance from this unit.