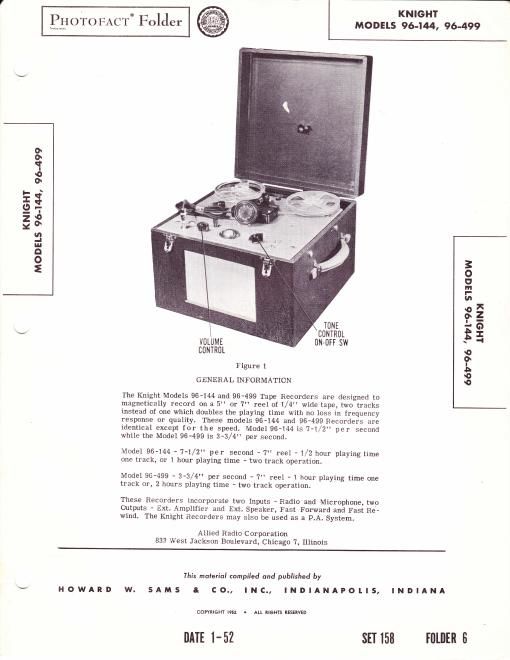
Knight 96 499 service manual

This is the 12 pages manual for knight 96 499 service manual.
Read or download the pdf for free. If you want to contribute, please mail your pdfs to info@audioservicemanuals.com.

Page: 1 / 12
left right
knight 96 499 service manual

Extracted text from knight 96 499 service manual (Ocr-read)


Page 1

*\...-ar *;ji 't: * Figure 2 CPERATING INS TRUC TIONS trreparing the Knight for Recording - 1. Insert the Iine cord in a convenientwall receptacle of the proper rating. 2. Place a reel of tape on the right hand spindie in such a manner that when the tape is pulled, the reel will turn clockwise. Make sure the pin on the spindle engages a slot of the reel. NOTE: This recorder requires tape with Type B winding, i.e. the (dull) magnetic coated side faces out on the reel. In case the (dull) side of the tape f aces in onthereel (TypeA wound tape) it can be changed to Type E for use on this recorder by winding the tape with a half twist. The two types are identical ex- cept the way in which they are wound on the tape. 3-. Place an empty reel on the left hand spindle (2a). 4. trull about 2 f.e et of tape from the supply reel, drop the tape into the slot between the trim covers (4 and 6). Guide the tape into any one of the three openings at the center of the empty reel. Use a pencil to hold the tape in place, then turn the reei several turns clockwise to secure the tape to the reel and to remove all slack in the tape. 5. Turn the Cff -On-Tone Control on. This supplies power to the entire recorder. Page 2 To Make a Recording - 1. After the recorder has been properlyprepared for recording, connect the microphone to the ?'Mike?' jack. 2. Press down on the Record button above the volume control. 3. Turn the 'r Volume " control clockwise u n t i I the incoming signal causes the F-ecord Level Indicator Eye to close on high peaks only. NOTE: Correct recording volume is very important. Too weak a signal, which does not cause the Recording Indicator to close will result in weak playback and high background noise. Too strong a signal, causing the Indicator to ove rlap will result in distortion dur ing playback. 4. Turn the tape mechanism control knob (1) to PIay- Record position. Any sound now entering the micro- phone will be recorded on the tape. NOTE: Make sure " Skip F'orward" control is in the "Normal" position, if not the mechanism will not operate. To fi.ecord Direct From Radio - t. If a recording from a radio is commended that a connector cord desired, it is re- be connected to the