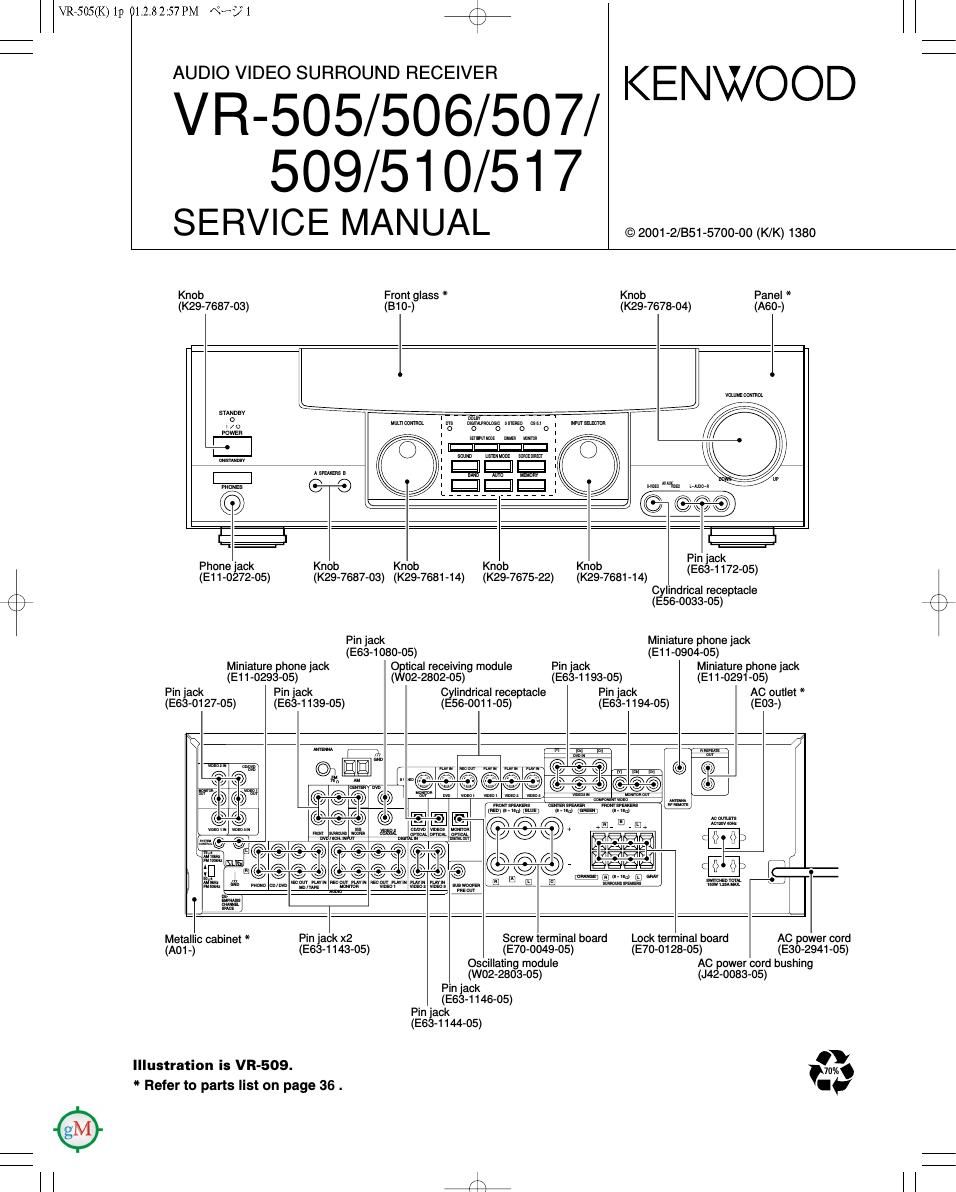
Kenwood VR 506 Service Manual

This is the 35 pages manual for Kenwood VR 506 Service Manual.
Read or download the pdf for free. If you want to contribute, please mail your pdfs to info@audioservicemanuals.com.

Page: 1 / 35
left right
Kenwood VR 506 Service Manual

Extracted text from Kenwood VR 506 Service Manual (Ocr-read)


Page 2

VR7505(K)1p 01.2.8 2:57 PM \°-:}2

VR-505/506/507/509/510/517

r\
\/

CONTENTS / ACCESSORIES / CAUTIONS

Contents

CONTENTS / ACCESSORIES / CAUTIONS...
CIRCUIT DESCRIPTION ..................................
WIRING DIAGRAM..
PC BOARD ........... ..
SCHEMATIC DIAGRAM .......................................... 1

mcobo'oom

Accessories

EXPLODED VIEW
PARTS LIST .......
PARTS DESCRIPTIONS ..
SPECIFICATIONS ............


FM indoor antenna (1)
(T90-0877-05)

AM loop antenna (1)
(T90-0852-05)

Remote control unit (1) Remote control unit (1)
VR-509/510 VR-507

791m 0° nooooo
. oDeA§0.000000
IJQUH®DI3¢0IIDOUO

E]

RF remote antenna (1)
(T90-0850-05)
VR-509NR-510 only

Batteries (FIG/AA)

Remote control unit (1 )
VR-505/506/517

Remote Controller vs Parts Number

Model Remote Controller Parts it Battery Cover Parts #
VR-505 RC-R0511 A70-1 468-1 5 A09-1178-08
VR-506 RC-R0615 A70-1466-15 A09-1178-08
VR-507 RC-R0720 A70-1505-05 A09-1218-08
VR-509 RC-R0811 A70-1485-05 A09-1166-08
VR-510 RC-R0812 A70-1484-05 A09-1166-08
VR-517 RC-R0617 A70-1507-05 A09-1178-08

Cautions

Resetting the Micracomputer

The microcomputer may malfunction (unit cannot be operated,
or shows an erroneous display) it the power cord is unplugged
while the power is ON, or due to some other external factor. If this
happens, execute the following procedure to reset the micro-
computer and return the unit to its normal operating condition.

0 Please note that resetting the microcomputer will clear the contents
ot the memory and returns the unit to the state it was in when it lett the
factory.

Unplug the power cord from the wall outlet, then plug it
back in while holding down the STANDBY key.

Memary back up function

Please note that the tollowing items will be deleted from the unit's memo
if the power cord is disconnected from the AC outlet tor approximately
days.

0 Power mode.

0 Input selector settings.
0 Device preset.

0 Picture output.

- Listen mode setting.

- Speaker settings.

- Input mode setting.

- Midnight mode setting.
0 Speaker ON/OFF - Broadcast band.

0 Volume level. - Frequency setting.

0 BASS, TREBLE, INPUT level. - Preset stations.

0 Subwooter ON/OFF. - Tuning mode.

0 Dimmer level. - Source Direct.

0 Monitor ON/OFF. - RF Band.(VR-509/510)
0 MD/TAFE settings. - THX.(VR»510)

0 6ch/2ch input setting. - SW RE-MlX.(VFl-510)
- CINEMA EQ.(VR-505/506/507/509/517)

fii

Page 5

VR7505(K)1p 01.2.8 2:57 PM \°-:}5

+
VFI-505/506/507/509/510/517

CIRCUIT DESCRIPTION

Pin No. Pin Name I/O Description
1 VREF - Connected to ground.
2 TH SENS I Protection signal detection port for thermal sensor.
3 PROT1 l Protection signal detection port for over current.
4 PROT2 I Protection signal detection port for over voltage.
5 S LEVEL - Detection port of RDS signal level.
6 KEY GET I A/D key input for band and standby.
7 CE2 I Detection port of chip enable 2 for microprocessor.
8 CE1 l Detection port of chip enable 1 for microprocessor.
9 DIG DET l Detection port of digital signal for DTS.
10 VREF - A/D reference voltage.
11 VDD - Power supply(+5v) for microprocessor.
12 OSC2 0 Main clock output(8.38MHz).
13 OSC1 | Main clock input(8.38MHz).
14 V88 - Connected to ground.
15 XI - Connected to ground.
16 X0 - Unused.
17 MMCD - Connected to ground.
18 DIR/CODEC DIN 0 Data output to DIR/CODEC.
19 DIR/CODEC DOUT | Data input port from DIR/CODEC.
20 DIR/CODEC CLK O Clock output to DIR/CODEC.
21 DSP DIN 0 Data output port to DSP.
/\ 22 DSP DOUT I Data input port from DSP.
\ 23 DSP CLK 0 Clock output port to DSP.
24 DSP CE1 0 Chip enable 1 output to DSP.
25 DSP CE2 0 Chip enable 2 output to DSP.
26 REM l l Remote control signal input 1(Front panel).
27 REM 0 I Remote control signal input 1(Rear panel).
28 DIR ERR | Detection port for DIR ERROR signal.
29 RDS CLK l Clock input of RDS demodulator IC.
30 DPS |RQ1 l Detection port 1for DSP INTREQ.
31 DPS |RQ2 | Detection port 2 for DSP INTREQ.
32 NC - Unused.
33 RESET I Reset signal input for microprocessor.
34 DSP PD1 0 PD output port 1for DSP.
35 DSP PD2 0 PD output port 2 for DSP.
36 DIR PD 0 Power down mode port for DIR.
37 CODEC PD 0 Power down mode port for CDDEC.
38 CODEC CLIP l Overflow detection port for CODEC analog signal.
39 CODEC CE 0 Chip select for CODEC.
40 RDS DIN I Data input of RDS demodulator IC.
41 NC - Unused.
42 FL DIN 0 Data output to FL driver.
43 FL DOUT I Data input from FL driver.
44 FL CLK O Clock output to FL driver.
45 FL CE 0 CE output to FL driver.

3-2 Pin Description of Microprocessor