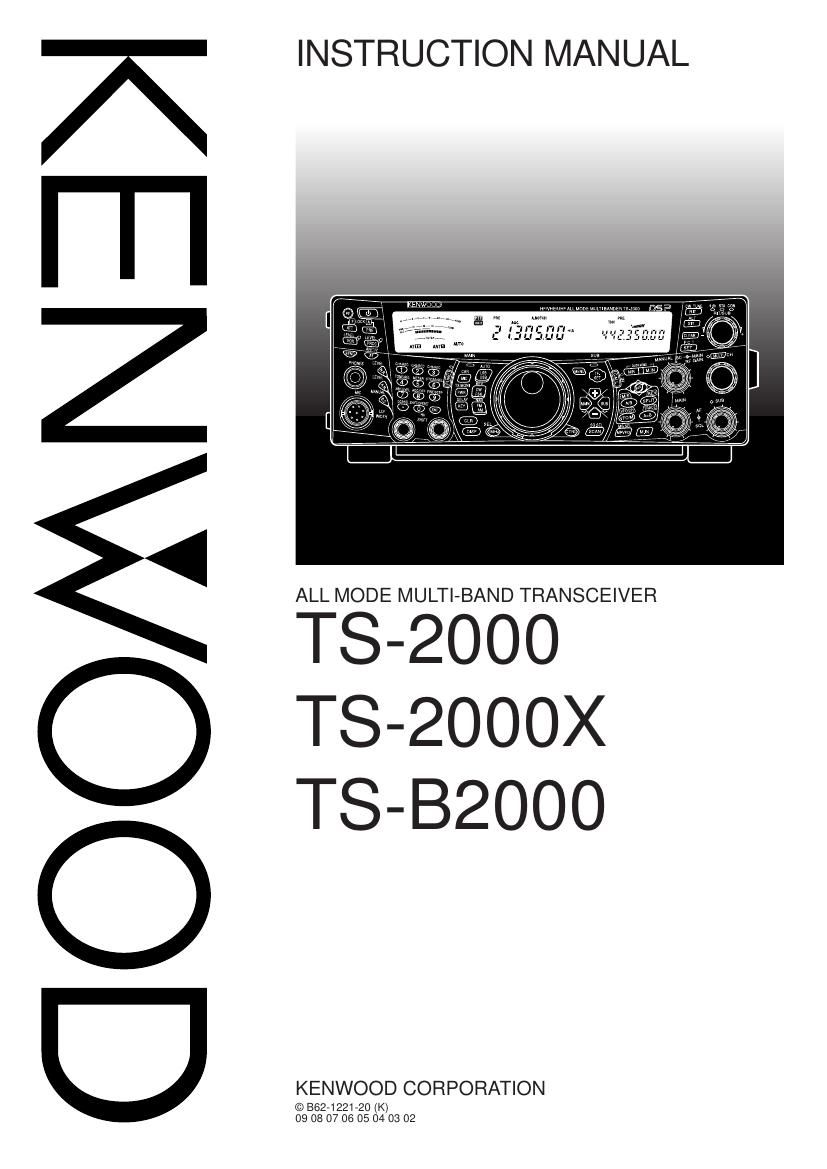
Kenwood TS 2000 Owners Manual

This is the 150 pages manual for Kenwood TS 2000 Owners Manual.
Read or download the pdf for free. If you want to contribute, please mail your pdfs to info@audioservicemanuals.com.

Page: 1 / 150
left right
Kenwood TS 2000 Owners Manual

Extracted text from Kenwood TS 2000 Owners Manual (Ocr-read)


Page 2

THANK YOU

THANK YOU

Thank you for choosing this KENWOOD TS-2000(X)/
TS»B2000 transceiver. It has been developed by a
team of engineers determined to continue the
tradition of excellence and innovation in KENWOOD
transceivers.

This transceiver features dual Digital Signal
Processing (DSP) units to process IF and AF signals.
By taking maximum advantage of DSP technology,
the TS-2000(X)/ TS»B2000 gives you enhanced
interference reduction capabilities and improves the
quality of audio that you transmit without installing
additional analog filters. You will notice the
differences when you fight QRM and QRN. As you
learn how to use this transceiver, you will also find
that KENWOOD is pursuing user friendliness". For
example, each time you change the Menu No. in
Menu mode, you will see scrolling messages on the
display that tell you what you are selecting.

Though user friendly, this transceiver is technically
sophisticated and some features may be new to you.
Consider this manual to be a personal tutorial from
the designers. Allow the manual to guide you through
the learning process now, then act as a reference in
the coming years.

FEATU RES

- All mode operation from HF to 1.2 GHZ (TS-2000/
TS-B2000 Optional) amateur radio band with DSP
functions.

- Dual high speed Digital Signal Processing (DSP)
units.

- Adjustable DSP filter frequencies.
- High speed Digital Automatic Gain Control (AGC).

- A second independent sub-receiver for the 144 MHz
and 430 (440) MHz bands (FM and AM mode only).

- A built-in Antenna Tuner for HF/ 50 MHz band.

- A built-in 9600/ 1200 bps TNC for DX Packet
Cluster Tune (P.C.T.) and Sky Command Il+
operations.

- DX Packet Cluster Tune (P.C.T.) for DX hunting.

- Instant Satellite communication key.

- A razor sharp DSP filter up to 50 HZ for CW
operation.

SUPPLIED ACCESSORIES

After carefully unpacking the transceiver, identify the
items listed in the table. We recommend you keep
the box and packing material below in case you need
to repack the transceiver in the future.

Quantity
Accessory Part Number TS-2000
T3200 Ts-BZOOO

Microphone T91-0352-XX 1 1
DC power cable E30»3157»XX 1 1
7-pin DIN plug EO7»0751»XX 1 1
8-pin DIN plug EO7»0851»XX 1 1
13-pin DIN plug E07»1351»XX 1 1
Fuse (25 A) FOB-2531-XX 1 1
Fuse (4 A) F06-4027-XX 1 1
Screw Set N99-2024-XX 1 1
Spacer for MB-430 G11-2698-XX 4 4
Line filter L79-1408-XX 1 1
Retaining Band J61-0307-XX 1 1
CD»ROM T93»0123»XX - 1
Instruction Manual B62»1221»XX 1 1

. B52»0614»XX
33323: BI°CK B52»0616»XX 1 1

B52»0617»XX

B52»0618»XX

B46»0469»XX

K-t e or

Warranty card é46£%1)0»XX 1 1

(All E»types)

E and E2-type only

WRITING CONVENTIONS FOLLOWED

The writing conventions described below have been
followed to simplify instructions and avoid
unnecessary repetition.

Instruction What to Do

Press [KEY]. Press and release KEY.

Press and hold KEY1 down,
then press KEY2. If there are
more than two keys, press and
hold down each key in turn until
the final key has been pressed.

Press
[KEY1]+[KEY2].

Press Press KEY1 momentarily,
[KEY1], [KEY2]. release KEY1, then press KEY2.

With the transceiver power OFF,
Press press and hold KEY, then switch
[KEY]+[ Lb]. ON the transceiver power by
pressing [0)] (POWER).

Page 33

6 MENU SETUP

Menu . . Ref.
Group No. Function Selections Default Page
. Press SUB to access
51 PF key a33ignment the sub-menu - -
OFF/ A.N./ B.C.l N.R./
NB/ ANT 1/2/1MH2/
CTRL/ CALL/ CLR/
FiNE/ CH3/ CH2/
CH1/ CW TUNE/
51A Front panel PF key SCXNWAnggg/Ml VOICE1 77
A/B/ TF-SET/ SPLIT/
PF keys 0 M.|N/ 0 MR/ DSP
MONI/ RX MONI/
VOICE2/ VOICE1/
MENU 00-62
51 B Microphone PF1 (CALL) key Same as 51A NE 77
51C Microphone PF2 (VFO) key Same as 51A SPLIT 77
51 D Microphone PF3 (MR) key Same as 51A VFO/M 77
. RX
51 E Microphone PF4 (PF) key Same as 51A MONI 77
Split frequency transfer in master/ slave
52 . OFF/ ON OFF 80
Master/ Slave operation
operation Permit to write the transferred Split frequencies
53 to the target VFOs OFF/ ON OFF 80
TX Inhibit 54 TX inhibit OFF/ ON OFF 41
55 Packet communication mode OFF/ ON OFF 49
Packet
. . 4800/ 9600/ 19200/ 9600
56 COM port communication speed 38400/ 57600 bps bps 50
APO 57 APO (Auto Power Off) function OFF/ 69/ 120/ 80 OFF 72
minutes
58 RC-2000 font in easy operation mode FONT1/ FONT2 FONT1 98
RC-2000 59 21:15:30 panel/ TS-2000(X) dot-matrix display 1 to 16 (in steps of 1) 8 75
Configuration
60 Display mode for RC-2000 NP'ECEIRIE/ posmve 98
61 Repeater function Press SUB to access - -
the sub-menu
61A Repeater mode select OFFélfigggED/ OFF 88
TS-2000
Repeater 61 B Repeater TX hold OFF/ ON OFF 88
Functions
K-t e Oni 610 Remote control ID code 000 to 999 000 82
( VP Y)
Acknowledgement signal in external remote
61D control mode OFF/ ON OFF 82
61 E External remote control OFF/ ON OFF 82

25

Page 62

11 SPECIALIZED COM M UNICATIONS

3 Press [LSB/ USB/ AUTO] or [CW/ FSK/ REV] to
select LSB, USB, or CW mode.

4 As the Satellite moves, fine tune to the changing
downlink (RX) frequency of the satellite using the
Tuning control (adjusting the Doppler effect).

- As you adjust the downlink (RX) frequency, the
Trace function automatically changes the uplink
frequency so that the sum of the two
frequencies is kept the same (Reverse Trace).

- If necessary, press [A=B / TRACE] to quit the
Trace function. TRACE" disappears.

- The trace function can also change the uplink
(TX) frequency so that the difference between
the two frequencies is kept the same (Normal
Trace).

5 If you want to switch to the normal trace mode,
press [SPLIT/ REV]. m" disappears.

6 To adjust the frequency on the sub-band display
(normally the uplink frequency) without tracing,
turn the RIT/ SUB control. To adjust it using the
trace function, press [A/B / M/S] to swap the main
band frequency and sub»band frequency then turn
the Tuning control or MULTI/ CH control. The
following table shows which control to use when
adjusting frequencies with tracing ON and OFF.

TRACE/ TRACE/
TRACE R ON TRACE R OFF
Tu?fi\l:)grr:2lltm| Main and Sub Main
cothIJoll-(rgoil-lse) Main and Sub Main

STORING SATELLITE M EM ORY CHANNELS

You can store all the above settings to one of 10
Satellite memory channels for the future operations.

1 Press [M.IN], then turn the MULTI/ CH control to
select a channel from 0 to 9.

Select your desired settings.

Press [M.IN] again to store the selection to the
memory channel. To quit, press [CLR].

Note: The Satellite Memory channel does not hold the frequency
adjustment values when the channel is changed. 50, when you
change the channel number or switch the transceiver OFF, the
ad/ustment frequency values are cleared it they are not stored by
pressing [M.IN].

RECALLING A SATELLITE M EMORY CHANNEL
1 Press [VFO/M / VFO/CH].
' The MULTI/ CH LED lights.

2 Turn the MULTI/ CH control to select the desired
Satellite Memory channel.

3 Press [VFO/M / VFO/CH] to return to the
frequency adjustment mode.

54

SATELLITE CHANNEL NAM E

You can name each Satellite Memory channel using a
maximum of 8 alpha-numeric characters. First, store
the settings to the Satellite Memory channel {above}.
To store the Satellite Channel name:

1 Press [M.IN] then turn the MULTI/ CH control to
select the Satellite Memory channel.

Press [DISP].

An entry cursor appears. Select a character by
turning MULTI/ CH control, then move the cursor
using [SUB] or [MAIN]. You can also use the
other methods to enter the characters. Refer to
page 63 for details.

4 Press [M.IN] to store the name to the Satellite
Memory channel. Press [CLR] to quit.

5 The stored Satellite Memory name appears on the
main dot-matrix display.

QUICK M EM ORY IN SATELLITE M ODE

While in the Satellite mode, only 1 Quick Memory
channel is available. It uses Satellite Memory
channel 9 to store the settings. To store the settings
to the Quick Memory in Satellite mode, press
QUICK MEMO [MN]. The settings are stored to
Satellite Memory channel 9.

To recall the Quick Memory, press

QUICK MEMO [MR] or select Satellite Memory
channel 9, using the MULTI/ CH control. Satellite
Memory channel 9 is recalled.

CHECKING THE UPLINK FREQUENCY

When you need to monitor the uplink (TX) frequency,
press [TF-SET]. Each time you press [TF-SET], the
uplink (TX) frequency and the downlink (RX)
frequency are swapped.

USING XIT/ RIT IN SATELLITE MODE

You can also use the RIT or XlT function while in the
Satellite mode. Press [RIT/ CW TUNE] or [XIT/ ALT]
to activate the function. When the RIT or XIT function
is ON, the sub-band frequency display shows the
current RIT or XIT offset frequency instead of the
operating frequency. To clear the RIT or XIT offset
frequency, press [CLEAR],

Note: You cannOt activate both the FllT and XIT functions at the
same time in the Satellite mode.

CHANGING THE FREQUENCY BAND

If you need to change the uplink and/or downlink
frequency band, press [CTRL] to move the icon
to the frequency band that you want to change.
Then, press [+]/ H to select the band you want to
operate.

Page 120

21 APPENDIX

Command . .
Name Short Default Parameter Description
Specifies the period of random number generation intervals
SLOTTIME SL 3 0 ~ 250 for the PERSIST/SLOTTIME method. The unit of the
parameter is 10 milliseconds.
When ON, causes the TNC to display all received packets
TRACE TRAC OFF ON/ OFF in their entirety.
~ Specifies the number of transmission retries programmed in
TRIES TRI 0 0 15 the retry counter.
~ Specifies the time delay between PTT ON and the start of
TXDELAY TX 50 0 120 transmission. The unit of the parameter is 10 milliseconds.
Cali1 (VIA Specifies call signs to send a packet in Unprotocol mode.
UNPROTO U CO call2, cali3, Cal|1 is the call sign of the destination. Ca||2 to ca||9 are
call9) call signs of stations to be digipeated through.
Causes the TNC to perform software flow control when ON,
XFLOW X ON ON/ OFF or hardware flow control when OFF.
Nate:

9 If you are using a PC with a communication program to control the built-in TNC, prepare the H's-2320 cable (straight) to connect with the COM
terminal of the transceiver. Then, access Menu No. 56 and select the same communication speed and communications parameters. Other
than 4800 bps, the parameters must be set to 8-bit, 1-stop bit, and non-parity 4800 bps is also used for the Quick Data Transfer function
{page 80} and the communication parameters are fixed as 8-bit, 2-stop bit, and non-parity.

9 To use the above commands, you must operate the transceiver in Packet communication mode. The default operation mode is PC Control
Command mode {page 113}. To switch to Packet communication mode, either set Menu No. 55 to ON" {pages 25, 49} or key in "TO 0"

{page 138}.

112

Page 147

21 APPENDIX

TD Sends the DTMF memory channel data. Parameters:
P1
1 2 3 4 5 6 7 10 00 ~ ()9 (DTMF memory channel number)
Set T D P1 P1 ; If no data is stored in the channel, no data is sent.
1 2 3 4 5 6 7 10
Read
1 2 3 4 5 6 7 10
Answer
TI Reads the TNC LED status. Parameters:
P1
1 2 3 4 5 6 7 10 o: 9.6K LED is OFF, 1: 9.6K LED is ON
P2
Set 0: STA LED is OFF, 1: STA LED is ON
P3
1 2 3 4 5 5 7 1° 0: CON LED is OFF, 1: CON LED is ON
Read
T | ;
1 2 3 4 5 6 7 10
Answer T l P1 P2 P3 ;
TN Sets or reads the sub-tone frequency. Parameters:
P1
1 2 3 4 5 6 7 1o 0 ~ 39
Set T N P1 P1 , Refer to page 35 lor the tone numbers.
1 2 3 4 5 6 7 10
Read T N ;
1 2 3 4 5 6 7 10
Answer T N P1 P1 ;
TO Sets or reads the TONE lunction ON/ OFF. Parameters:
P1
1 2 3 4 5 6 7 10 O: TONE OFF
Set 1 : TONE ON
T 0 P1 ; 2: Emulates switching TONE ON (Set only)
3: Emulates switching TONE OFF (Set only)
1 2 3 4 5 6 7 10
Read
T O ;
1 2 3 4 5 6 7 10
Answer T 0 P1 ;
TS Sets or reads the TF-SET function status. Parameters:
P1
1 2 3 4 5 6 7 10 O: TF-SET OFF
SEt 1: TF-SET ON
T S P1 ; When the transceiver is operating in simplex mode.
P1
1 2 3 4 5 6 7 10 o: REVERSE ON
Read T S , 1: REVERSE OFF
' Every time you send TSt ; the REVERSE function toggles.
1 2 3 4 5 6 7 10
Answer T 8 P1 ;

139