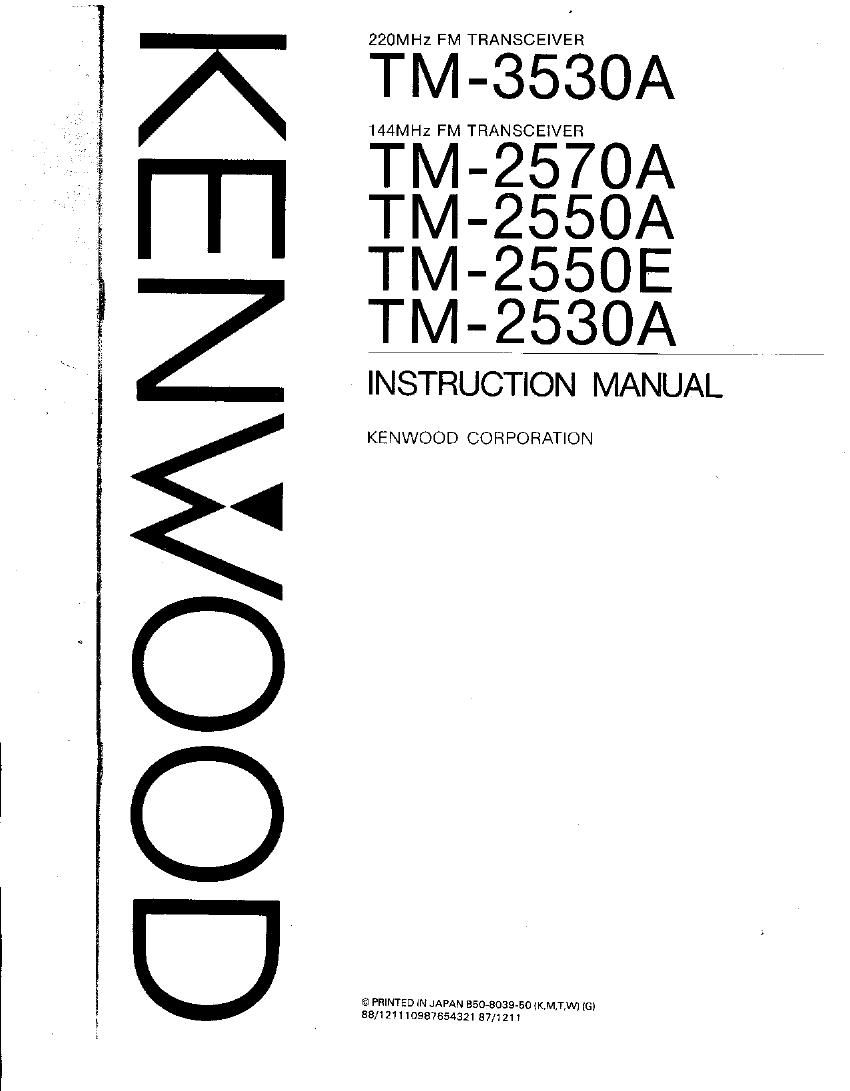
Kenwood TM 2550 E Owners Manual

This is the 66 pages manual for Kenwood TM 2550 E Owners Manual.
Read or download the pdf for free. If you want to contribute, please mail your pdfs to info@audioservicemanuals.com.

Page: 1 / 66
left right
Kenwood TM 2550 E Owners Manual

Extracted text from Kenwood TM 2550 E Owners Manual (Ocr-read)


Page 2

Thank you for purchasing the new TM-3530A/2570A/2550A/25505/2530A IranS-
ceiver. Please read this instruction manual carefully before pleoing your transceiver in
service. This unit has been carefully engineered and manufacmred to rigid quality stana
dards. and should give you satisfactory and dependable operation for many years

This Instruction Manual covers the following models:
TM-3530A 220 MHZ FM transceiver with KENWOOD brand
TM-257OA 144 MHz FM transceiver with KENWOOD brand;
TM-2550A 144 MHz FM transceiver with KENWOOD brand
TM-2550E 144 MHz FM transceiver with KENWOOD brand;

(UK. and Europe version)
TM-2530A 144 MHz FM transceiver with KENWOOD brand.

When there are differences in operation separate instructions will be given for each
model, Illustrations show the TM»2 550A.

The following explicit definitions apply in this manual:

Note: If disregarded. inconvenience only, no risk of equipment damage or personal
injury.

Caution: Equipment damage may occur. but not personal inJury.

Page 9

It is
mp-

the
da-

0A.

B. Connection of another DC source

TM-3530A/2570A] "69""alod DC
2550A/25505/ WESUWV


i Standard voltage: 13.8 VDC

i Current capacity: TM-Z570A: 16 A
TM-2550N2550E: 1 D A

TM-3530A/2530A: 7 A

3~2-3. Mobile
A. Wiring on installation on the car,

Note:

Preferably. the voltage should be adjusted to
13.8 VDC. The regulated supply should be
equipped with a built-in protection circuit 10!
both overcurrent and overvoltage.

I
|
|

Caution:

used. J

A battery charging power supply cannot be

Make sure the positive M and negative (w) lead polarities are correct when wiring to the battery.

Engine compartment *- M Passengercompartment
FuseIZOAJ /

Red

Black

\

Fuse (20A)

6') G) Select the location
where the power cable

is protected from heat.
moisture or abrasion
secure the cable.

Notes:

Chassrs or Fire wall

To the set

Make sure the cable
does not directiy cone

tact the edge of the hole
by using a grommet


i


0 Before installing the power cable, be sure to remove the negative lead from the battery for safety.
0 After installation and wiring, be sure to double check for correct installation belore reconnecting the negative lead to

the batte ry terminal

. lithe fuse opens, be sure to check that each conductor has not been damaged by short-ctrcuiting, etc. Then replace

with a new fuse of the same rating.

0 After completing the wiring. wrap the fuse holder with tape to protect against moisture.

0 Do not cut out the fuse even if the power cable is too long.

I It the Wiring hole in the tire wall or chassis is too small, disassemble the fuse holder to thread the wire through the

hole.

B. Ignition noise

This transceiver is designed to suppress ignition noise;
however, if excessive noise is present, it may be neces
sary to use suppressor spark plugs (with resistors).

The PG-3A DC line noise filter is available as an optional
accessory for additional filtering, if required. (Except
TM-2570Al

From passenger compartment -

W:

The lead like this

3-2-4. Antenna

Note that the SWR at your antenna should be less than
1.5. A high SWR will cause the TM-3530A/2570A/
2550A/255OE/2530A protective circuit to operate, re-
ducing the transmit output power.