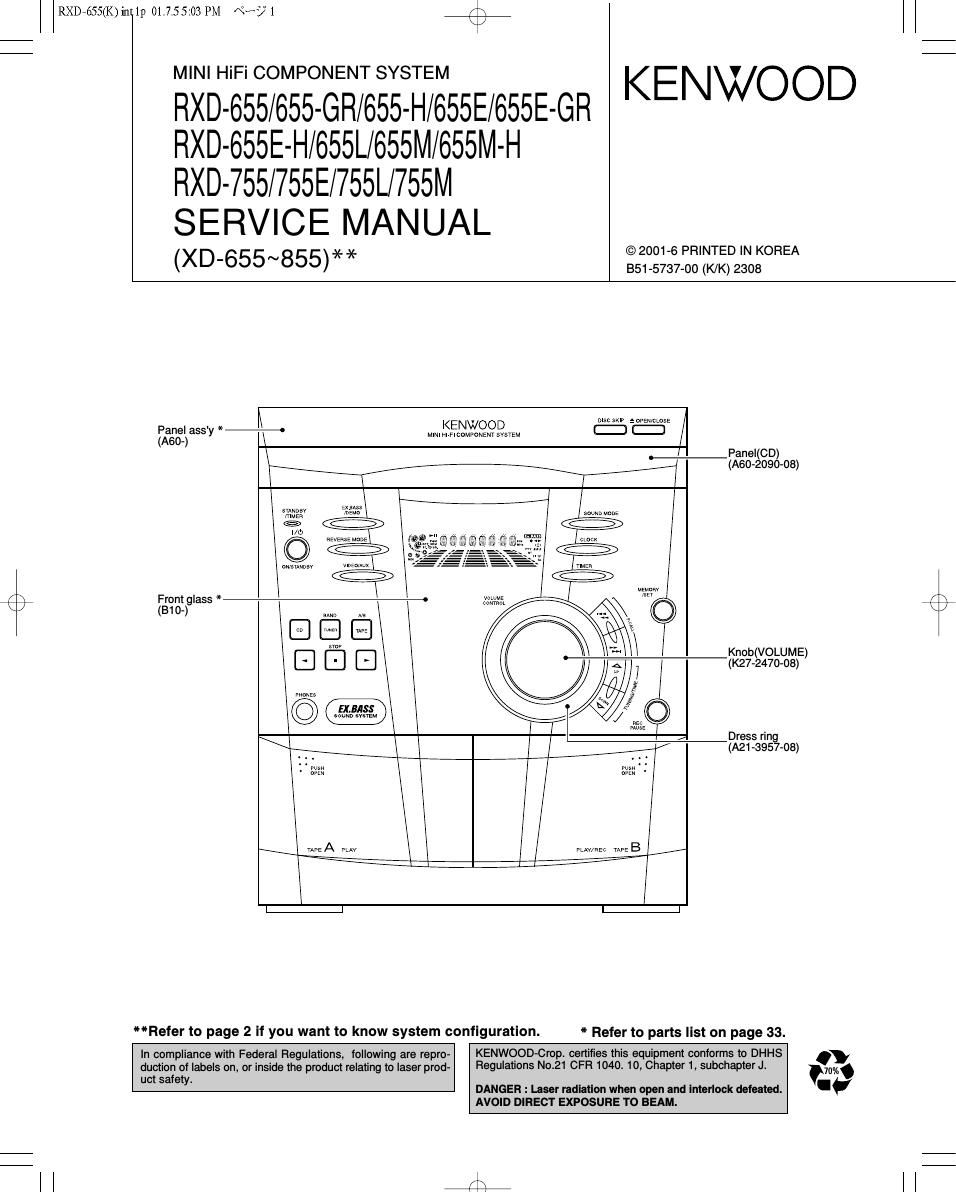
Kenwood RXD 755 Service Manual

This is the 34 pages manual for Kenwood RXD 755 Service Manual.
Read or download the pdf for free. If you want to contribute, please mail your pdfs to info@audioservicemanuals.com.

Page: 1 / 34
left right
Kenwood RXD 755 Service Manual

Extracted text from Kenwood RXD 755 Service Manual (Ocr-read)


Page 1

RXD7655(K) int 1]: 01.7.55:03 PM «>91 +
MINI HiFi COMPONENT SYSTEM V

RXD-655/655-GR/655-H/655E/655E-GR KENWOOD
RXD-655E-H/655L/655M/655M-H

RXD-755/755E/755L/755M

SERVICE MANUAL
(XD-655~855) * * ©2001-6 PRINTED IN KOREA

B51-5737-00 (K/K) 2308

{Efrem * --\ KENVOOD t: :1
. l Panel(CD)
(ABC-209008)

sown MODE

olerANDav vim cum

r\
\/

mm
comm

Front glass *
(B1

Knob(VOLUME)
E] E] [Z] (K27-2470-08)
©
Dress ring

(A21 -3957-08)

. pm
om

WEA my wage WEB

/


I-l I-l
MRefer to page 2 if you want to know system configuration. * Refer to parts list on page 33.
In compliance with Federal Regulations, following are repro- KENWQOD-CTOP- certifies this equipment conforms 1° DHHS .
duction ol labels on, or inside the product relating to laser prod- Regulatlons N021 CFR 1040 10, Chapter 1, subchapter J- 70%.
uct safety. - V

DANGER : Laser radiation when open and interlock defeated.
AVOID DIRECT EXPOSURE TO BEAM.

l l A?

Page 13

RXD7655(K)iI1t1p 01.7.5 5:03 PM \°-/° 13 /\
\/

RXD-655/ 755
CIRCUIT DESCRIPTON

3-3 Contents of the Test Mode Enterthe Test Mode
3-3-1 CD Test Mode l

CD TEST

OPEN/CLOSE operation is using manual

l

<< i>, << DD DDI >> buttons make picks slide possible.

<< PLAY >> key input << MEMORY >> key input

Jr
Laser ON.

<< MEMORY >> key input


Do TOC IL. Do normal play
When these following key is input
into PLAY key, track number can
be appoint directly

<< MEMORY >>
ke in ut Tracking OFF play at that
y 3 specific point
Adjustment result << MEMORY >> key input
automaticallyWIll Remote Controller Only
display as below
for each 2 $90 I < a)"F0FFAX " < b)"TOFFAXX" < C "TBAL XX" .
(1))..TGAEXXI. << MEMORY >> key Input
r \ l)"FGANiXX" l
L / Q) RFLSAXX Adjustment result automatically will
display as below for each 2 sec :
a)"F0FFAXX"
b)"T0FFAXX"
<< STOP >> key input c)"TBAL XX"
d)"TGAi\:XX"
l)"FGANiXX"
STOP g)"RFLSAXX"

<< STOP >> key input
XX :Hex value
Sliding the PICKUP with STOP

<< i>, << DD i>i>l >>button
must only be in STOP mode.

3-3-2 Software Reset

Function: - Software RESET.
- All the function condition will be initialize.
- It will jump to A operation in case of power ON.
- After display CLEAR ALL", power will off.
- Forwarding condition set for CD changer.
- Forwarding condition set for TAPE meCha.

"CLEAFLAL" display

CLEAR AL

13

Page 16

RXD7655(K)ii1t1p 01.7.5 5:03 PM \°-A/° 16 /\

RXD-655/755

ADJUSTMENT

TUNER SECTION

fL : Low-range frequency
fH : High-range frequency

0 AM IF/RF
Signal generator : 400HZ. 30%. AM modulated
Test Stage Frequency Frequency Display Setting/Adjusting Partslnstrument Connection
AM IF 450kHz 1620kHz T351 *1
AM Band Coverage - 522kHz (fL) : T306 1.110.1V *2
AM Tracking 990kHz 990kHz (fL) : T303 *1
>1: 1. Input Antenna Output : TP302
at: 2. Input Antenna Output : TP301
FMWENNA AM LOOP ' FM

ANTENNA

Notes
MEI- 1

. Description of the "FM IF Adjustment" is not carried on this manu-

Tana

[W . AM al.
mm 6) "mm It is because the IF coil in the FM front end section has been best
72:? was adjusted in the factory so that its further adjustment is not needed
"anagram at the field. When replacing the FM front end assembly, no adjust-
AtM am ment is needed either.
ma COVERAGE 2. The parts in the FM front end section are prepared in a complete
U muz m unit. so you can't obtain each part individually.
AM 4;
AmuSTMENT POINTS
(Component Side view)
/\
K / CD SECT|0N CD ERROR CODE DESCRIPTION

- Adjustment

Since this CD system incorporates the following automatic
adjustment functions. readjustment is not needed when
replacing the pickup. Therefore, different PWBs and pickups
can be combined freely.

Each time a disc is changed, these adjustments are
performed automatically. Therefore, playback of each disc
can be performed under optimum conditions.

Items adjusted automatically

(1) Offset adjustment (The offset voltage between the head
amplifier output and the VREF reference voltage is
compensated inside the IC.)

* Focus offset adjustment
* Tracking offset adjustment

(2) Tracking balance adjustment (waveform drawing 12-2
EFBL)

(3) Gain adjustment (The gain is compensated inside the IC
so that the loop gain at the gain crossover frequency will
be OdB.)

* Focus gain adjustment
* Tracking gain adjustment

Error State Code

[Servo System Error]
0001 Cannot detect Pickup-in SW
0002 DSP access error

[Error during close operation]
0101 Open/Close SW not functioning (Low ~> High)
0103 Open/Close SW not functioning (High a Low)

[Error during open operation]
0201 Open/Close SW not functioning (Low ~> High)
0203 Open/Close SW not functioning (High a Low)

[Error during skip operation]

0302 Pickup-in SW is not detected

0306 During Disc 1 search, Open/Close SW or Clamp SW
or Disc SW do not change to low.

0307 Clamp SW not function (Low ~> High)

0308 Clamp SW not function (High ~> Low)

mm V (mm mm."
ems-my cxummv cka 5mm
.1

at m . ca 1.1 v)
i 2113/:

A PDQ

i;__._.u .

EFEL

.gmr
h mu
mm
mm

a...» .m smut.» mm:

mm. m cm: um um. um m.smm.£
mm. m. my m, a m..mm,
cm. m M,
cm: m can",

16 Figure12-2