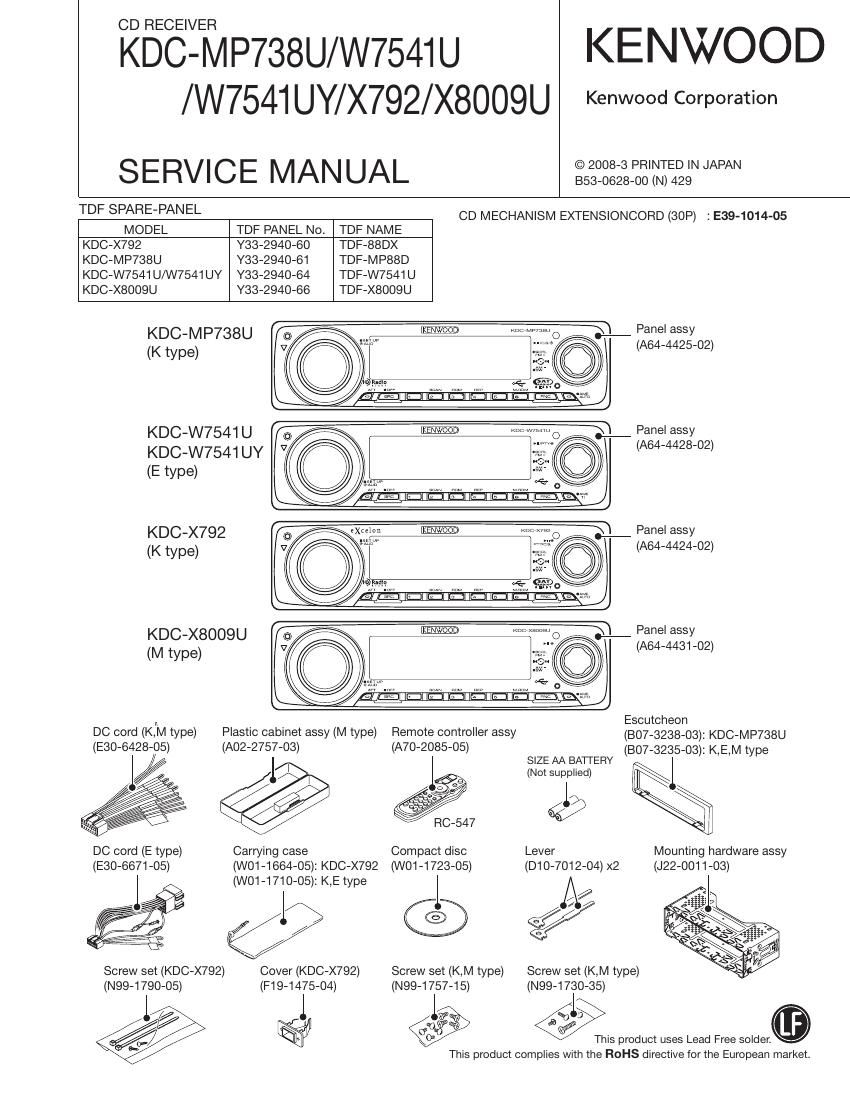
Kenwood KDCW 7541 UY Service Manual

This is the 54 pages manual for Kenwood KDCW 7541 UY Service Manual.
Read or download the pdf for free. If you want to contribute, please mail your pdfs to info@audioservicemanuals.com.

Page: 1 / 54
left right
Kenwood KDCW 7541 UY Service Manual

Extracted text from Kenwood KDCW 7541 UY Service Manual (Ocr-read)


Page 20

KDC- M P738U/W754l U
/W7541UY/X792/X8009U

20

TEST MODE

Table 1-Version & Service information display mode

Table 2-CD information display mode

[1] Key pressed briefly: Version is displayed

key (Display) CO713WK7SYS123

(Display) STYPE: xx7PAN1.11

(Display) PTYPE: x7MEM3.21a

*1 STYPE indicates system p-com destination, and
PTYPE indicates panel p-com destination, and
show real-time condition of the destination termi-
nal

*2 The a" at the end of Version code of MEM
indicates 64 Color Flash, the b" does 64 Color
Mask, and the c" does Mono.

[2] Key pressed briefly: Serial No. is displayed (8 digits)
key (Display) SNo7xxxxxxxx

[3] Key pressed briefly: Power ON time is displayed.
key Press and hold: To clear Power ON time (Press
and hold for 2 seconds while the Power ON time is

[AM] displayed.)
key (Display) PonTim70H> When less than 1 hour,
T display by increment of 10
minutes.)
xxxxx (00001-10922 is displayed
for xxxxxx.)

MAX 10922 (hours)

[4] Key pressed briefly: CD operation time is displayed.
key Press and hold: To clear CD operation time (Press
and hold for 2 seconds while the CD operation time

i is displayed.)
(Display) CDTim70Hxx7 (00~50 is displayed for xx".
[FM] When less than 1 hour,
key display by increment of 10
minutes.)
xxxxx (00001-10922 is displayed
for xxxxxx.)

MAX 10922 (hours)

[5] Key pressed briefly: Number of CD EJECT times is
key displayed.

Press and hold: To clear CD EJECT times (Press
and hold for 2 seconds while the CD EJECT time is
displayed.)

(Display) EjeCnt7xx><>

[6] Key pressed briefly: Number of times panel is

key opened/closed is displayed.

Press and hold: To clear PANEL open/close count
(Press and hold for 2 seconds while the PANEL
open/close time is displayed.)

(Display) PnCnt7><><>< MAX 65535 (times)

[NI] key Key pressed briefly: Invalid

Press and hold: To clear the service information that
is being displayed. (Press and hold for 2 seconds
while each service information is displayed.)

[FNC] key Key pressed briefly: Version & Service information
display mode OFF

IZC communication condition and CD mechanism error log

display

(Display) 1207..

(Display) ERR71-AA, 2-AA, 3-AA

* OK or NG is displayed for 0.". / - or the error
code is displayed for A/A.

[AM] . .
ke CD loading error log display
y (Display) Load7Error
T (Display) 7(1) xx7 (2) xx

(Number of times is displayed for xx.) MAX 99 (times)

CD e]ection error log display

(Display) Eject7Error7

(Display) 7(1) xx7 (2) xx

(Display) 7(3) xx7 (4) xx

(Number of times is displayed for xx".) MAX 99 (times)

J, CD time code error count data display (missing counts)
(Display) Count7Lose

(Display) 7CDDA7: xx

(Display) 7CDROM: xx

(Number of times is displayed for xx.) MAX 99 (times)

[FM]
key

CD time code error count data display (count not updated)
(Display) Count7Stay

(Display) 7CDDA7: xx

(Display) 7CDROM: xx

(Number of times is displayed for xx.) MAX 99 (times)

[NI] Key pressed briefly: CD information display mode OFF
key Press and hold: To clear entire CD information (Press and
hold for 2 seconds)

O Initializing AUDIO-related setting value
Press the [NI] key briefly in the STANDBY source to reset
the AUDlO setting value to the test mode default value.

0 Flash ROM check (Flash ROM installation panel)
1. After entering the test mode, read the manufacture code
of the Flash ROM, and the FROMCHK terminal of the pin
100 repeats the Hi->LowaHi...." under the normal con-
dition.
Output Low" under the abnormal condition.
When the manufacture code is normal, press [AM] key
briefly to start checking the connection at all the termi-
nals. When the connection is normal, terminate the rep-
etition of Hi->Low->Hi...." At the FROMCHK terminal,
and output Hi".
When the connection is not normal, output Low".

2. If the [AM] key is pressed and held for 2 seconds while
all lights are on, Flash ROM data is initialized.
While the deletion is executed, Data7Erase....
played.

(Note) Do not touch anything while this is being dis-

is dis-

Page 22

KDC- M P738U/W7541 U
/W7541UY/X792/X8009U

22

TEST MODE

0 Clearing backup / installer memory & CD mech-

anism information & service information & DC
offset error detection information
(Clear E2PROM data in the front end)

. While pressing and holding the [FNC] and [ATI] keys, re-

set-start to start initializing the backup/installer memory

data, CD mechanism information, service information

and DC offset error detection information.

(While ----" is being displayed, power can be ON for 30

minutes.)

[CD mechanism information]

0 Displays I2C communication condition

' Displays CD mechanism error log

0 Displays CD loading error data.

U Displays CD ejection error data.

' Displays CD time code error count data (missing
count).

U Displays CD time code error count data (count not up-
dated).

[Service Information]

- Displays power ON time is displayed.

0 Displays CD operation time.

0 Displays number of CD EJECT times.

0 Displays number of times panel was opened/closed.

- Displays forced Power OFF data.

[DC offset error detection information]

0 DC offset error detection display 1

0 DC offset error detection display 2

. After the initialization process is completed, the following

is displayed.
When successfully completed
E2P70LR: O

When finished but unsuccessful: Initialization NG

E2P70LR: X

. In this mode, even if the specified time has passed, the

backup memory items are not written into E2PROM.

. This mode is cancelled by resetting. (The last screen will

not be retained.)
(Note) In this mode, the DC error detection display, Pro-
tect" is not shown.

0 Clearing DC offset error detection information

(Clear E2PROM data in the front end)
. Press and hold [3] and [6] keys and reset-start to go into
the DC offset error display mode.

(While ----" is being displayed, power can be ON for 30
minutes.)
2. While in STANDBY source, the current DC offset error
detection condition is displayed.
DC offset error detection display 1 (To show such detec-
Upper tion as the improper connection, and other detection)
row (Display) DCLOK, (not detected)
ERR (Improper connection or other error
is detected.)
DC offset error detection display 2 (To show the number
of capacitor leaks.)
Middle (Display) DC270i (notdetected)
row 1 (Leak Is detected once.)
2 (Leak is detected twice.)
3 (Leak is detected 3 times.)
4 (Leak is detected 4 times or more.)

3. While the DC offset error detection condition is being

displayed as above, press and hold [1] key for 2 seconds
to clear the information about the improper connection,
and other detection. Press and hold [2] key for 2 seconds
to clear the information about the number of capacitor
leaks. (Clear E2PROM)

. DC offset error display mode is cancelled by resetting.
(The last screen will not be retained.)
(Note) In this mode, the DC offset error detection display,
Protect is not shown.

0 FM/AM channel space switching (K/ M type FM

(50k<->200k), AM (gm-non)

I While power is OFF, press and hold [1] and [5] keys, and

press [SRC] key to power ON.

0 Security
- How to enter the forced POWER ON mode (all models)

While 7 7 7 7 is being displayed, while simultaneously
pressing [FNC] key and [4] key, press [RESE'I] button,
With this, it is possible to turn the power on for 30 min-
utes only.

- How to register the security code on the Car Audio

Passport" sheet after replacing EZPROM (code security

models)

1. Enter the test mode. (Refer to How to enter the test
mode")

2. Press the [FNC] key briefly to make the multi-function
display and press the [NI] key briefly to enter the