Kenwood KD 55 RC Owners Manual

This is the 8 pages manual for Kenwood KD 55 RC Owners Manual.
Read or download the pdf for free. If you want to contribute, please mail your pdfs to info@audioservicemanuals.com.

Page: 1 / 8
left right
Kenwood KD 55 RC Owners Manual

Extracted text from Kenwood KD 55 RC Owners Manual (Ocr-read)


Page 1

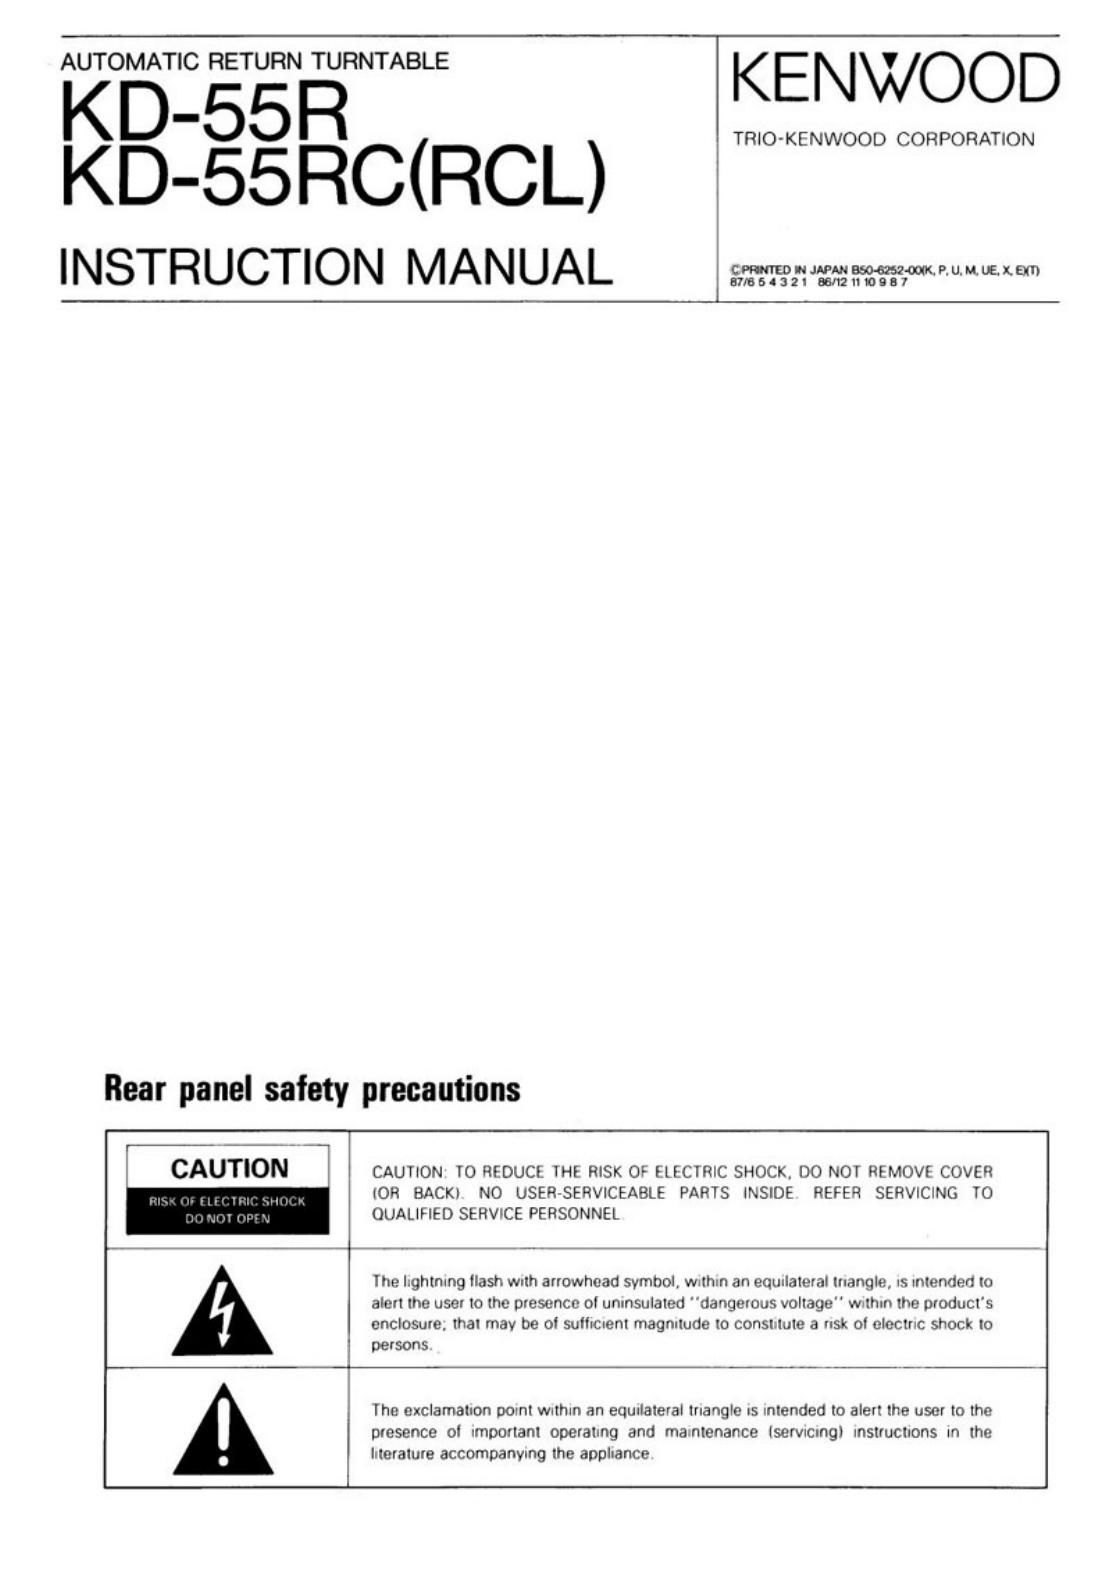
AROBT: gTUsRNfiRNTABLE iEqugND
K D - 5 5 R C (R C L

INSTRUCTION MANUAL gmmzzmwmwm

Rear panel safety precautions

CAUTION CAUTION TO REDUCE THE RISK OF ELECTRIC SHOCK, DO NOT REMOVE COVER
I0R BACK! N0 USER-SERVICEABLE PARTS INSIDE REEER SERVICING TO

QUALIFIED SERVICE PERSONNEL

Ihe IIghtnIng {lash wvlh anowhead Symbol. wuhm an eqmlaleral mangle, Is Intended to
alert lhe use! lo the pvescnce of unmsulaled "dangerous voltage" wth lhe product's
enclosme, the! may be 0! sufiICIenI magnIlude Io constdlule a "sh o! electnc shock lo
persons

The exclamauon pom! wuthIn an equIlateral tnanglc Is Intended to alert "18 user to the
plesence of Imponam operatnng and ma:nlenance lsemcmg) Instrucllons In the
Merature accompanyIng the appluance

Page 2

Before applying power

htroductlon

Your choice of this product indicates that you are a devotee to
excellence in sound reproduotion.

We apprectate your patronage and take pride in the
long tradition at quality components, that our company
represents.

So that you can get the most out at your unit, we
suggest that you take the time to read through this manual
belore you hook up and operate your system. This will ac-
quaint you with operaling leatures. and systemconnection
considerations. so that your listening pleasure will be enhanc-
ed right from the start. You will notice that in all aspects of
planning, engineering, styling. operating convenience and
adaptability, we have sought to anticipate your needs and
desires.

Keep this manual handy Ior Iuture relerence.

For yourrocords

Record the serial number, found on the back of the unit, in the
spaces desrgnated on the warranty card. and in the space
provided below. Refer to the model and serial numbers
whenever you call upon your dealer for information or service
on this product.

Model __ Serial Number

Unpacking

Unpack the unit carefully and make sure that all accessories
are put aside so they will not be lost.

Examine the unit lot any possibility ol shipping damage. ll
your unit is damaged or fails to operate. notify your dealer im.
mediately. ll your unit was shipped to you directly, notin the
shipping company without delay, Only the consgnee (the
person or company receivrng the unit) can tile 3 claim against
the carrier lor shipping damage

We recommend that you retain the original carton and pack-
ing materials lor use should y0u transpon or ship the unit in
the Iuture.

Important!
U.8.A.. Canada. Australia. U.l(. ltd atropo
these units are net equipped with an AC voltage selec-
tor swrtch and the discussion at such a switch that
follows should be disregarded.

Al m oat-min

Units shipped to countries other than U.S.A.. Canada.
Australia U.l(. and Europe are equipped with an AC
voltage selector switch on the rear panel. Rater to the
following paragraph tor the proper setting 01 this
switch.

Ac voltage sobctlon

This unit operates on llO - 120 volts or 220 -- 240 volts
AC. The AC voltage selector switch on the rear panel is set to
the voltage that prevails in the area to which the unit is ship-
ped. Before connecting the power cord to your AC Outlet.
make sure that the setting position oi this switch matches
your line voltage. It not, it must be set to your voltage in ac-
cordance with the following direction.

Note:
Our warranty does not cover damage caused by excessive line
voltage due to improper setting at the AC voltage selector switch.

2 xo-ssnrmssac no

1 . Belore plugging in this unit. make sure that the position ol
the AC voltage selector conforms to your line (mains)
voltage. It not, it must be reset See Fig. 1-1.

2 To reset the selector, slide the stopper plate to the op-
posite side with a screwdriver or other pointed tool. See
Fig. 1-2.

3. Insert the power cord securely. See Fig. 1-3.

For United Kingdom

The mains plug must be removed lrom the wall socket
prior to any internal examination

lmportatt
The wires in this mains lead are coloured in accordance
with the lollowing code:

Blue. . Neutral

Brown .. ..... . .................. Live

The wrros in the mains lead must be connected to the
terminals in the plug as lollows

Who color: Pug term matting
Blue ............... . ................... N or Black
Brown ............................... L or Red

OE
Brown to-
Live
Blue to _ . I.
Normal
N
Pluo

"mo:

1) It a Iii-amp plug is used. this must be lined with a S-amp
Iuse

2] It a 23-pin plug wrth oarthing contact is used. no wire must
be connected to the E terminal.

WARNING:

TO PREVENT FIRE OR ELECTRIC
SHOCK, DO NOT EXPOSE THIS AP-
PLIANCE TO RAIN OR MOISTURE.