Kenwood KAC 716 Owners Manual

This is the 4 pages manual for Kenwood KAC 716 Owners Manual.
Read or download the pdf for free. If you want to contribute, please upload pdfs to audioservicemanuals.wetransfer.com.

Page: 1 / 4
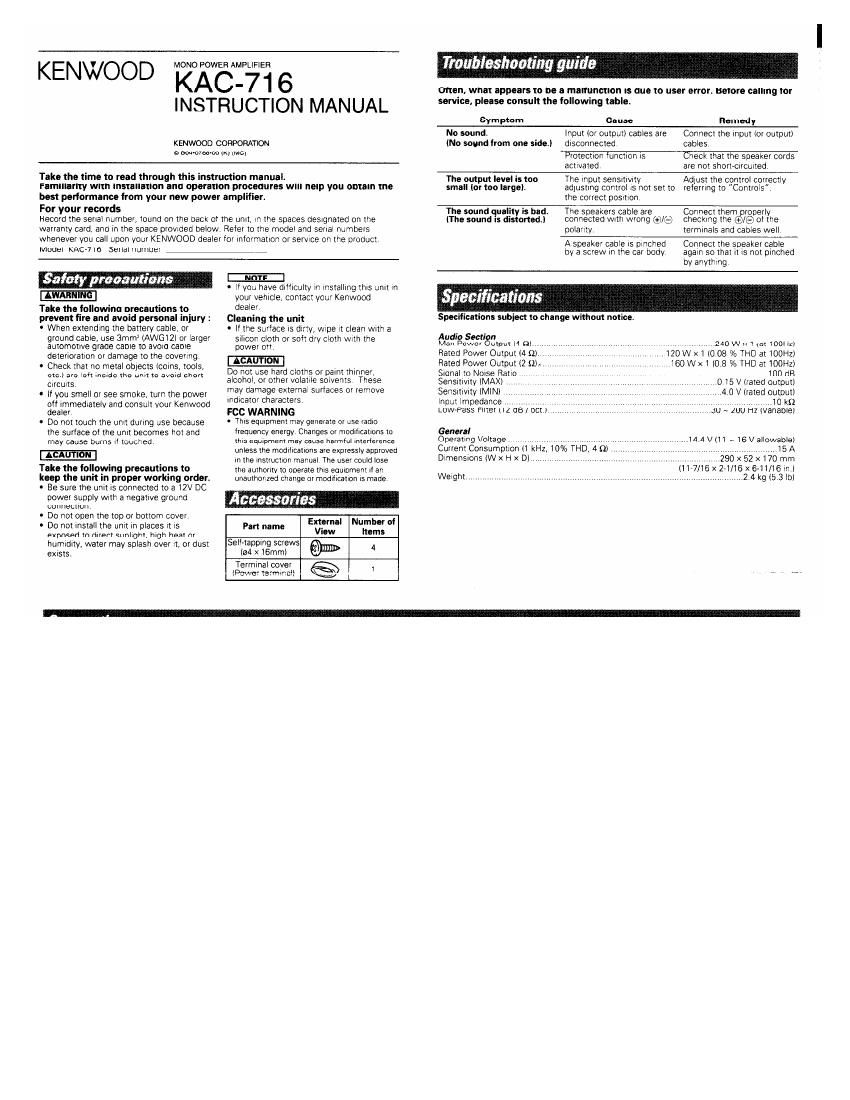
Kenwood KAC 716 Owners Manual

Extracted text from Kenwood KAC 716 Owners Manual (Ocr-read)


Page 1

KENWOOD

MONO POWER AMPLlFIER

KAC-716

INSTRUCTION MANUAL

KENWOOD COFFORATION

e pea-oraaoo rm tmor

Take the time to read through this instruction manual.
Famlllorlty with Install-non and nperlllon proceoures wIII help you oblaln the
best performance from your new power amplifier.

For your records

HeCOld the Serlal number, 10mm 071 the back ol the unll. lFl the spaces oesrgnated on the
warranty card. and in the space ptovrded below Refer to the model and serlal numbers
whenever you call upon your KENWOOD dealer for lrllorrnatlon or servrce on the product

Model KAC~716 Serralrrurlrlrer

Safety precautions

-

Teite the following precautions to

prevent fire nd avoid personal injury :

- When extendrng the battery cable, or
ground cable, use 3mm (AWGlZl or larger
automotrve grade Cable to avorcl cable
deterioratlon or damage to the coverrng.

' Check that no metal oblects looms, tools,
etc.) are ran Inslda the mm! to :vold short
crrculls

- ll you smell or see smoke, turn the power
olt Immedrately and consult your Kenwood
dealer

- Do not touch the unlt durmg use because
the surface oi the unit becomes not and
may cause burns rl touched

Take the following precautions to

keep the unit in proper working order.

- Be sure the unrt is connected to a lZV DC
power supply wrth a negatrye ground
Lulllleulun

- Do not open the top or bottom cover

- Do not rnstall the unrt rn places rt rs
eynnsart m rtrrear errnlrgnr hlgh hear nr
humldlty, water may splash over rt, or dust
exlsts.

- lfyou have drrlrculty ln rnstallrng thrs urltt rn
your venlcle. contact your Kenwood
dealer

Cleaning the unit

- It the surlace ls drrty, wrpe rt clean wrth a
srlicorr cloth or soft dry cloth wrth the
power on

Do not use hard cloths or paint thinner,

alcohor, or other volatrle solvents These

may damage external surraces or remove

mdlcator characters.

FCC WARNING

- Thls eourpment may generate or use radlo
lreuuency energy Changes or modlllcatlons to
thls equipment may cause harmiul Interference
unless the modlllcatlons are expressly annroved
rn the Instructlon manual The user could lose
the authollly to operate thrs eouroment rl an
unauthorrzeo change or modlllcallon ts made

Accessories

External Number ol
View Items

Sell-tapping screws
(04 x lemm) @1111» "

Termlnal cover 1
\ \ |

{Power tarmwcl

Pan neme

Troubleshooting guide

Often, whet appears to be a mellunctlon is due to user error. Before calling tor
service. please consult the following table

Sym prom Cuuae flamedy
No sound. Input (or outputl cables are Connect the Input lot outputl
(No sound from one side.) dlsconnected cables
Protectron functlon rs Check that the speaker cords

aclrvaled are not shon-crrculted

The rnput sensltlvlty Adlust the control correctly
adlustrng control ls not set to relarrrng to "Controls".
the correct posnron

The output level is too
smell lor too large).

The sound on ity is bad. The speakers cable are Connect them properly

(the sound onedJ connected Wlth wrong (gr/e checkrno the (9/9 ol the
polarrty termrnals and cables well
A speaker cable rs prnched Connect the speaker cable
by a screw tn the car body aoarrr so that It rs not prnched
by anythrng
Spearficatwns

Specifications subject to change without notice

AudioSoctl ectign
Max Power utput M n)

Rated Power Output 14 9).,
Rated Power Output l2 :2).
Sronal to Norse Ratro
Sensrtrvrty lMAXl

Sensrtwrty (MlNl

lnpul lmpedance

Low Pass rrrter 2 as / oct l

.. 240w >< l (at tool-a2)

120 Wx1 (Cl 08 % THD at WOOHZ)
160W xl l0 8 /o THD at lOOHZ)

. , 100 dB

0 15 V lrated OuiDuU
..4 0 V lrated outplltl

, 10 kfl

at) - 200 l-tz tvarraolel

General
Operahng Voltage .. . , ...... , ., .lA.A vul - 15V allowablel
Cullen! Consumption ll kHz 10% THD 4m. , .15 A
Drmensrons (WX H X D] ... 290 X 52 X 170 mm
(ll7/16x2-1/16x6-11/16rnJ
.. 24kgl53|bl

Welght

Page 2

0mm: 10"

laystem cwnwctmn

RCA cable ground load terminal
When uamg an ncA cahlc wllh a graultd lead attached warren

Speaker output termini!

mm
Connect the speaker output Do not connect cables and leads to

95 0 659 e'mmas (5 me 9mm '9 0 ""5 e'mna both RCA cable Input lacks and the
(b ltfl'filvfll speaker Input telmlnals
Speaker lermmal polarllv Do not use this terminal tor power source grounding, Thls unlt ;T?":"?°:s'yaggram: mav cause
(9 I e wrll be damaged rt the power source groundmg wile Is a C ° ° 9 ,
connected to this terminal

Lead lermrnal
.lCommercrally avallanle pant Le 0am! (Whltel

¢= CENTER UN 1
We, W Qan- ream W arm
equallzer etc)

morn output lnea)

Vuuuw'vvuw

Power conlrol lead -
lCommermally avallable pan) w" """m'l

Pass battery and ground cables through
supplrea termlnal mm and connect to
respecllve termlnals, After completlng

4? 8 _ connecllons, tasten termrnalcoverover
l termlanl bracket
Suawooler I I Hi
(Monaural) Batterytermlnal
G d I Leadlermlnal
roan tarmm: loommrmn Maw: mt)
. Termlanl cover r p
'"nllm" procedure Power control termmal /
Termlarll cover

LRemove the Ignllan key and disconnect the negatlve
6) termlnal of the battery to prevent short clrcults.

2 Connect the Inpul and output cables of the unlts

3 Connect the speaker cables

4 Connect the ground cable and battery cable tn the order Battery cable
Ilsteu

5 lnstall the um! tn the car

6 Connect the negatlve G) termmal ot the battew

' W the (use blows, check cables for shorts, then replace
the use Wlth one of the same ratlng.

. Chock that no ltnmnnectéd cablas or canneamrs are
touching the car body Do not remuve caps from
unconnected cables or connectors to prevent short
crrcuits.

0 connect the speaker cables to appropriate speaker

Power control
cable

Power control came


Ground Cable

Ground coblo

H a buzzing nolse ls heard from the speakers when the englne ls
mflmng, connect a Ilne nolse hller (opnonall to each at the battery
cable

_

Tu plevelll fire caused by a sllull rn we wlllrlg, ulllllecl
a tusible link or breaker nearbv the battery's posmve
lermrnal.

connectors separately. Sharlng the negatlve cable at the Emery C m "h r d bl m I n fth
speaker or groundrng speakerfcellbles lo the metal body or Ff 1°,th fr?! :: Fifi? 5,2,2: Seaman,
t t. rn. . c, V,

c m can wuac a U" ° 0 electrwlty to the batterys negatlve e termmal. Do not

' After lnstallatlun, check that the brake lamps, wmkers, and

wipers work properly turn the power on lf the ground cable is not connected.