Kenwood HTB 300 Owners Manual

This is the 2 pages manual for Kenwood HTB 300 Owners Manual.
Read or download the pdf for free. If you want to contribute, please mail your pdfs to info@audioservicemanuals.com.

Page: 1 / 2
left right
Kenwood HTB 300 Owners Manual

Extracted text from Kenwood HTB 300 Owners Manual (Ocr-read)


Page 1

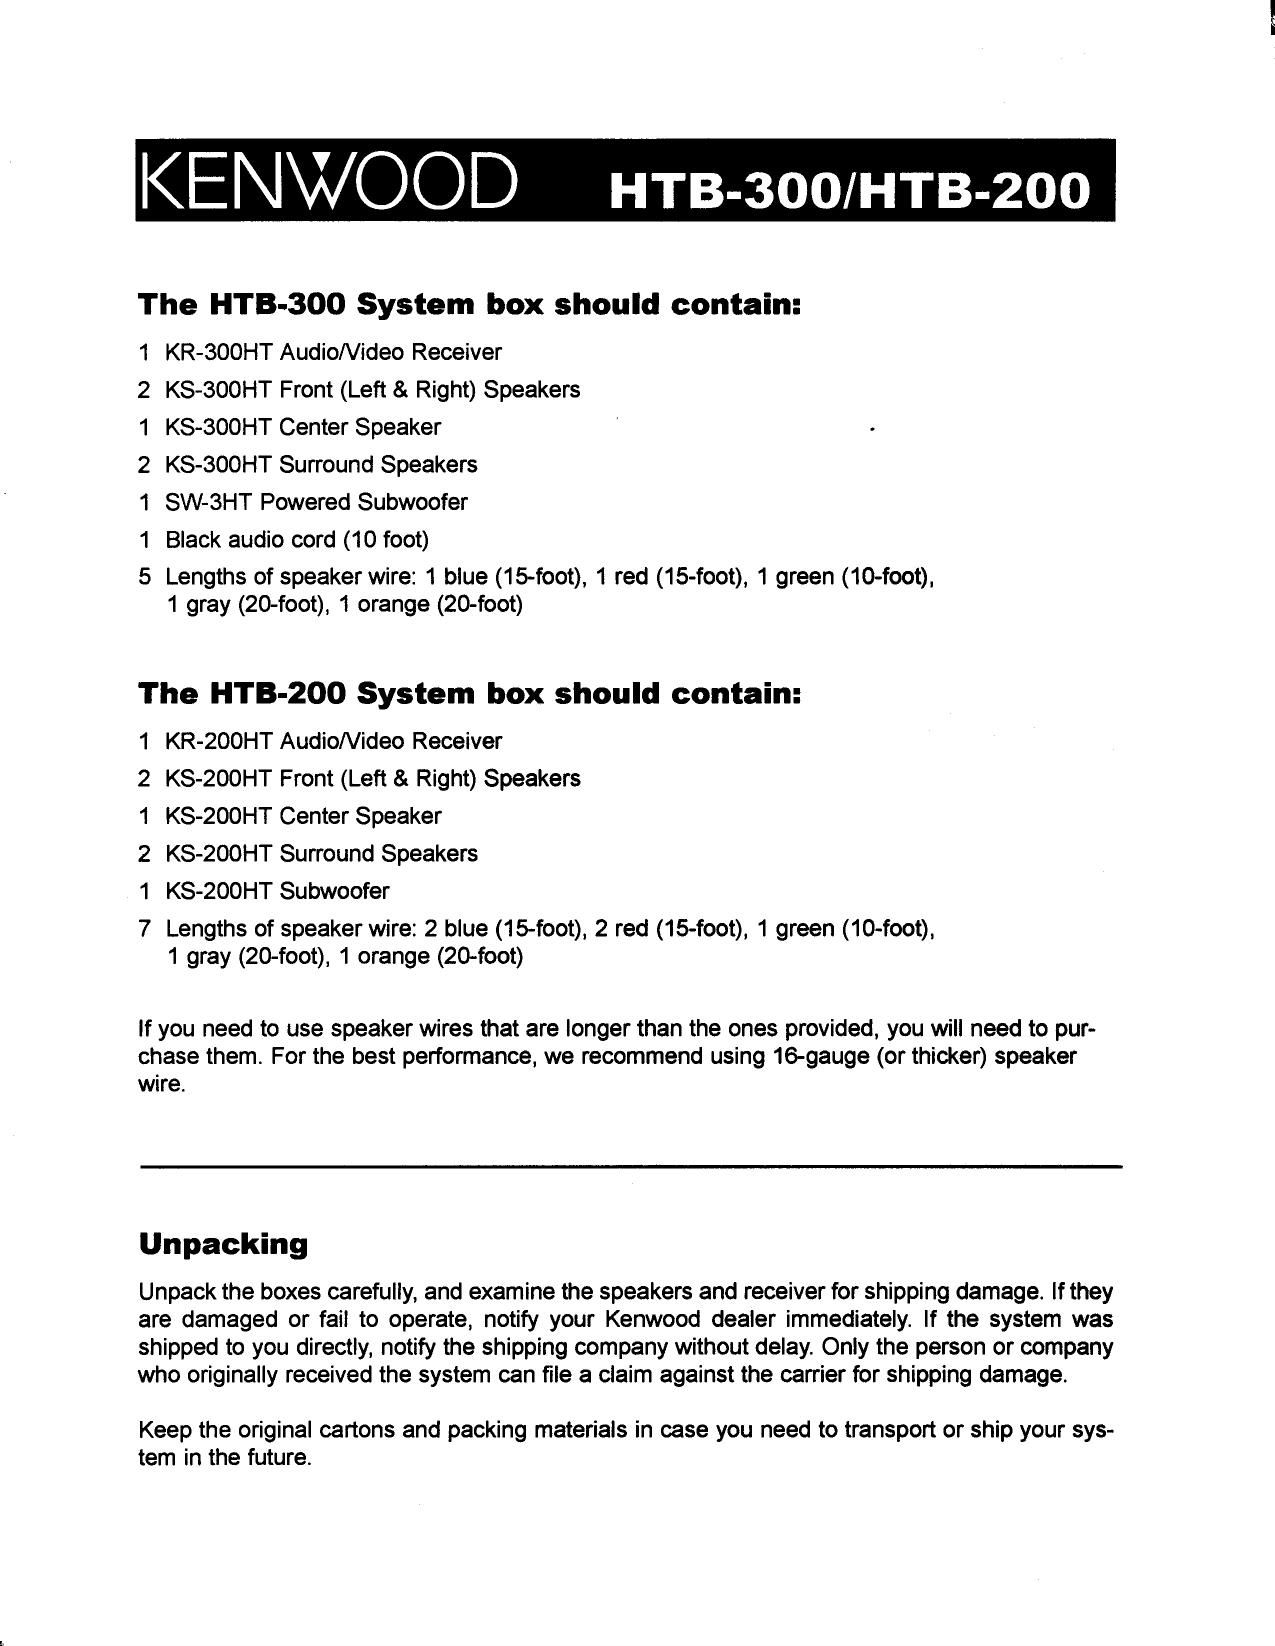
KENWOOD HTB-300/HTB-200

The HTB-300 System box should contain:

KR-SOOHT AudioNideo Receiver
KS-300HT Front (Left & Right) Speakers
KS-SOOHT Center Speaker

KS-SOOHT Surround Speakers

SW-3HT Powered Subwoofer

Black audio cord (10 foot)

Lengths of speaker wire: 1 blue (15-foot), 1 red (15-foot), 1 green (10-foot),
1 gray (20-foot), 1 orange (20-foot)

(Adm-INA

The HTB-ZOO System box should contain:

KR-ZOOHT AudioNideo Receiver
KS-200HT Front (Left & Right) Speakers
KS-ZOOHT Center Speaker

KS-200HT Surround Speakers
KS-200HT Suhwoofer

Lengths of speaker wire: 2 blue (15-foot), 2 red (15-foot), 1 green (10-foot),
1 gray (20-foot), 1 orange (20-foot)

NANANA

If you need to use speaker wires that are longer than the ones provided, you will need to pur-
chase them. For the best performance, we recommend using 16-gauge (or thicker) speaker
wire.

Unpacking

Unpack the boxes carefully, and examine the speakers and receiver for shipping damage. If they
are damaged or fail to operate, notify your Kenwood dealer immediately, If the system was
shipped to you directly, notify the shipping company without delay. Only the person or company
who originally received the system can file a claim against the carrier for shipping damage.

Keep the original cartons and packing materials in case you need to transport or ship your sys-
tem in the future

Page 2

Congratulations!

The HTB-300 Home Theater System will make watching
movies a home more tun than ever To connect your
speakers to the receiver follow the nstructions on this
sheet. To learn how to operate your receiver please read
and follow the instruction booklet included in the receiv-
er's box. it you're also connecting other equipment. such
as a VCR CD player or other source component, use the
receiver's manual in combination with the manuals that
came Wri't those components.

Placing Your Speakers

Place the speakers as shown in the diagram. While you're
setting the speakers up. keep these pornts in mind:

- lithe srbwooter causes discoloration oi the TV picture.

move it away from the TV until the discoloration disappears.

- Srnce the center speaker is magnetically shielded. you
can place it right. on top of the TV Without worrying
about picture discoloration

- You can hang the surround speakers on the wall usmo
heavycuty picture-hangers

- Ptacnig the suhwooter next to a wall yields more deep bass
output than ptacrng It away lrom a wall, Placrng the sun
nooler n a corner yields the deepest bass output overall

connecting Your Speakers

Important: Do not plug the receivers and suhwooler's power
cords into Ac outlets until you have properly connected all at
the speakers.

Connect the speakers as shown in the diagram. in each
case. connect the colored speaker wire to the red terminals
on the speaker and receiver. and connect the black speaker
wire to the black terminals on the speaker and receiver

To make connecting the speakers easier we have coloccoded
the speaker wire and the terminals or the speakers. and we
have ore-stripped the insulation from the ends at the wire.

Connecting the suhwoolor:

The subwooler connects to the receiver using the tO-toot

black audio cord. This gives you the best audio pertur-

mance tram the subwooter.

- Connect one end of the black audio cord to the sub-
wooters connector labeled line, and connect the other
end to the receiver's connector labeled sub wooter me
out. (See main diagram).

The Iubvrootor will Place the center soother m or
sound hood lust trotorv ill cut-r oi your TV. Anglo
about nowhere lt drum or up to arm it dlrootty at
in the room the l sinners.

I ma

Lora-nor Mas-In

ll" lull
mm W
spur than

If you have any questions about your new system please contact our Stage 3 Customer Service Department at 310-639-5300 or visit our Internet website at www.henwoodusa.coni.

Quick Connect Guide

PLAYING MOVIES ON
YOUR SYSTEM _

Togotdioniostuflotyommhlaluloarn
mammotibtunclomwlrown-
MMmmouphiymhmuot
moto-nowlththorocotoardimwc
Wyoummtudtnhumfluonyu
msystemriotitmnaomtashortcut
ummwunoodtofolowarflpapcs
moosdtomdtogotyourmsysbmup
Mmmim

1.

2.
3.

Wmmmbm
autumn)
Durhte-ohockattotyourconnoctiom
PIup-lnttichttoordstorihcrooehensili-
Manon-comm
Yumonthooidnnooiofldopnlsthomar
Withdrawn-It)
Sotthcvolurootoiohonilluomoier's
hookpaocththcfl o'uockposiiton
muummgmwmmnm-
mnwtmototllhoaoomm

6. Mmdnmucmmitm

:"

8.
9.

mummmm
mm
mummmmmm
momma-cinnamon!
(Panto)

rowmmmmmm
inflammation-22)
ramhmtruommra
mayhem

Place he tell Ild right
monitor: on each itfll

oi yourTV. Mellon than:
tor/Int the lists-m
Improve: the stereo ottoct.

Place tho surround

sputum or high I:

walhl. diroslly to till .
sides at the tistenioo area,

within) II the listener:

KENWOOD HTB-300

SW~3HT Powered Suhwooter

TB-200 Quick-Connect Guide on other side.

Wiring 3 Speaker

Right Surround Left Surround

0 Push and hold down lovers.
9 Insert speaker wires.

a) Release levers to secure

\J


h 'Jlt-lLllil rattle


0 Push to open
9 Insert speaker

0 Close lovers to

secure speaker

CeMar Speaker Right Front

Using Your Suhwootor

Your SW-SHT subwooler has several
lealures that mare it easy to setup
and use.

Auto Power OnIOtt

After you turn the suhwoolers power
switch on tor the iirst time the sub~
woolers auto pcwer on/oll feature
wrll shut the suhwooler oil when
you're not using it and turn it on
again when you use your system, It
you will not be csmg your system tor
an extended period at time we rec-
ommend that you turn the subs
wooier's power swrtch otl

Phase Reversal Switch

Since placement Will have some
eltect on how the subwooter blends
wrth the rest ot the speakers. you
can change the subtvooter's phase to
achieve the best blend with the rest
of the system

-isten to some familiar music with
the phase switch in the normal posr-
fion. Then listen to the same music
with the swrtch in the reverse pose
tion Leave the swrtch in the position
that sounds best to you.

Volume Control

During normal operation you erI use
the receiver's subwoofer volume con-
trol to change the subwooler volume.
one is much more convenient than
having to reach behind the subwmter to
tum its volume knob every time you
want to adjust the subwooler's volume.)
See page 23 of the receiver's ownefs
manual tor instnctions on usrng the
receiver's subwooter volume control.
Setting the subwooler's volume knob
to the 11 o'clock position described in
Playing Manes 0n tburSystem should
be adequate tor most situations.
However. you may need to experiment
to find the setting that best suits your
listening environment.