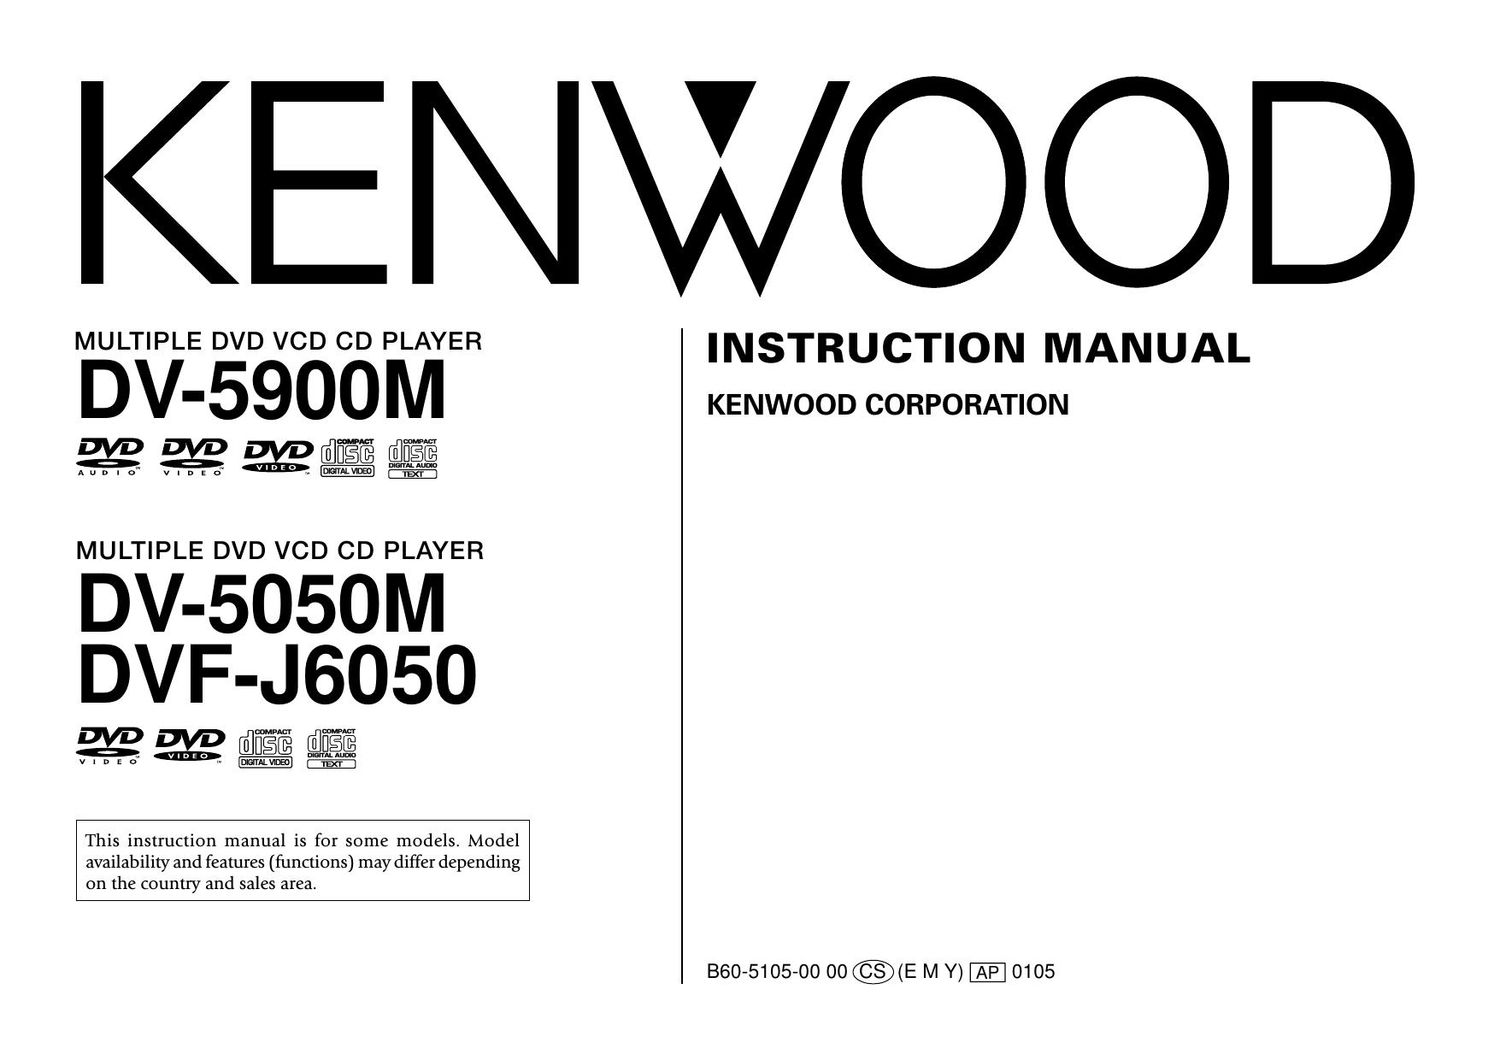
Kenwood DVFJ 6050 Owners Manual

This is the 96 pages manual for Kenwood DVFJ 6050 Owners Manual.
Read or download the pdf for free. If you want to contribute, please mail your pdfs to info@audioservicemanuals.com.

Page: 1 / 96
left right
Kenwood DVFJ 6050 Owners Manual

Extracted text from Kenwood DVFJ 6050 Owners Manual (Ocr-read)


Page 1

KENWOOD

MULTIPLE DVD VCD CD PLAYER INSTRUCTION MANUAL

DV'5900 M KENWOOD CORPORATION

fi <=> % [fl_[I§@ @flfifi

v. umuvuau

MULTIPLE DVD VCD CD PLAYER

DV-5050M
DVF-J6050

m % wage Eilflfifi

"

This instruction manual is for some models. Model
availability and features (functions) may differ depending
on the country and sales area.

860-5105-00 00 @(E M Y) 0105

Page 2

0-1 Before applying power

Units are designed for operation as follows.

For the United Kingdom

A Caution : Read this page carefully to ensure safe operation.

U.S.A. and Canada ........................ AC 120 V only Factory fitted moulded mains plug
Europe and ILK. ........................... AC 230 V only
Other countries .............................. AC 110-240 V

Blue : Neutral

l. The mains plug contains a fuse. For replacement, use only a 13-Amp ASTA-approved (B51362) fuse.
2. The fuse cover must be refitted when replacing the fuse in the moulded plug.

3. Do not cut off the mains plug from this equipment. If the plug fitted is not suitable for the power points
in your home or the cable is too short to reach a power point, then obtain an appropriate safety approved
extension lead or adapter, or consult your dealer.

If nonetheless the mains plug is cut off, remove the fuse and dispose of the plug immediately, to avoid a
possible shock hazard by inadvertent connection to the mains supply.

IMPORTANT : The wires in the mains lead are colored in accordance with the following code:
: Live
Do not connect those leads to the earth terminal ofa three-pin plug.

0-2 Safety precautions

WARNING : TO PREVENT FIRE OR ELECTRIC SHOCK, DO NOT EXPOSE
THIS APPLIANCE TO RAIN OR MOISTURE.

CAUTION: TO REDUCE THE RISK OF ELECTRIC SHOCK,
DO NOT REMOVE COVER (OR BACK). NO USER-
SERVICEABLE PARTS INSIDE. REFER SERVICING TO
QUALIFIED SERVICE PERSONNEL.

CAUTION

RISK OF ELECTRIC SHOCK
DO NOT OPEN

THE LIGHTNING FLASH WITH ARROWHEAD SYMBOL, WITHIN AN
EQUILATERAL TRIANGLE, 1S INTENDED TO ALERT THE USER TO THE
PRESENCE OF UNINSULATED DANGEROUS VOLTAGE" WITHIN THE
PRODUCTS ENCLOSURE THAT MAY BE OF SUFFICIENT MAGNITUDE
TO CONSTITUTE A RISK OF ELECTRIC SHOCK TO PERSONS.

INTENDED TO ALERT THE USER TO THE PRESENCE OF IMPORTANT
OPERATING AND MAINTENANCE (SERVICING) INSTRUCTIONS IN THE

THE EXCLAMATION POINT WITHIN AN EQUILATERAL TRIANGLE Is
A LITERATURE ACCOMPANYING THE APPLIANCE.

The marking of products using lasers
(For countries other than II.S.A., (LS.-
Military and Canada)

CLASS 1
LASER PRODUCT

The marking this product has been classified as Class 1.
It means that there is no danger of hazardous radiation
outside the product.

Location: Back panel

CAUTION

VISIBLE LASER RADIATION

WHEN OPEN. DO NOT
STARE INTO BEAM.

Inside this laser product, a laser diode classified as Class
2 laser radiation is contained as alerted by the internal
caution label shown above. Do not stare into beam.

Location: DVD laser pick-up unit cover inside this
product

Page 17

a : External decoder tvpe & SetUD menu "sound"

Chapter 1: Connection of Equipment

External decorder Dolby Digital decorder DTS Digital Surround MPEG decorder DOIbY Digital/DTS DOIbY Digital/DTS N0 decorder
WP? decorder Digital Surround decorder Digital Surround/MPEC
Setup Function decorder
PCM DOW Yes it Yes Yes x Yes " Yes" Yes "
Conversion
Dolby Digital Bitstream PCM PCM Bltstream Bitstream ICM
DTS Digital DV-5900M DV-S 900M DV-5900M DV-5900M DV-5900M DV-5900M
Surround ICM Bitsueam ICM Bilsueam Bllsueam PCM
Other Other Other Other Other Other

Off Bitsueam Off Bitsu'eam Bltsueam Off
MPEG Multi pCM pCM mu-23m ICM Bitsueam PCM
channel

" If this is set to "No, no audio will be output when DVDs recorded in 96 kHz linear PCM are played. (Audio

will be output as it is the DVD does not have copyright protection recorded on it.)

These changes to digital audio output must be made, otherwise bitstream signals the decoder cannot
handle will be output. If these signals are output, "noise" will be output which can cause harm to your ears

and speakers.

17

I 1915111113

Page 32

Chapter 3

Chapter 3: Basic Operation

3-16 Forward search and reverse
search

32

During playback, press the « or » button on the
remote

. This operation is not available with a MP3 disc.
(DV-5900M only)

0 When OSD is displayed, pressing the ON SCREEN
button turns it off and shows the speed in place.

0 The first press of the « or » button starts
forward search or reverse search at the lowest speed
step. Each further press increase the speed up to
the fifth speed step.

The TV screen shows the speed as shown above.
The indicator varies according to the speed of the
forward search or reverse search.

The display of the player shows the time display or
" SEARCH >>" according to the status of the disc
and player.
Displayed during P.B.C. playback of VCD.
Displayed during playback of a DVD with
which the time is not displayed.

0 To restart normal playback, press the > button on
the player.

0 Video may be disturbed during forward search or
reverse search.

0 When performing forward search with a VCD, DVD
VIDEO or DVD AUDIO containing video and
moving pictures (AVTT: Audio Video Title), the
audio output can be switched on or off only while
the search is at the lowest speed step. The audio is
muted in the second and later speed steps. Audio
During Search" -@

3-17 Slow playback and reverse slow
playback

While a still picture is displayed, press the « or »
button on the remote.

o This operation is not available with a MP3 disc.
(DV-5900M only)

0 When OSD is displayed, pressing the ON SCREEN
button turns it off and shows the speed in place.

0 The first press ofthe « or » button starts slow
playback or reverse slow playback at the lowest
speed step. Each further press increase the speed
up to the fifth speed step.

The TV screen shows the speed as shown above.
The indicator varies according to the speed of the
slow playback or reverse slow playback.

The display ofthe player shows the time display or
" SLOW >>" according to the status of the disc and
player.
Displayed during P.B.C. playback of VCD.
Displayed during playback of a DVD with
which the time is not displayed.

0 To restart normal playback, press the > button on
the player.

0 Audio is not output during slow playback or reverse
slow playback.

0 Reverse slow playback is not available with VCD.

0 Slow playback and reverse slow playback are not
available with CD (MP3) or DVD AUDIO
containing only still pictures and audio (AOTl:
Audio Only Title).

3-18 What is the "normal play TRACK
mode?

Playback is made from the first track. The normal
playback mode is called TRACK mode.

To set the unit to the TRACK mode :

At the time of PGM mode : -L§:3]
Press the PGM button.

At the time of MUSIC TYPE or USER FILE mode :

-§i -L§7§

Press the MODE button.

At the time of RANDOM mode : Jig
Press the RANDOM button.

0 The RANDOM" indicator turns off.

At the time of REPEAT mode : -L§1fl
Press the REPEAT button.

0 The REPEAT" indicator turns off.

Page 57

6-2-3 To clear the music type
(MUSIC TYPE CLEAR mode)

The following procedure clears the registration of one
disc in the music type.

Operation procedure

1. Check that the unit is in the normal play TRACK
mode. -912]

0 Make sure that the disc door is closed.

2. Press the MODE button.

0 When the MODE button is pressed during MUSIC
TYPE CLEAR mode, the MUSIC TYPE CLEAR mode
is cancelled.

3. Press the DISC + (up), - (down) button to select
MUSIC TYPE", then press the SET button.

4. Press the DISC + (up), - (down) button to select
"M.TYPE CLEAR", then press the SET button.

5. Press the DISC + (up)/- (down) button to select the
music type to be cleared, and press the SET button.

6. Press the DISC + (up)/- (down) button to select the
disc to be cleared, and press the SET button.

0 Repeat step 6 as required.

0 When the registration ofall music type genres" is
deleted, N0 ENTRY will be displayed.

7. Press the MODE button to complete this operation.

6-3 Reorganizing discs to desired
groups (USER FILE mode)

Eight user files are available for registering desired discs.
This makes the user possible to create files registering
the discs ofa favorite artist(s) or the user's favorite discs.
The user files can be named as desired.

USER FILE 1, USER FILE 2, USER FILE 3, USER FILE
4, USER FILE 5, USER FILE 6, USER FILE 7, USER
FILE 8

6-3-1 Registration of user file
(USER FILE SET mode)

Operation procedure

1. Check that the unit is in the normal play TRACK
mode.

2;

0 Make sure that the disc door is closed.

2. Press the MODE button.

0 When the MODE button is pressed during USER
FILE SET mode, the USER FILE SET mode is
cancelled.

3. Press the DISC + (up), - (down) button to select
USER FILE", then press the SET button.

4. Press the DISC + (up), - (down) button to select
ILFILE SET", then press the SET button.

5. Press the DISC + (up)/- (down) button to select a
user file number (1 to 8) and press the SET button.

Chapter 6:Specifying and Using Disc or Track Data

0 If user file names have already been registered, their
names are displayed in place of the above.

Assigning user file names" -@

6. Press the DISC + (up)/- (down) button to select the
disc to be registered in the user file selected in step
5, and press the SET button.

I The disc number can also be selected using the

numeric buttons. -@
o The discs in the PLUSl to PLUS3 slots cannot be

selected.

I Repeat step 6. if it is required to register another
disc in the user file selected above.

I The same disc can be registered in more than one
user files.

7. Press the MODE button to complete this operation.

I To register another user file, exit the USER FILE SET
mode once and restart from the beginning.

The registration can be cleared as follows.

To clear a disc from registration in a user file:
Play the disc to be registered and press the CLEAR
button during playback.

To clear all discs registered in a "User File": -@
When a "User File is initialized : -§;

The file names registered when the "User File
Name" is registered are also cleared.

57

9 1915111113

Page 76

Chapter 7

Chapter 7 : Various Setups
7-4 "SOUND" Setting

7-4-1 When "SOUND" is selected in " SET UP
MENU":

"SOUND" is to be selected when you want to set the
audio output method when system components are
connected using the digital audio output connector of
the player.

When the system is connected using the GCH. OUTPUT
jacks of the player, also select "SOUND" to set the
speakers, audio output during DVD or VCD search,
dynamic range control function and audio filters (DV-
5900M only)

Operation procedure

1. While the player is in stop mode, press the SET UP
button and press the cursor up, down button to display
the "SOUND" menu of "SET UP MENU".

2. Press the ENTER button to open the setup screen.

D SOUND
Dlnlt-l Am.
rem Dawn commie-t
Dolby Digital - aim...
Ms - mm...
was - Bhutto-m

Souk- Sminw ton-mm)
SnI-k- Suiting mum
A II: Sum:

(DV-5900M)

3. In the setup menu, select the Function ltem (refer to
Right Table) by pressing the cursor up or down button
and press the ENTER button.

4. Select the Setting ltem (refer to Right Table) by
pressing the cursor up or down button, then press
the ENTER button to enter the selection in memory.

0 "O" : Select to return to the previous screen.

76

Table : SET UP MENU SOUND" Function & Setting (1/2)

Function Item

Setting Item

Initial Position

Icon Function Icon Means DV-5900M Other
Digital Audio Switches on/off the down- On DOWH'COPVQH 1"? signal 10 44-1
"PCM Down sampling conversion for the digital kI'll/1 6'17" PCM signal.
Conversion" signal outputwith ahigh sampling The analog OUPH 311315 are
rate. convened accordingly.
off Skip down conversion. 0n -
0 With DVD AUDIO discs, the o If the disc inhibits the 96 kHz
signal is always output after digital output, the signal is
down sampling conversion. down-converted even when this
setting is selected.
Digital Audio Sets the Dolby Digital output. Bitstream Bitstteam signal.
"Dolby Digital" . Bitstream {-
PCM 48 kHz (ZCH) PCM signal.
93.31%?! Audio Sets the MS output. Bitstream Bitstteam signal.
DV5900M Bltstream
ICM 48 kHz (ZCH) PCM signal.
Other Bitstream Bitstteam signal.
Off
Off off
"Dbligjéagpudio Sets the MPEG output. Bitstream Bitstream signal. Bitstream -
PCM 48 kHz (2CH.) PCM signal.
Speaker Setting
(Custom) - 78
(DV5900M g1
only)
Speaker Setting
(Quick) -LEQ
(DV-5900M
only)