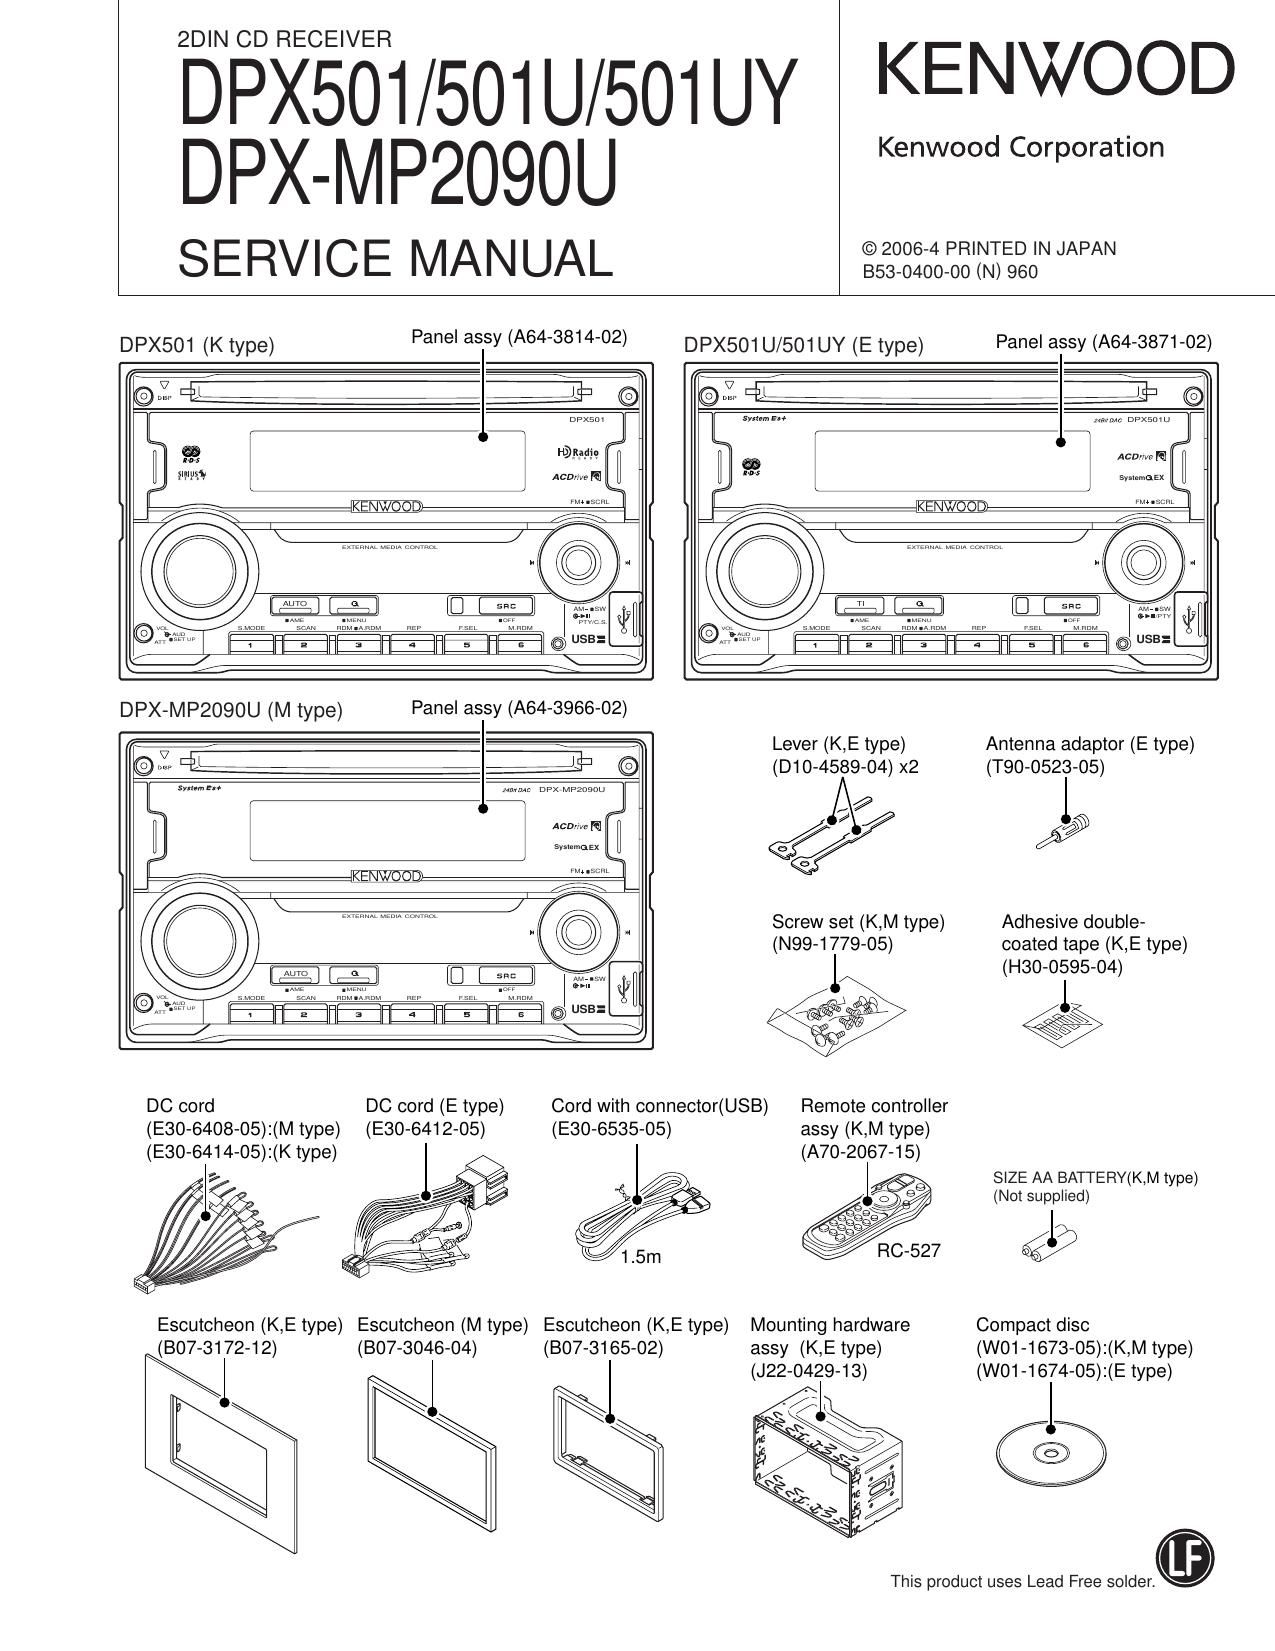
Kenwood DPX 501 Service Manual

This is the 48 pages manual for Kenwood DPX 501 Service Manual.
Read or download the pdf for free. If you want to contribute, please mail your pdfs to info@audioservicemanuals.com.

Page: 1 / 48
left right
Kenwood DPX 501 Service Manual

Extracted text from Kenwood DPX 501 Service Manual (Ocr-read)


Page 10

DPX501/501U/501UY
DPX-MP2090U

MICROCOMPUTERS TERMINAL DESCRIPTION

10

O MECHANISM MICROCOMPUTER: M30620FCPGP (X32: IC1)

Pin No. Pin Name l/O Application Processing Operation Description
1~5 NC - Not used Opened output L fixed
6 BYTE l External data bus SW input Connects to GND
L: Single chip mode
7 CNVSS l Processor mode SW
H: Microprocessor mode or flash ROM writing
8 m 0 Audio mute control L: Mute ON, H: Mute OFF
9 NC - Not used Opened output L fixed
10 FSET I Reset detection L: Reset (Flash ROM writing), H: Normal
11 XOUT 0 Main clock output Connects to resonator
12 VSS - Power supply input Connects to GND
13 XIN l Main clock input Connects to resonator
14 VCC1 - Power supply input Connects to BU3.3V
15 W l NMI interruption input Input Hi (Pull-up) fixed
16 MSTOP l STANDBY comeback interrupption L: Stop, H: Stop cancelled (Hi edge)
17 NC - Not used Opened output L fixed
18 DSP INT l DSP interruption signal input H: Interruption (Hi edge)
19~22 NC - Not used Opened output L fixed
Series resistors and E2PROM are not built when
23 E2P SCL |/O E2P |2C clock output
ROM collection is not used.
Series resistors and E2PROM are not built when
24 E2P SDA l/O E2P IZC data input and output
ROM collection is not used.
25,26 NC - Not used Opened output L fixed
27 SCL | System p-com IZC clock input
28 SDA l/O System p-com IZC data input and output
29 DSP TXD 0 Data output for DSP serial data Flash ROM writing: TXD (Pull-up)
3O DSP RXD I Data input tor DSP serial data Flash ROM writing: RXD
31 DSP CLK O Clock output for DSP serial data Flash ROM writing: SCLK(Pull-up)
32 DSP STB (BUSY) O DSP data strove signal output Flash ROM writing: BUSY
33 CS SDATA 0 Data output for decoder serial data
34 CS BDATA I Data input tor decoder serial data
35 CS CLK O Clock output for decoder serial data
36~38 NC - Not used Opened output L fixed
39 fill - Not used (Flash ROM: EPM) Opened output L fixed
40 PON D33 0 D3.3V POWER ON control H: POWER ON, L: POWER OFF
41 PON A5 0 A5.0V POWER ON control H: POWER ON, L: POWER OFF
42 PON 081 O |C15 series 3.3V POWER ON control H: POWER ON, L: POWER OFF
43 PON C82 0 |C15 series 1.8V POWER ON control H: POWER ON, L: POWER OFF
44 CE - Not used (Flash ROM: CE) Opened output L fixed
45 m 0 Driver mute L: Stop, H: Mute OFF
46,47 NC - Not used Opened output L fixed

Page 16

DPX501/501U/501UY
DPX-MP2090U

16

TEST MODE

0 FM/AM channel space switching (K,M type)
From the Power OFF condition, while pressing [1] and [5] keys
down simultaneously, press the [SRC] key and turn power ON.

0 Security

. Forced Power ON mode

Even when the security is set, by resetting while pressing [Q]
key and [4] key simultaneously, it is possible to turn the power
ON for 30 minutes only.

. Method of clearing the programmable security
code (Programmable security models: K type)

1. While - - - - is being displayed, press [>>I] key for at
least 3 seconds while pressing [AUTO] /[Tl] key.
This makes - - - - display disappear.

2. Using the remote controller, input KCAR.
Press the remote control [5] key 2 times, display ",K and
press the [>>i] key.
Press the remote control [2] key 3 times, display C", and
press the [>H] key.
Press the remote control [2] key once, display "A and press
the [>>|] key.
Press the remote control [7] key 2 times, display ",R and
press the [>>i] key.

3. The security is released and the unit enters the STANDBY
mode.

4. If a wrong code is input, the unit goes into the Code Re-
quest mode.

- How to register the security code on the Car Au-
dio Passport after replacement of the E2PROM
(F/E) (Code security models: E,M type)

1. Enter the test mode. (Refer to the section on How to Enter
the Test Mode)

2. Press [0] key briefly to enter the MENU.

While CODEVSET is being displayed, press [NI] key for
at least 1 second and enterthe security registration mode.
3. Using [FM] / [AM] / [K4] / [>H] keys, enter the code.
[FM] key : Number up [AM] key : Number down
[>>|] key :Cursor Right [M4] key :Cursor Left

4. Press [NI] key for at least 3 seconds to display RE-EN-
TER. Then, re-enter the code using the method in above
No. 3

5. Press [NI] key for at least 3 seconds to display AP-
PROVED".

6. Release the test mode. (Refer to the section on How to
Release the Test Mode)

Note : The security code for this model cannot be deleted by
all clear command.