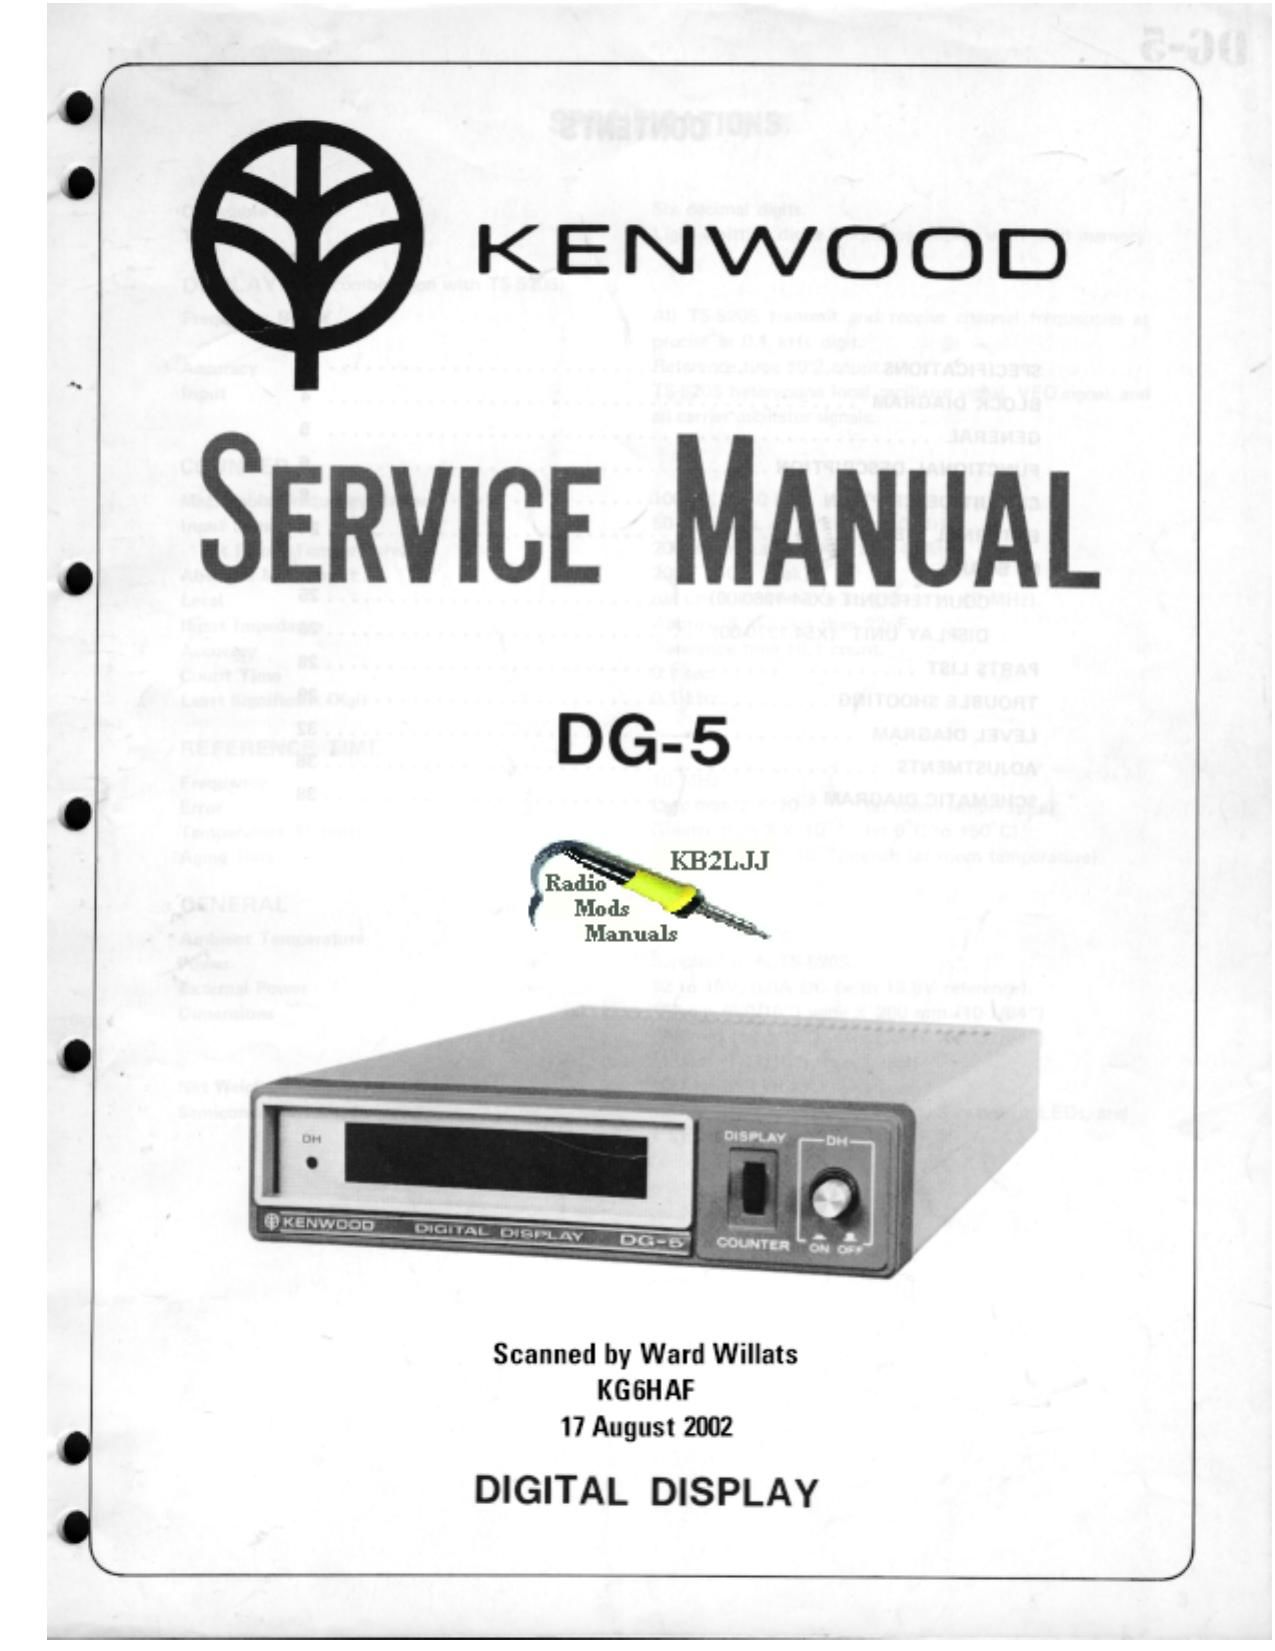
Kenwood DG 5 Service Manual

This is the 41 pages manual for Kenwood DG 5 Service Manual.
Read or download the pdf for free. If you want to contribute, please mail your pdfs to info@audioservicemanuals.com.

Page: 1 / 41
left right
Kenwood DG 5 Service Manual

Extracted text from Kenwood DG 5 Service Manual (Ocr-read)


Page 2

CONTENTS

SPECIFICATIONS ............................................ 3
BLOCK DIAGRAM ........................................... 4
GENERAL ................................................. 5
FUNCTIONAL DESCRIPTION .................................... e
CIRCUIT DESCRIPTION ....................................... s
EXTERNAL VIEW ........................................... 24
PC BOARD

COUNTER UNIT (x54rIzeo-oo) .............................. 25

DISPLAY UNIT (X54-1270<00) .............................. 26
PARTS LIST ............................ . ................... 25
TROUBLE SHOOTING ......................................... 29
LEVEL DIAGRAM ........................................... 32
ADJUSTMENTS ....................... ...................... 36
SCHEMATIC DIAGRAM ........................................ 33

6]

Page 11

06-5

CIRCUIT DESCRIPTION

VFO
VFOE buffer
CAR 8.5V
GAR bufer -:l_ CAR mixer T
I 016 g
. 018
.
Tl T2
_,_ H
.L-
D agenda I
Loscumor , .
on . J... L
IOMHZ 6.605MHZ VFO mixer
.. J.
Jz 0 ;

DISPLAY/COUNTER
changeover

ICED

Preset counter
signal amplifier


preset counter

0'920 IO 28 Preset counter

l l 1; signal gate
i.i05~i.705MHz Ga 9'9
0.|sec
\v-l
Low-pass fiiter
chFZMHz

Fig. 8 CAR/VFO Mixer & Amplifier

3. Reference Oscillator and Calibration Circuit
Reference Oscillator

The reference oscillator employs a 10MHz quartz
crystal unit. Since the counter display accuracy depends on
the accuracy of the 0.1-second standard time which is
obtained by frequency division, the reference oscillator is so
to speak the heart of the counter: The quartz crystal unit
used here is obtained by cutting to obtain a zero thermal
coefficient, and its accuracy is guaranteed to the 100Hz
unit in actual use. ,

As shown in Fig. 9, the oscillating circuit is a Colpitts
circuit which generates a sine wave to be fed to the CAR
mixer. The 022 buffer circuit is installed in front of
the IC block, and output is supplied to the frequency
divider to make a standard time of 0.1 second.

Calibration Circuit

The reference oscillator is of no use if it does not
oscillate at 10MHZ exactly. For calibration the standard
waves of WWV, etc. are the most accurate and handy
frequency sources. Since the TS-5208, can receive a
standard wave of 15MHZ (the TS-520, for iOMHZ), the
output circuit of the reference oscillator is extracted for
calibration with the standard wave in combination with the
radio receiver. This mission is accomplished by the calibra-
tion circuit consisting of 023 and therafter. Since the
standard wave to be received is 15MHz or 10MH2, the
oscillator output is divided into 1/10 and iMHz is taken
out. Also in this case the wave form is rectangular with
excessive harmonics, and this is favorable for calibration.

Q23 and D13 compose a buffer circuit for calibration
output. This circuit aiso functions as a switch, and it does
not operate unless the attached coaxial cable is connected
to the CAL output terminal and the receiver calibration
input terminal (X-VERTER IN terminal for the T8620). if
nothing is connected to the CAL output terminal of a
circuit, as shown in Fig. 9, the potential at the 023 emitter
and the D13 cathode is unfixed and the source voltage of
8.5V is applied directly. Simultaneously the 023 collector
and the D13 anode are applied with a potential which is
produced from the source voltage divided by R92 and F193.
In other words, 023 and D13 are reversely biased and a
cut-off condition is maintained. Thus the 1MHz output
does not appear at the CAL terminal. When the separately
furnished calibration connection cable is connected to the
XVVERTER IN terminal of the master unit, the DC
component at this terminal is grounded through the coil.
Therefore in this case the emitter of 023 is grounded and
023 is turned on. Simultaneously 013 is turned on through
R19, which is a current limiting resistor. Thus the 1MHz
output (including harmonics) appears at the CAL terminal
and is fed to the receiver.

Fine frequency adjustment for calibration is made by
the trimmer capacitor TCi of the reference osciliator.When
the frequency is adjusted with a more accurate frequency
counter (meaningful only if its accuracy is more than
10-7 ), the CAL terminal is short-Circuiited and the counter
is connected to the test point TPQ.

11

Page 18

06-5

GIRGUIT DESCRIPTION

nized with that on the latch side for similar switching for
each digit. Each type has its own advantages. The disadvan-
tages of this latter type of display are that the multiplexers
and the scanning control are required, and that the entire
circuit is complex and repair is difficult since the time
"division switching system is adopted. However, lnthe case
of the DG-S the number of wire connections to the display
is 15 for the dynamic type and 45 for the static type, if in
addition the wiring to switches and indicator lamps is taken
into acount, the achievement of this same construction

with the static type display seems very difficult to achieve,

Display Dower suDDlV

Decoder

:>
:> [I]
:;> I
:> D

Decoder Decoder Decoder

_-_>
:1)
:>
::>

Latch Latch Latch Latch

(Till)

4- Counter -. Counter - Counter 4- Counter

:->

(a)statio type

Displav power sUDDIV

i

[- Multiplexer(carry driver)
/_-I D _ D
l /_l Ll LI Ll
Scan fig E;- g
contol
Decoder
Multiplexer
Latch Latch Latch Latch

(liliiii

._'- Counter - Counter _. KCounter -~ Counter

(D) Dynamic Type

Fig. 17 Static Display and Dynamic Display

18

Mu Iti plexe r

The multiplexer is generally installed on the latch side.
in the circuit diagram it is composed of the 7 ICs, |C32 to
lC38. The latch output is expressed in the BCD (Binary
Coded Decimal) mode and the output for one digit is
expressed by the 4 BCD output components, A, B, C, and
D. The multiplexer gathers components A (or B. ) out of
the whole 6 digits in one position and ejects these
components A N D synchronized with the scanning control
signal by time division switching system. Fig. 18 shows the
iogica diagram of the circuit blocks that are indicated by
the boxes in the circuit diagram. The SN7454N of |C32,
34, 35, and 37 is a 4-input distributor, while the
TD3451AP of |C33 and 36 is used as a 2-input 2-circuit
distributor. For ease of understanding, Fig. 19 is a logic
diagram of SN7454N. As shown in Fig. 19 (a), this IC
contains 4 2»input AND circuits and an NOR circuit. When
8 outputs A~ H enter. the resultant output Y is as follows:

Y=AB+CD+EF+GH -------------------- (3)

If these inputs are separated into 2 groups (A, B, C, D
signal inputs in one group and T1 ~ 4 control signals in the
other group), the resultant output V1 is as follows:

Yi =AT1 +BT2+CT3+DT4 ---------- (4)

When it is assumed that the signals T1 ~ 4 are the
control signals scanned in turn as shown in Fig. 19 (c), the
output Vi will come out in the intormation train of
component A for T1, component B for T2, , as is
obvious from expression (4). The same operation is
performed for the 6 digits by the circuit shown in Fig. 19.
Since lC does not have any distributor for 6 inputs, outputs
from 4»input and 2-input circuits are again combined at
ICSB to obtain a function which is equivalent to one
obtainable from a 6-input distributor. The control signal in
this circuit is switched over in the order of Al , A2, A3,
at the velocity of 2kHz, Therefore, as shown in Fig. 18 (b),
each BCD digit is switched over to another by the rotary
switch at the speed of 333Hz. The multiplexer (distributor)
on the display side also operates in the same manner. in this
case, however, the power supply to the display is merely
switched on and off, and a control signal is delivered to the
base of the transistor connected in series with the power
supply of each display unit, in good timing with the latch
side as shown in Fig. 20. Therefore the multiplexer on the
display side is used merely to distribute current to the
display units.

Page 23

d?
g.

%%

06-5

CIRCUIT - DESCRIPTION

7. Decoder and Display
Decoder

Signals flow within the counter in the BCD mode.
Therefore they cannot be displayed immediately, after
passing through the latch and multiplexer circuits. The
decoder is used to convert the BCD signals into the
numerals 0 ~ 9 readable for us. Since the DG-E display
employs 7segment LED's, the 7-segment decoder is used.
The 7 segments mean that the digit8 can be divided into 7
segments, andrthat the other digitstO ~ 7 and 9 can be
displayed by selecting those segments that should be lit.
Based on the function table of SN74247N in Fig. 25, the
open collector transistor is turned on when an input BCD
signal enters, Thus the display receives currents to light up
the required segments. ,

The RBI terminal of the decoder receives a control
signal for the lOMHz unit. When this terminal is at the L
level and the input BCD is ,"0 the display can be blanked
out. Therefore if it is unnecessary to use this unit, as in the
case of 7MH2, unwanted "O is blanked out.

Display

The display employs 3 light emitting diodes (LED),
each embracing 2 digital units. The size of each digit is
10.16mm x 6.60mm. The LED color is red since that color
offers efficient luminance and its brightness, color uni-
formity, and distribution are all otpimum. In order to
obtain color tones comfortable for the yes, the natural dark
red of the LED's is softened with violet and light smoke
filters.

As shown in Fig, 2., the display is connected to the
decoder and the same segments of the respective LEDs are
connected in parallel with each other. The common anode
of each LED is connected to the independent 4.5V power
supply through the trnasistor switch driver which is
provided to each digital unit.

8. Power Circuit

All power for the DG-5 is supplied from the master
unit,TS»520$. However, the power cannot be used directly
since. it contains much ripple voltage. in terms of its power
systems, the DG-5 can be roughly divided into the analog
circuit system, the TTL. IC system, and the LED display
system. As shown in Fig. 26, each system is provided with a
stabilized power circuit. The analog system has an 8.5V
non-adjustable power circuit stabilized by the zener diode
and the transistor. The TTL. IC system employs an
exclusively installed 3~terminal regulator since it requires a
large current and its voltage regulation must be below 5%
though its voltage of 5V is very low. The LED display
power can be used in common with the 5V source,
However there will be much current differenCe in such
usage when all segments are lit up, and in addition the
capacity of 5VlC regulator will almost lose its tolerance.
Thus the LED display is also provided with an exclusive
power supply. In this case the 5V AVR output is used as
the standard stabilized voltage. If the 5V output is switched
off, the 4.5V output simultaneously disappears and the
LED's go out.

Dcl3.8V +31 .L
0.3A - , it); l

__7 (El
1

J; on

Master unit Ql

fl» 8 . 5 V
analog system

-- 5V
TTL-lC system

$ 4.5V
LED display

Fig. 26 Power Supply Circuit

23