Kenwood DDX 7032 M Service Manual

This is the 110 pages manual for Kenwood DDX 7032 M Service Manual.
Read or download the pdf for free. If you want to contribute, please mail your pdfs to info@audioservicemanuals.com.

Page: 1 / 110
left right
Kenwood DDX 7032 M Service Manual

Extracted text from Kenwood DDX 7032 M Service Manual (Ocr-read)


Page 1

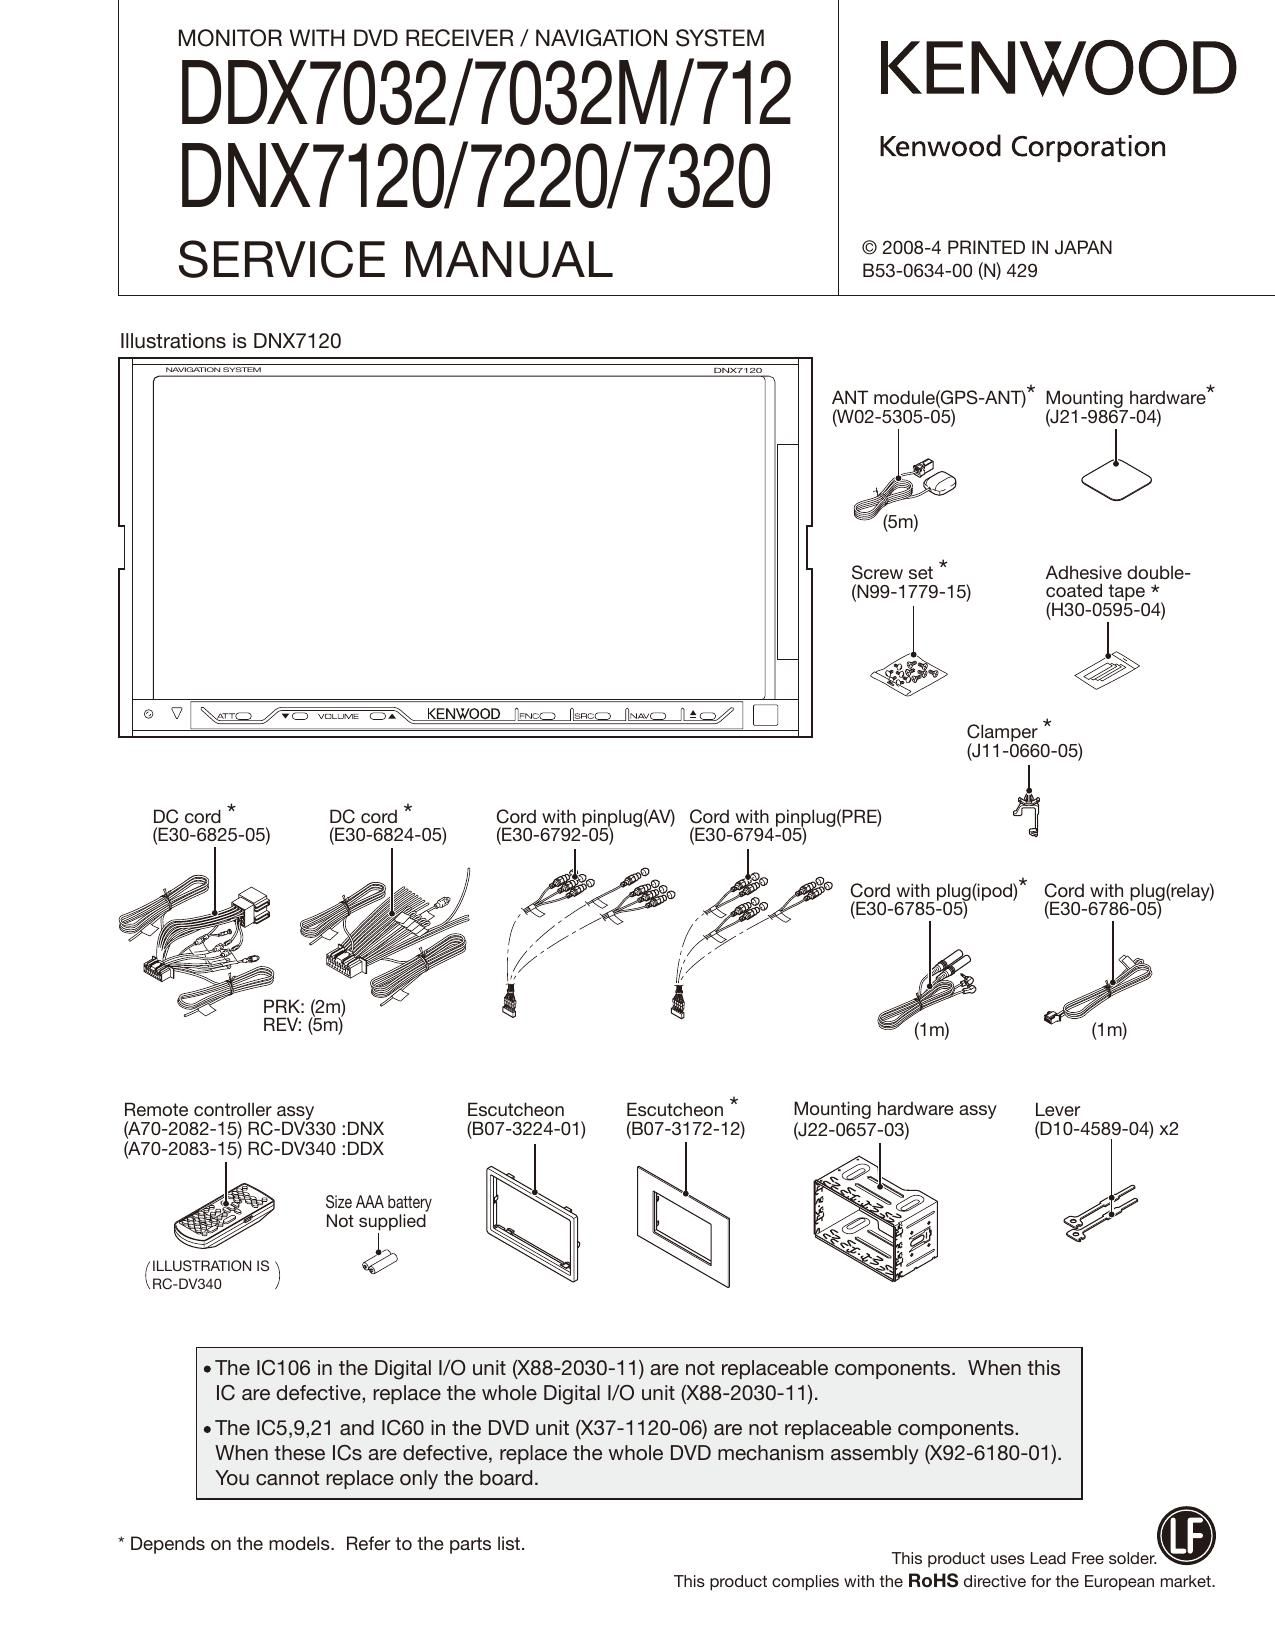
MONITOR WITH DVD RECEIVER / NAVIGATION SYSTEM

DDX7032/7032M/712 KENWQOD
DNX7120/7220/7320

SERVICE MANUAL aegggzzz'iiagym

Illustrations is DNX7120

DNX71 za

ANT module(GPS-ANT)* Mounting hardware*
(woz-ssos-os) (J21-9867-04)

Screw set * Adhesive double-
(N99-1779-15) coated tape *
(H30-0595-04)

" v W

@ V I \mg mvomm KENWOOD we 5n; W M I C]

Clam per *
(J11-0660-05)

DC cord * DC cord * Cord with pinplug(AV) Cord with pinplug(PRE) %
(E30-6825-05) (E30-6824-05) (E30-6792-05) (E30-6794-05)

PRK: (2m) Q g

Cord with plug(ipod)* Cord with plug(relay)
(E30-6785-05) (E30-6786-05)

REV: (5m) (1m)
Remote controller assy Escutcheon Escutcheon * Mounting hardware assy Lever
(A70-2082-15) RC-DV330 :DNX (B07-3224-01) (BO7-3172-12) (J22-0657-03) (D10-4589-04) x2

(A70-2083-15) RC-DV340 :DDX

l = Size AAA battery
. Not supplied
(ILLUSTRATION IS ) @

sf

RCeDVSAU

oThe IC106 in the Digital I/O unit (X88-2030-1 1) are not replaceable components. When this
IC are defective, replace the whole Digital l/O unit (X88-2030-11).

uThe |05,9,21 and ICGO in the DVD unit (X37-1120-06) are not replaceable components.

When these ICs are defective, replace the whole DVD mechanism assembly (X92-6180-01).
You cannot replace only the board.

* Depends on the models. Refer to the parts list. _
This product uses Lead Free solder.

This product complies with the ROHS directive for the European market.

Page 34

DDX7032/7032M/712
DNX7120/7220/732O

ADJUSTMENT

- DNX7NAV| Adjustment screen
Procedure to display NAVI Adjustment screen
Q) Start the set.

(2) Connect special jig on MINLUSB of NAVI.

Next

4 HPOSI I 0

4 l'REG I ()4

4 lHAS! 3

O Adjustment Procedure
Q) Press HPOSI on the Test Mode Main screen.

Test Mode Mam

.- _ 1
lnformahon I Auto Adjust i

service i.

mum Selecd. lPod
-..._
y-z.
1 nu mom j]
__

(2) Adjust 2 types of the display; Graphic and NAVI.

@-1: Graphic

- Screen Position Adjustment: GRAPHIC
Adjust the Screen Position Adjustment key so that the
screen becomes horizontally symmetrical.

34

- Display Range Adjustment: DOT FREQ
Adjust the Display Range Adjustment key so that there is
no vertical black stripes (blur) on the screen.

Enlarge OK